***WELCOME to everyone visiting from Pinterest! This tutorial went viral and we sincerely hope you enjoy it! When you're through, click HERE and you can view all of our other free tutorials for children's clothes!***
If you are like us, you are *obsessed* with Pinterest right now. lol. We are always looking on there for new ideas or techniques to use in our pattern shop and that is how we hit the scrap fabric lotto this weekend!
If you are like us, you are *obsessed* with Pinterest right now. lol. We are always looking on there for new ideas or techniques to use in our pattern shop and that is how we hit the scrap fabric lotto this weekend!
If you are like us you have an obscene amount of scraps from all of your sewing projects. What to do with all these scraps? I don't know about you, but I can only do so many patchwork outfits. Cue Pinterest and this adorable pin I came across.
Ummmmm...how cute is this? Its a tutu made of fabric! Best of all, it doesn't require large amounts of any one fabric so you can be totally *crazy* (watch out! lol) and use a bunch of different fabrics for an eclectic look, or you can used a few of the same fabrics if you want to be matchy-matchy. This tutu is so fast to put together and...its NO-SEW! This tutorial is for all our fans who can't sew. You're welcome. lol.
 |
| Photo Courtesy of LullabyBird on etsy.com |
Maddy's Scrappy Tutu
Difficulty Level: Beginner
Materials Needed:
- Fabric Scraps
- 3/4" Non-Roll Elastic
- Needle and Thread or Sewing Machine (just to sew waistband)
- Pinking Shears
12-18 mos.- 3" x 19"
2T-3" x 20"
3T- 3" x 21"
4T-3" x 22"
5T-3" x 23"
6-3" x 24"
Note: this is supposed to be a shorter fit. If you would like to make it a specific length, take that length, double it and add one inch for tying the knot. For example, if you would like it to be 10" long, you will add 10"+10"=20" and + 1" for tying the knot= 21" long strips.
We recommend cutting the edges with pinking shears so that they do not fray.
Number of Strips to Cut:
The number of strips to cut will vary per person. Some people will tie a knot tighter than others or squish them together more on the elastic. These are just suggestions as to how many to cut. I fit 40 strips on a 3T perfectly.
12-18 mos.- 36 strips
2T- 38 strips
3T- 40 strips
4T- 42 strips
5T- 44 strips
6- 46 strips
Length of Elastic to Cut:
12-18 mos.- 17.5"
2T- 18"
3T- 18.5"
4T- 19"
5T- 20"
6- 21"
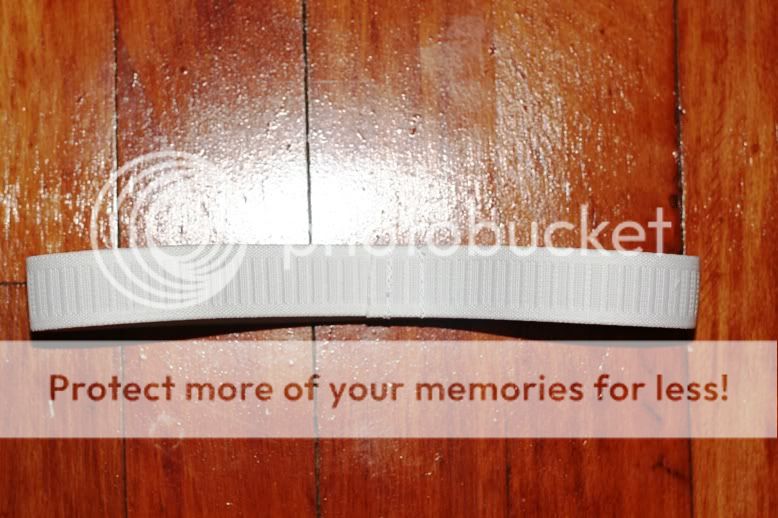
Step 1: Take your elastic piece and make a continuous loop, sewing the ends securely. This is now your waistband.
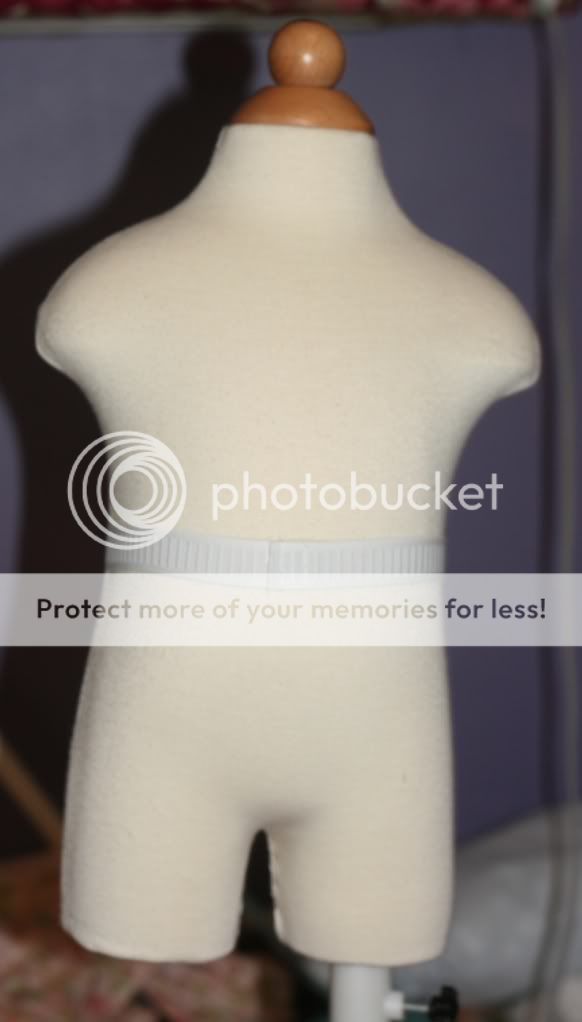
Step 2: Put your waistband on a mannequin. If you do not have a mannequin, a roll of paper towel, your thigh, or anything like that will work. It will allow you to tie your fabric strips onto the waistband so much easier!
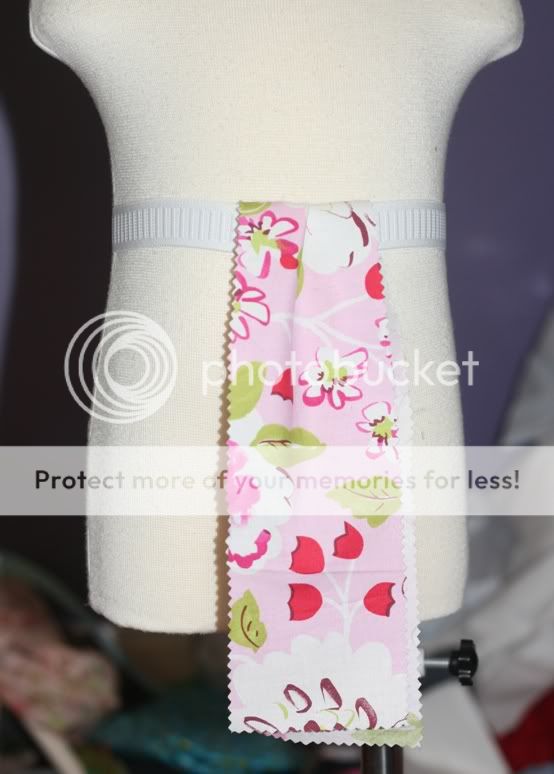
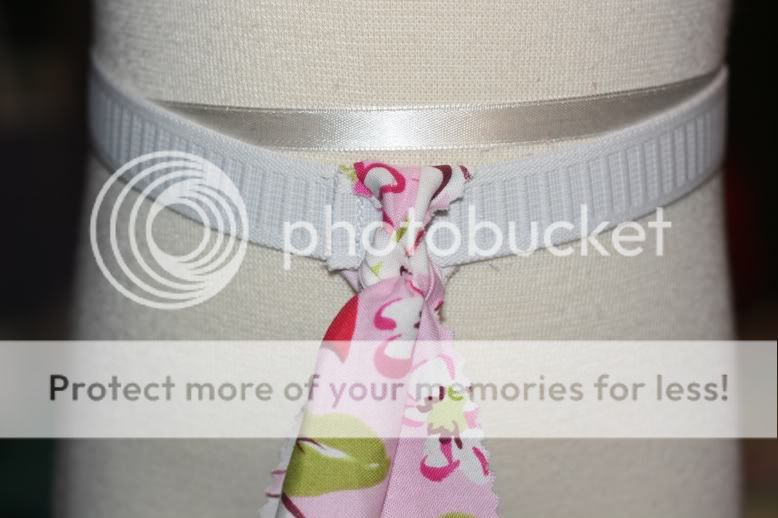
Step 3: We can now start tying on our fabric strips. I perfected the tie about halfway through making this so a few of the next pictures are mixed up, but you will learn how to tie the perfect knot. We will be using the double knot technique rather than the slip-knot. First, we will put our first strip around the elastic, making sure that both ends are of equal length as pictured at left.
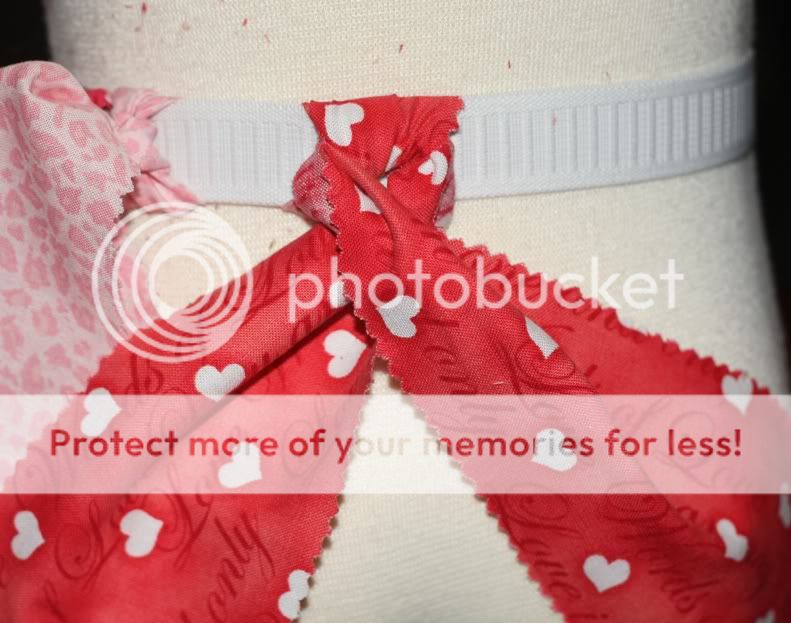
Now we will tie the first knot so as when finished, both ends will be pulled outward in opposite directions with the right side of both fabrics facing up.
Now we will take both ends and cross them with the left side being on top of the right. The right sides of the fabric will still be facing up.
We will take the end that is crossing on top towards the right and pull it up between the knot we first made and where these two ends are crossing. When we pull it through, pull both ends in opposite direction going vertically. The top piece will have the wrong side of the fabric facing out and the bottom piece will have the right side of the fabric facing out as pictured.
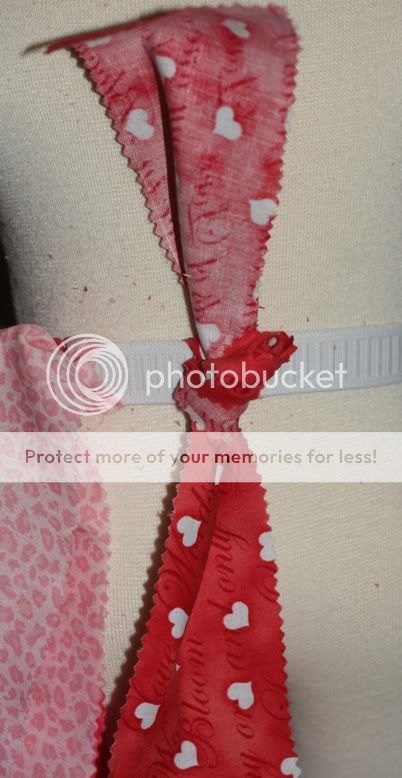
We can now bring the top piece down so the right side of the fabric is facing up. Make sure both ends are equal and facing completely out.
Here is an up close of what the knot should look like after we get it all adjusted.
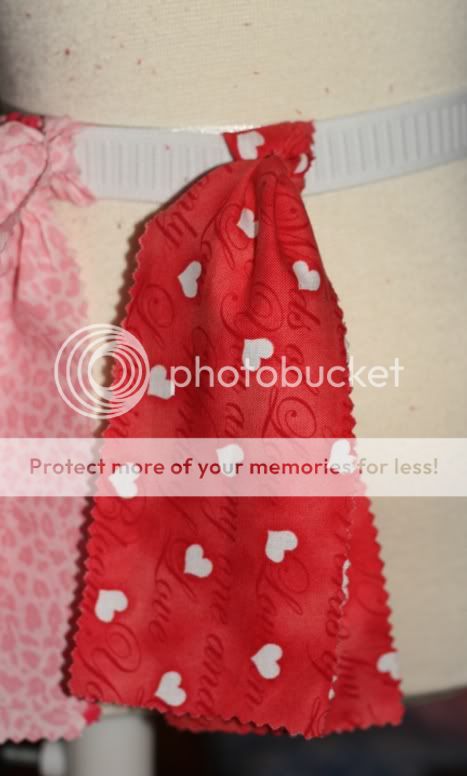
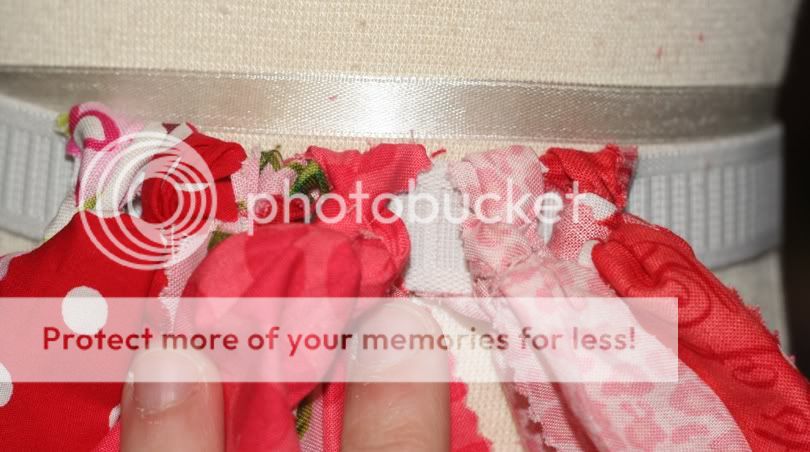 Step 4: As you add and finish strips, move them together with the other finished strips. They don't have to be squished together tightly. The fabric ends up being very poofy so there is no need to squeeze them in too tight together. Use this pic for somewhat of a visual. Note that I am also showing you that you do not need to tie the knots super tight. The elastic should not be folded at all. If it is, your knots are too tight and the elastic will become mishapen and stretched out.
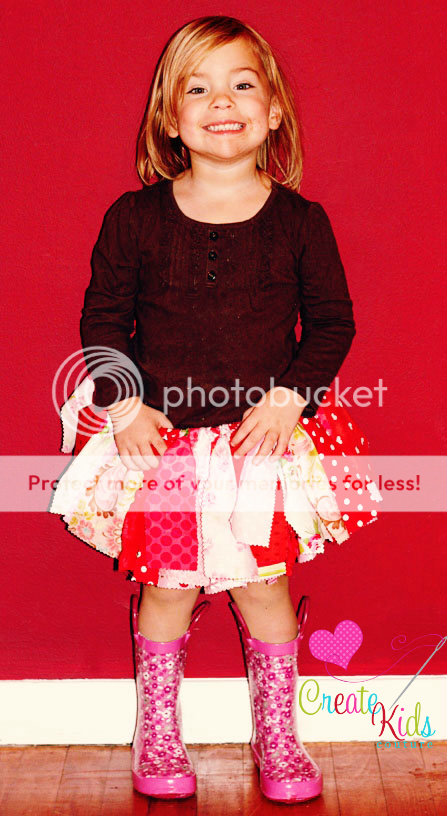
When you are done adding all the strips, your skirt should look like this!
I added a few strips of double ruffle ribbon that I had on hand for a little extra embellishment, but I saw some really gorgeous ones on Etsy that used lace and other things so get adventurous!
Since this has raw edges on cotton fabric, we highly recommend just spot cleaning. If you were to throw this thing in the washer I would NOT want to see what it looked like coming out! lol. I used pinking shears to cut all the raw edges to hopefully hold off the crazy fraying, but that is part of what makes this so cute and fun; the fraying will add character and whimsy.
If you really don't think you can handle making one of these yourself, don't feel bad. Just head on over to Lullaby Birds on Etsy and she will be MORE than happy to make one just for you at a very reasonable cost!
We hope you enjoyed Free Tutorial Tuesday and we would love to see your creation! Share it with us in our Flickr Group or on Facebook!
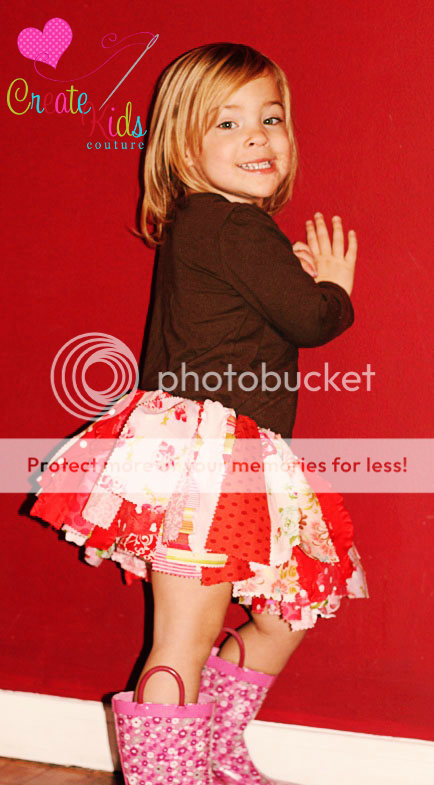
And just one more of my daughter who LOVED wearing her newest "dress". lol.
Happy Tutu Making!
Shannon and Tiffany


