It's time for another episode in our Serging 101 series! Last time we learned how to do rolled hems with our serger. Now we're going to take it one step farther and add a little extra flair when we do rolled hems on knits. It's time to learn lettuce edging! It's so pretty and so easy to do.
The first thing we need to do is set our machine to the the same settings we use on a regular rolled hem. For the Brother 1034D we suggest using 4 for the right needle, 5 for the upperlooper, and 7 for the lowerlooper.
(We don't use the left needle at all, so ignore the yellow dial above.) The side settings should both be on "R". If you need a little extra help on how to thread for a rolled hem, you can read our beginner tips by following the link.
Start off by lowering the foot and beginning a chain.
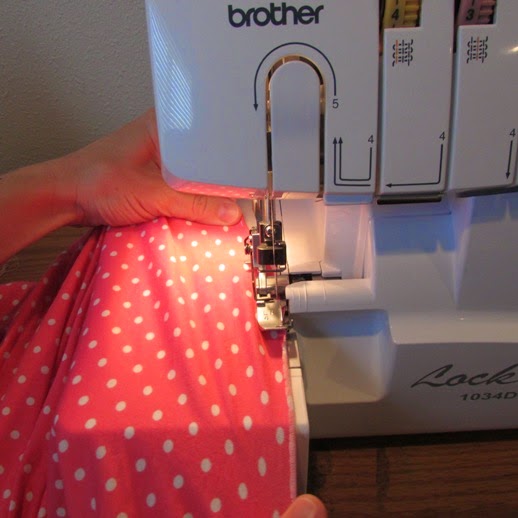
Then put the knit edge under the foot and begin the rolled hem. Now the big trick for creating a lettuce edge is that we need to stretch the fabric on both sides of the foot as we go. In the picture above you can see that the fabric is being stretched in front and in back.
As we roll hem, the stitching automatically comes off as a ruffled lettuce edge. It really is that simple! Be sure that as you do the hem, you stretch evenly as you do the whole outfit so the lettuce edging will be consistent.
It's such a pretty option to add to the edges of knit skirts, bloomers, sleeves, and a variety of girly outfits. And it's so easy!
We can't wait to see what you make using a lettuce edge with your serger.
Here is a quick video that Shannon made showing how easy it is to do a lettuce edge on a serger.
Here is a quick video that Shannon made showing how easy it is to do a lettuce edge on a serger.
Let's Create! ~ Kristen


