We have had lots of requests for this headband so you KNOW we had to write a free tutorial for it! This wrap is so versatile as you can top it off with some pretty awesome knit bows. If you're looking for inspiration, head on over to Etsy and just look through all the gorgeous designs and see what you can come up with! Let's get started!
Materials
Knit Fabric (cannot be made out of quilting cottons)
*Use 3/8" seam allowance.
**The cutting chart says to cut 4 bow centers but you will only need to cut 1 bow center.
**The cutting chart says to cut 4 bow centers but you will only need to cut 1 bow center.
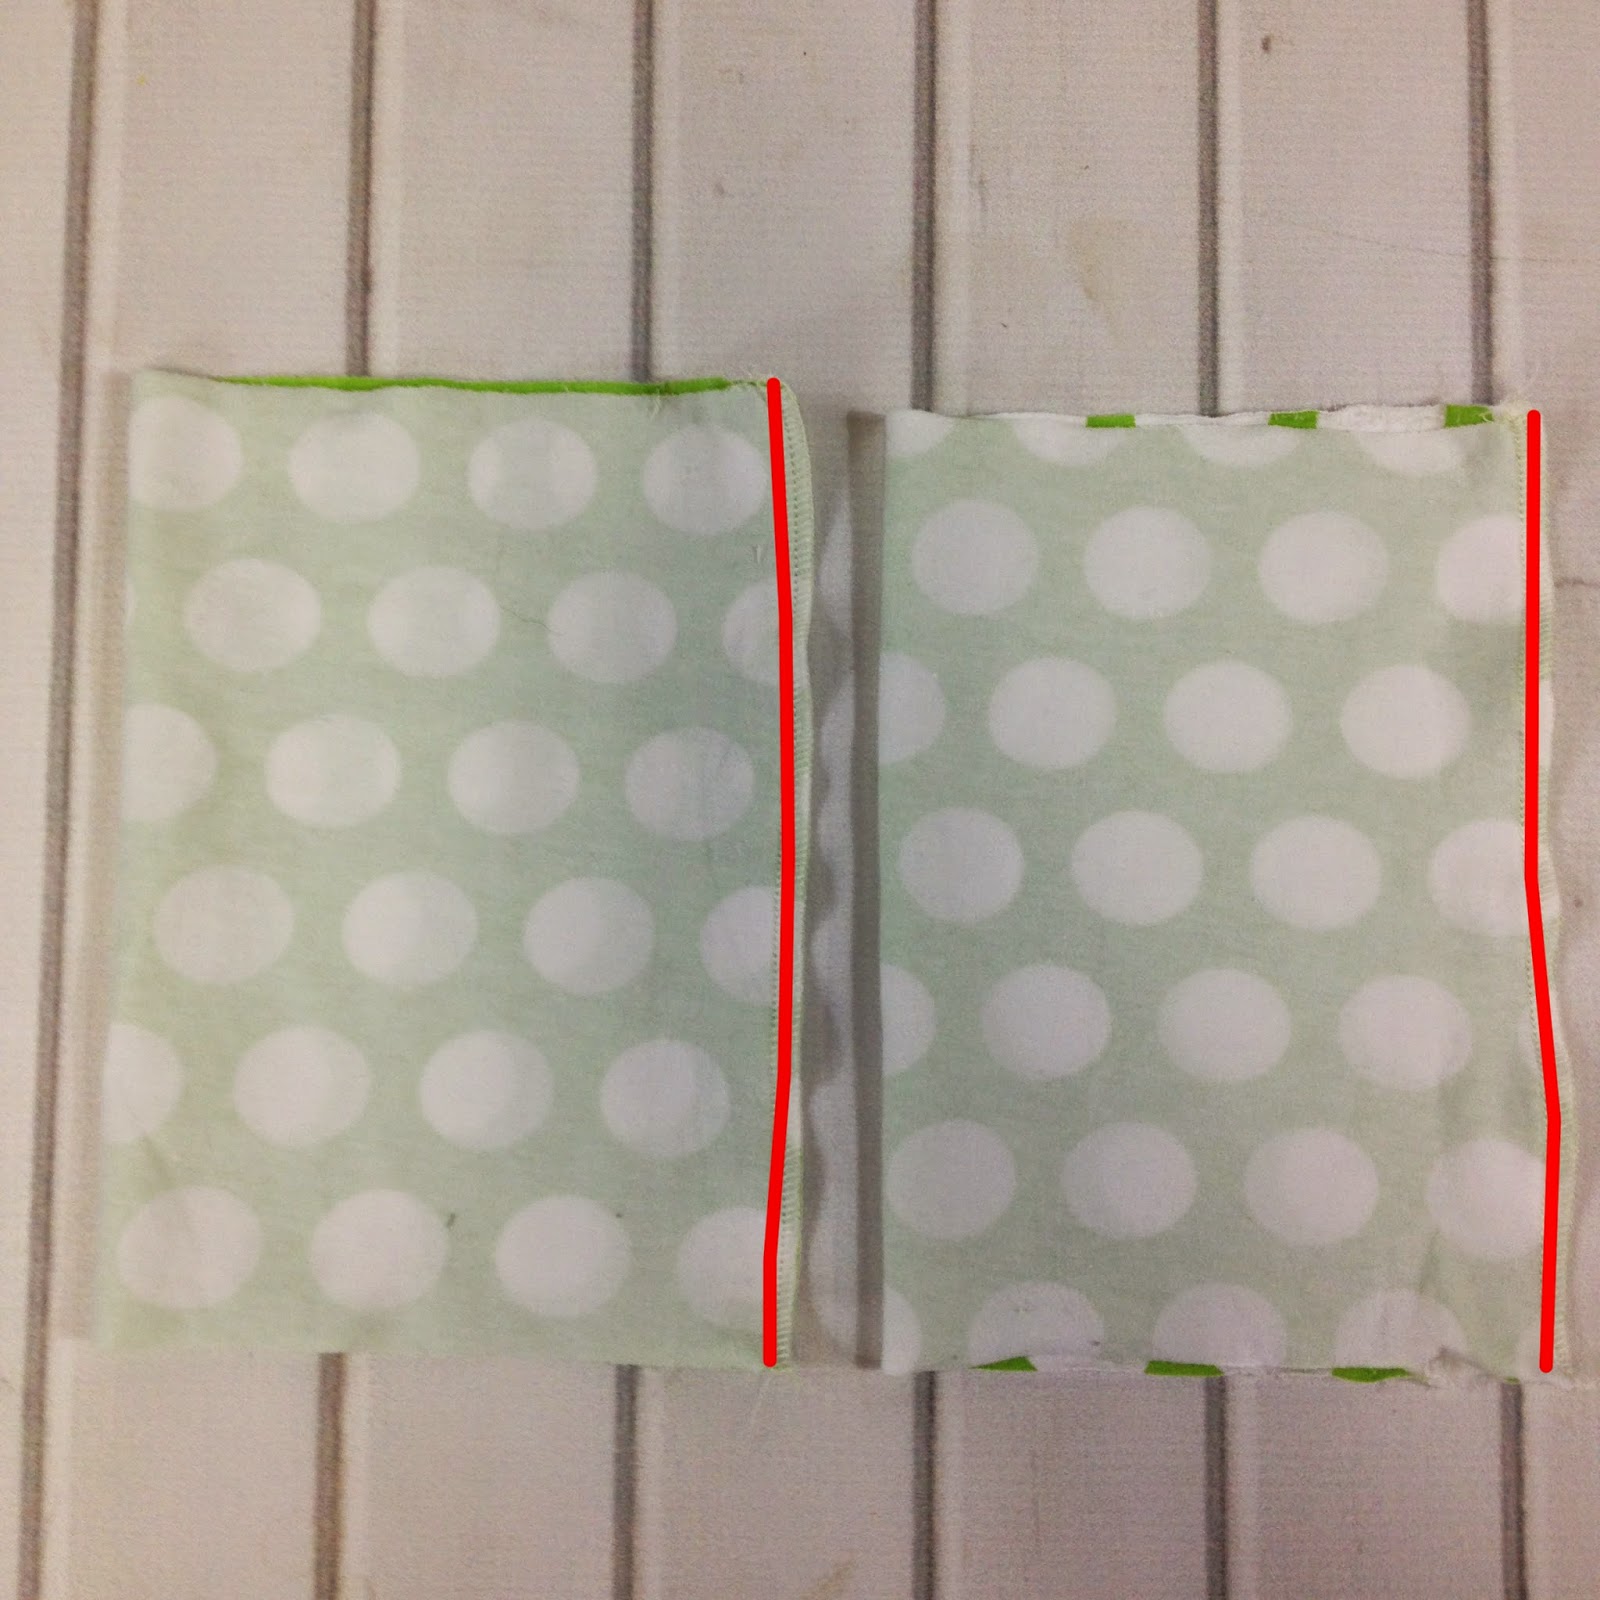
Step 1: Take the headband piece and fold in half widthwise matching up the raw edges. Pin in place and sew down the open side as indicated in red in the picture below.
Step 2: Repeat with the two bow pieces by folding in half widthwise and sewing down the raw edges as shown in red.
Step 3: Repeat with the bow center as shown in red below.
Step 4: Turn the headband right side out and hand gather the center of the headband at the seam. Wrap with embroidery floss a few times and tie it in a knot.
Step 5: Turn both both pieces right side out and gather one bow piece around the center of the bow. It's best if you gather it all at the seam so that the seams can be hidden. Wrap with embroidery floss a few times and tie it in a knot. Repeat with the second bow piece.
Step 6: We are now going to put these two bow pieces together to make one big bow! Push them together and wrap them at the center with embroidery floss a few times and tie it in a knot.
Step 7: We are now going to glue the back of the bow onto the center of the headband.
Step 8: Tie more embroidery thread around the bow and the headband so they are really stuck together, not just with a little glue.
Step 9: Turn the bow center right side out. Put a dab of hot glue on the top of the center of the bow and stick your bow center there seam side down.
Step 10: Take the ends of the bow center, wrap them around the bow to the back of the headband and glue them down so they are secure. You can trim them a little if you need to.
You are now done and ready to wear it!


This comment has been removed by the author.
ReplyDeleteHi, great idea! Just wondering why two bows squished together instead of one larger one?
ReplyDeleteYou could only use one but to get this full look you will need two.
ReplyDeleteCan you sew the middle part or is gluing pretty secure?
ReplyDeleteHi , I tried this today. For my newborn and it came out amazing . Thank you so much !
ReplyDeleteHow many bows can you make from a yard? Trying to decide how much fabric to get.
ReplyDelete