
Today's tutorial is helpful for all kinds of projects! I first learned how to sew on patches when I was in college and wanted to add some cute appliques to my jeans. But then I really perfected the technique a few years ago when my boys needed them sewn onto their scout uniforms repeatedly. You can find glues and other products made for patches, but I prefer sewing them on with clear thread -- it's much more sturdy for repeated use and washes. (If I can't wash it, my kids don't wear it!) This technique works for cute little embroidery patches, larger uniform emblems, and in the case of today's project -- awesome Harry Potter patches!

Don't they look amazing?! These are our new Malcolm's robes and I bought the patches at Universal Studios, but you can also find them on Amazon or even Target. They're super sturdy and washable if you sew them on securely!
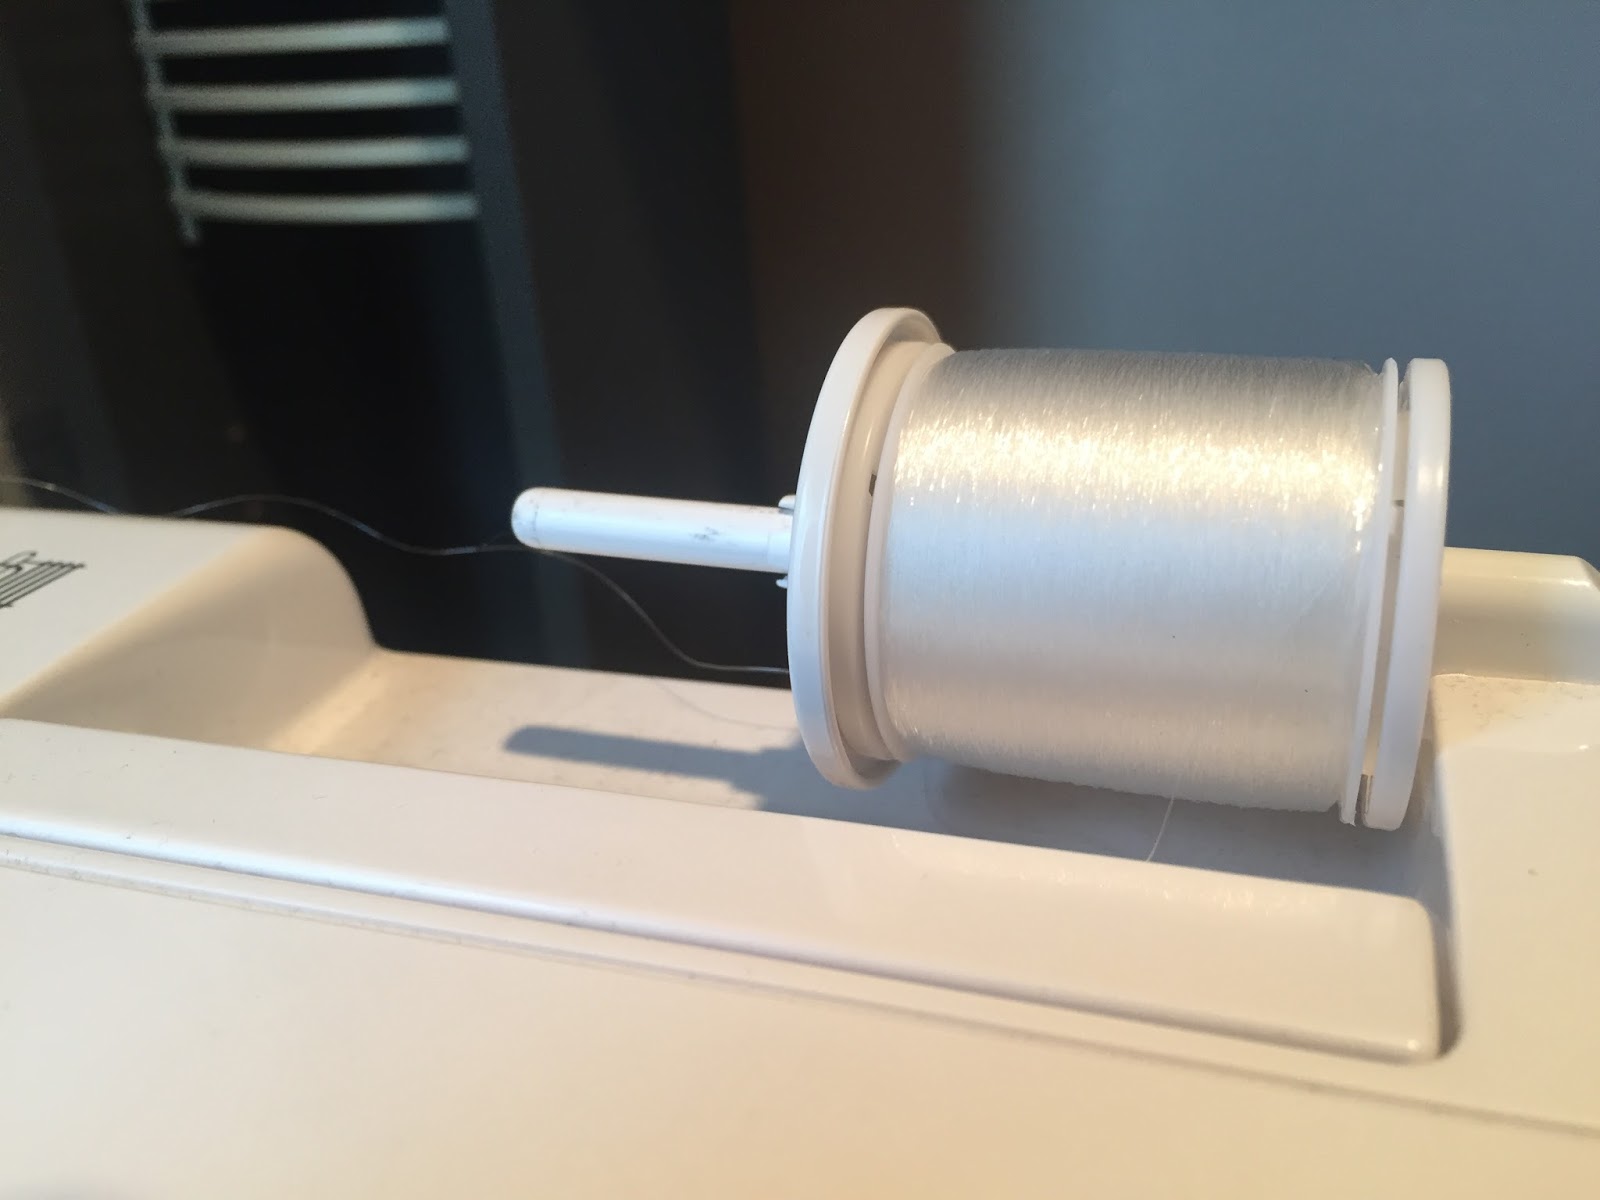
First you want to start by grabbing some invisible thread. I bought this at a regular fabric shop and it was called just that - invisible thread. There have been times when I haven't been able to find it though, and thin fishing line actually works just as well. You want it to be strong enough to hold but thin enough to thread easily through your needle.

You will also wind some of the invisible thread onto your bobbin -- you need it on the top and the bottom. I have to admit that this thread kind of has a mind of its own. It may come off the bobbin during winding, after winding, and even during sewing. It helps to keep it pulled taut during transferring. Also be sure to hold both threads as you begin sewing!

I will occasionally have the thread come off the bobbin for no reason at all, as shown above. After awhile I realized it's not worth trying to wind it back on, so when this happens I just trim it off and continue. Also, if your invisible thread breaks while stitching, it may have just slipped off one of your spools. Just rethread and keep going, and remember that it will be worth it! As much of a pain as it can be, I loooove this invisible thread!

And now for my next secret: Before sewing the patch, you will attach it using either fabric glue, or my favorite: double sided tape. I'm sure most experts would say to use fabric glues and sprays, but I am allergic to most adhesives and I just don't want to mess with it. Double sided tape is my go-to for this! It will be behind the patch forever, so if you have a problem with that then don't use it. But I've never had a problem with it. So, if you want to go that route, simply apply double sided tape around the edges and center of the back of your patch, as shown above!

Next, plan your placement. Lay the clothing out on a flat surface and decide where you want the patch to be.

In the case of Malcolm's robe, I put my hand straight with the shoulder seam on the side and then placed the patch about halfway between my hand and the buttons. Really, you could put it wherever you want but this placement worked great for both kids and adults. Once you like the placement, set it down and press the tape in place.
Note that the tape doesn't form a permanent bond with the fabric. When I go to pick up the robe, I hold it firmly in place on the fabric. The tape keeps it from sliding around, but I still hold it carefully in place with my hands.

Take the patch to your sewing machine and hold it in place as you find where you want to start sewing. I usually start at the top of the longest straight edge, just so I can get it somewhat secured before turning corners.
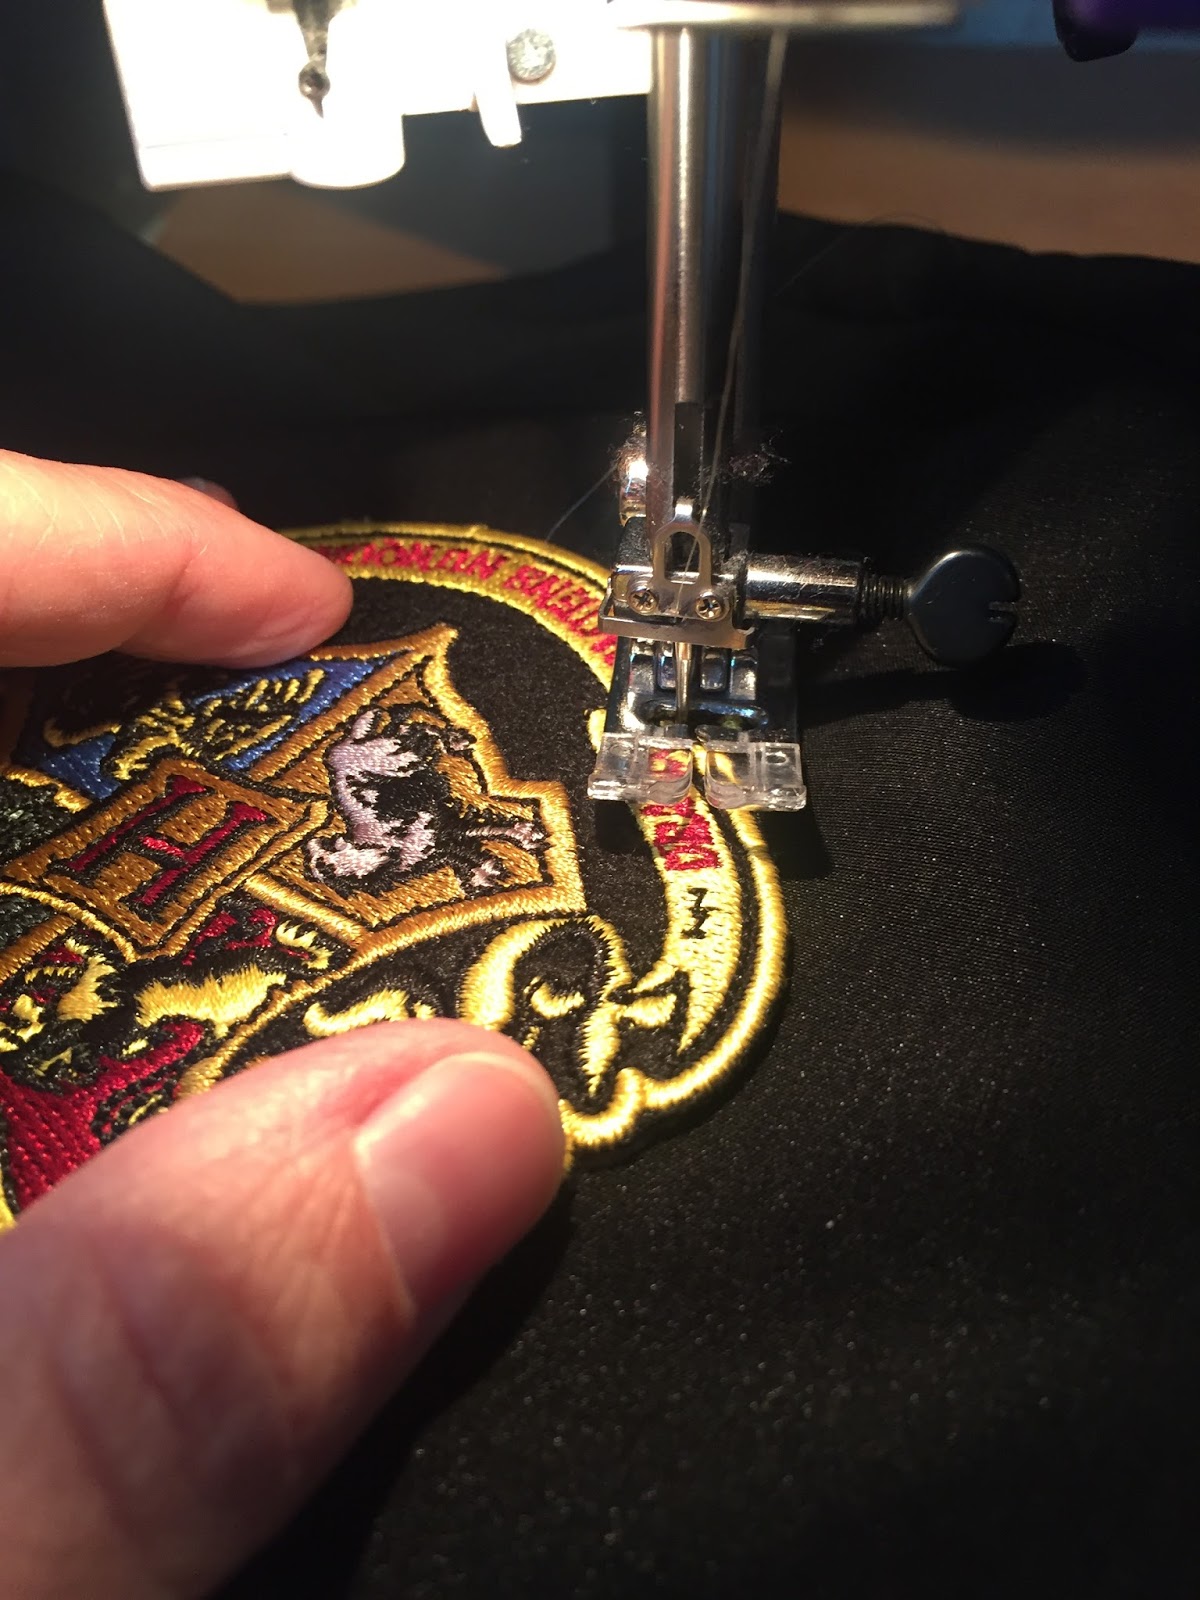
When you're ready to sew, I prefer sewing with a zigzag stitch, set to a narrow width but the regular length. This helps secure the patch back and forth, while also moving you forward. I have found that if I make the stitches too close together, it puts it more at risk for puckering around the edges of the patch.
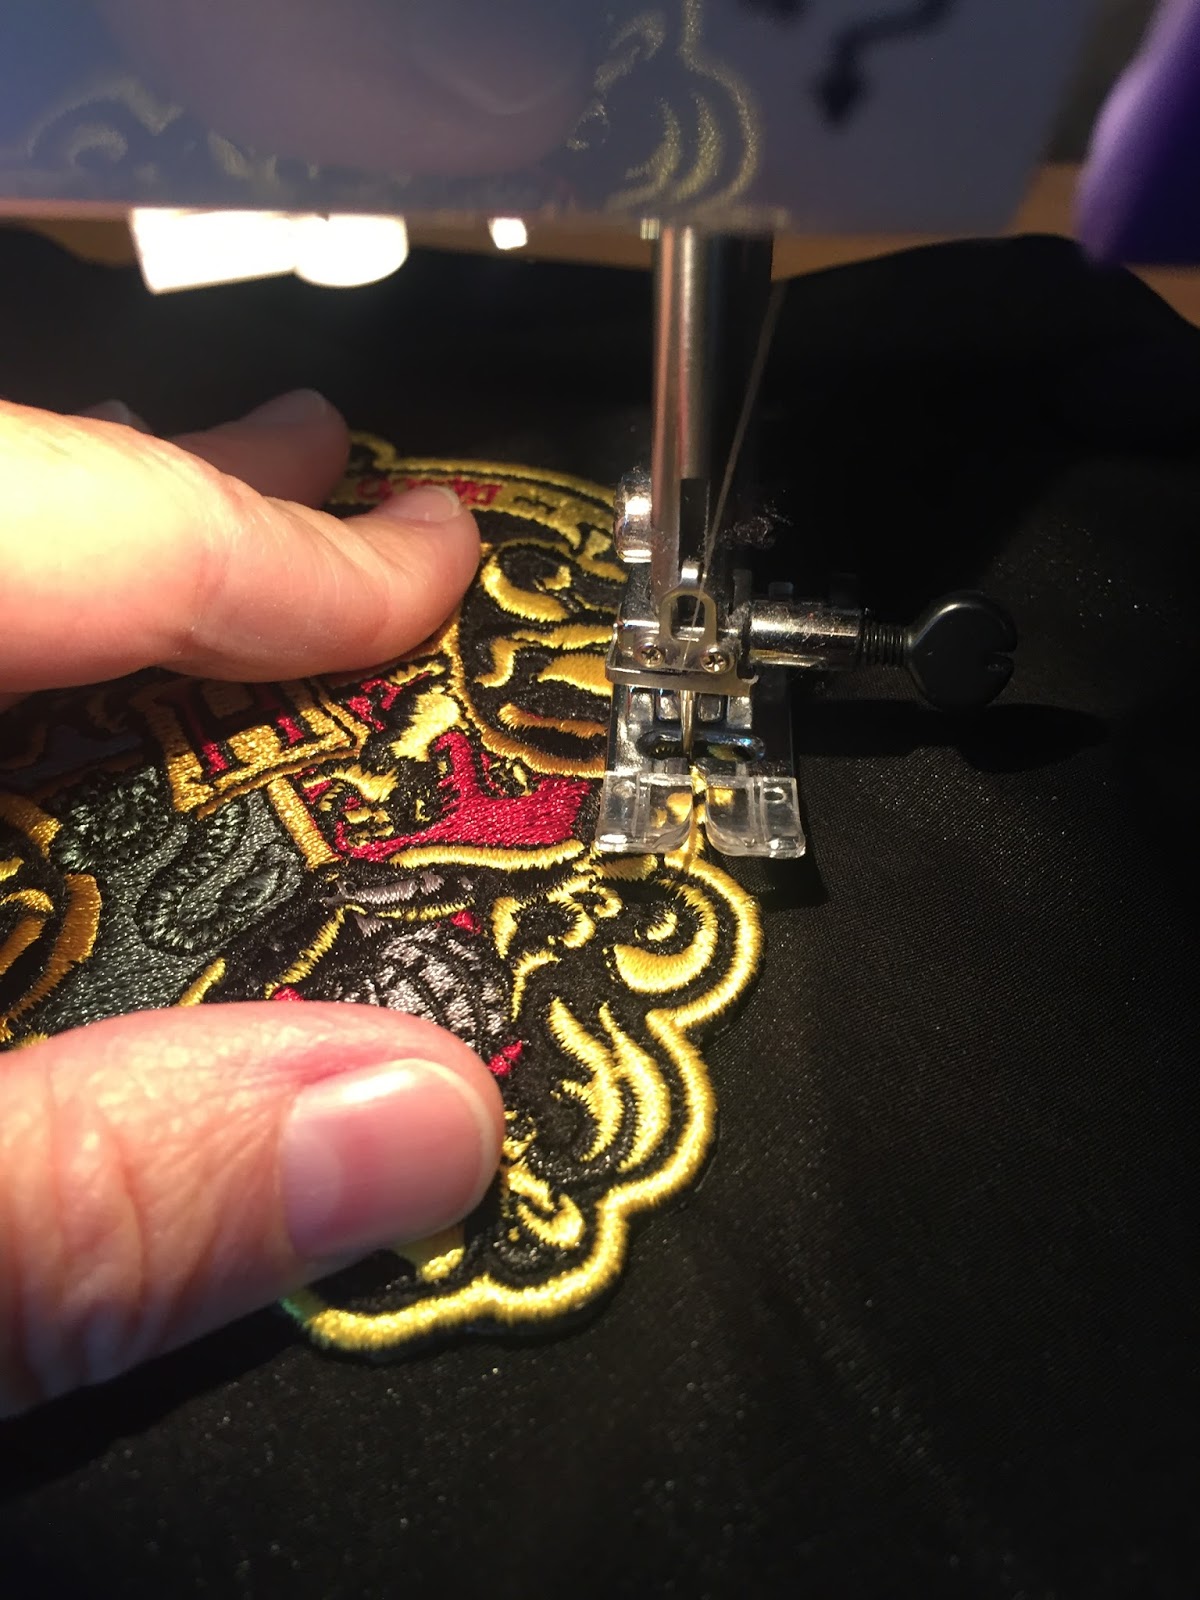
You will want to sew a little bit, end with the needle down, and then rotate the fabric as necessary to follow the curves of the patch. The great thing about the clear thread is that you don't have to sew perfectly around the contours. So you will follow the subtle curves, but don't get too detailed. As long as your stitches come near the edges, it doesn't matter what shape you make. Your zigzags may be visible if you look closely, but they also blend in very nicely. There may be an exception but I haven't found one yet! I have always been happy with this method.
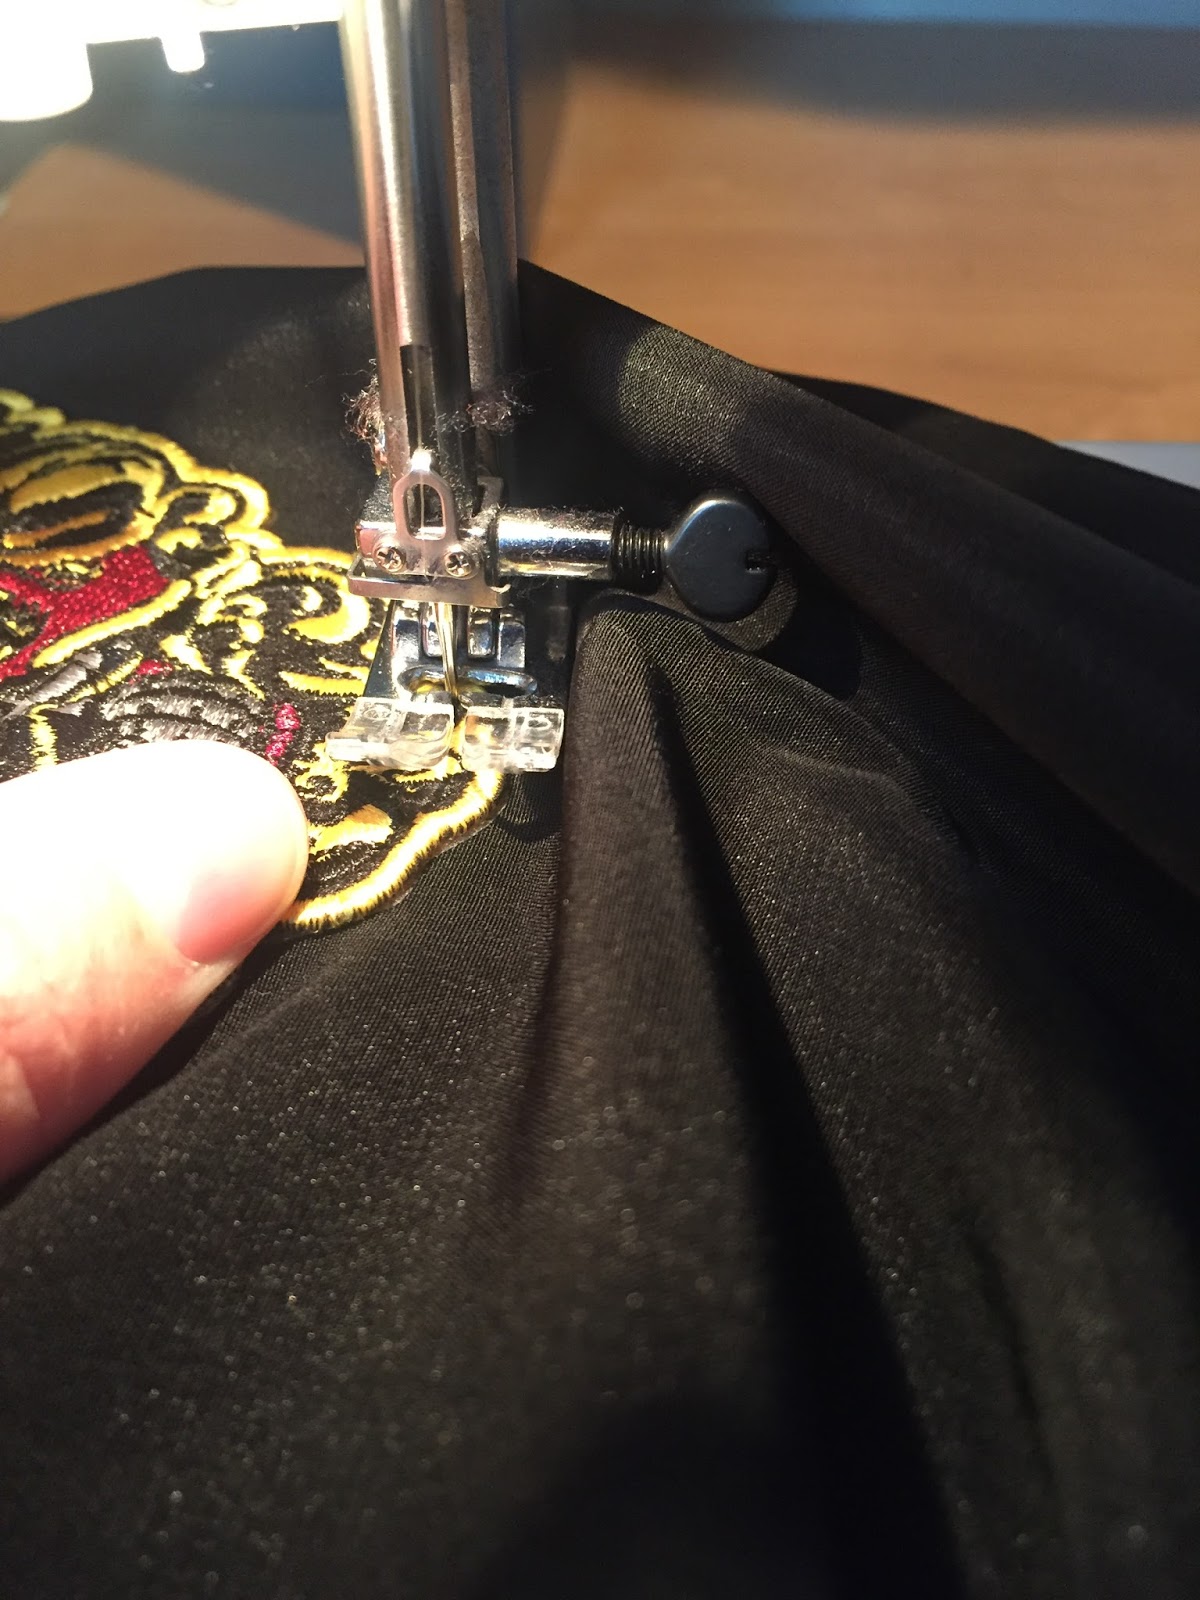
Continue sewing around the patch, being careful to keep the under-layers out of the way and flat too. When you get back to where you started, be sure to backstitch.
Even when you look really close, it's hard to see the stitching! Looks great, right?! If I had used yellow thread and sewn very careful, I still would not have ended up with this flawless of a look.

The back of your patch will look something like this. The fabric shouldn't be puckered or tangled. (Of course, the thread does still have a mind of its own so if it does weird things, trim it if necessary and restitch.)

When I'm done sewing, I always like to lift the patch by its sides and make sure it is secured around all the edges. It shouldn't be wobbly or lift up at all. If it does, go back and sew closer to the edges with your zigzag.

And there you have it! Their Malcolm's robes all turned out awesome. With my four boys I have had lots of practice with all their scout badges, but there's not any reason why you can't get totally great-looking patches your very first time, with these tips.
Let's Create! ~ Kristen
