
Thanksgiving is coming up and the main event for many families is the big meal. When I was young that was one of the few times each year when my mom would have us get out the fancy dishes and silverware to dress up the table for the occasion. It was always so exciting!
Today we have a free project that will help dress up your table for this Thanksgiving or any occasion. Tiffany A. put this tutorial together for us and I absolutely love how it turned out:
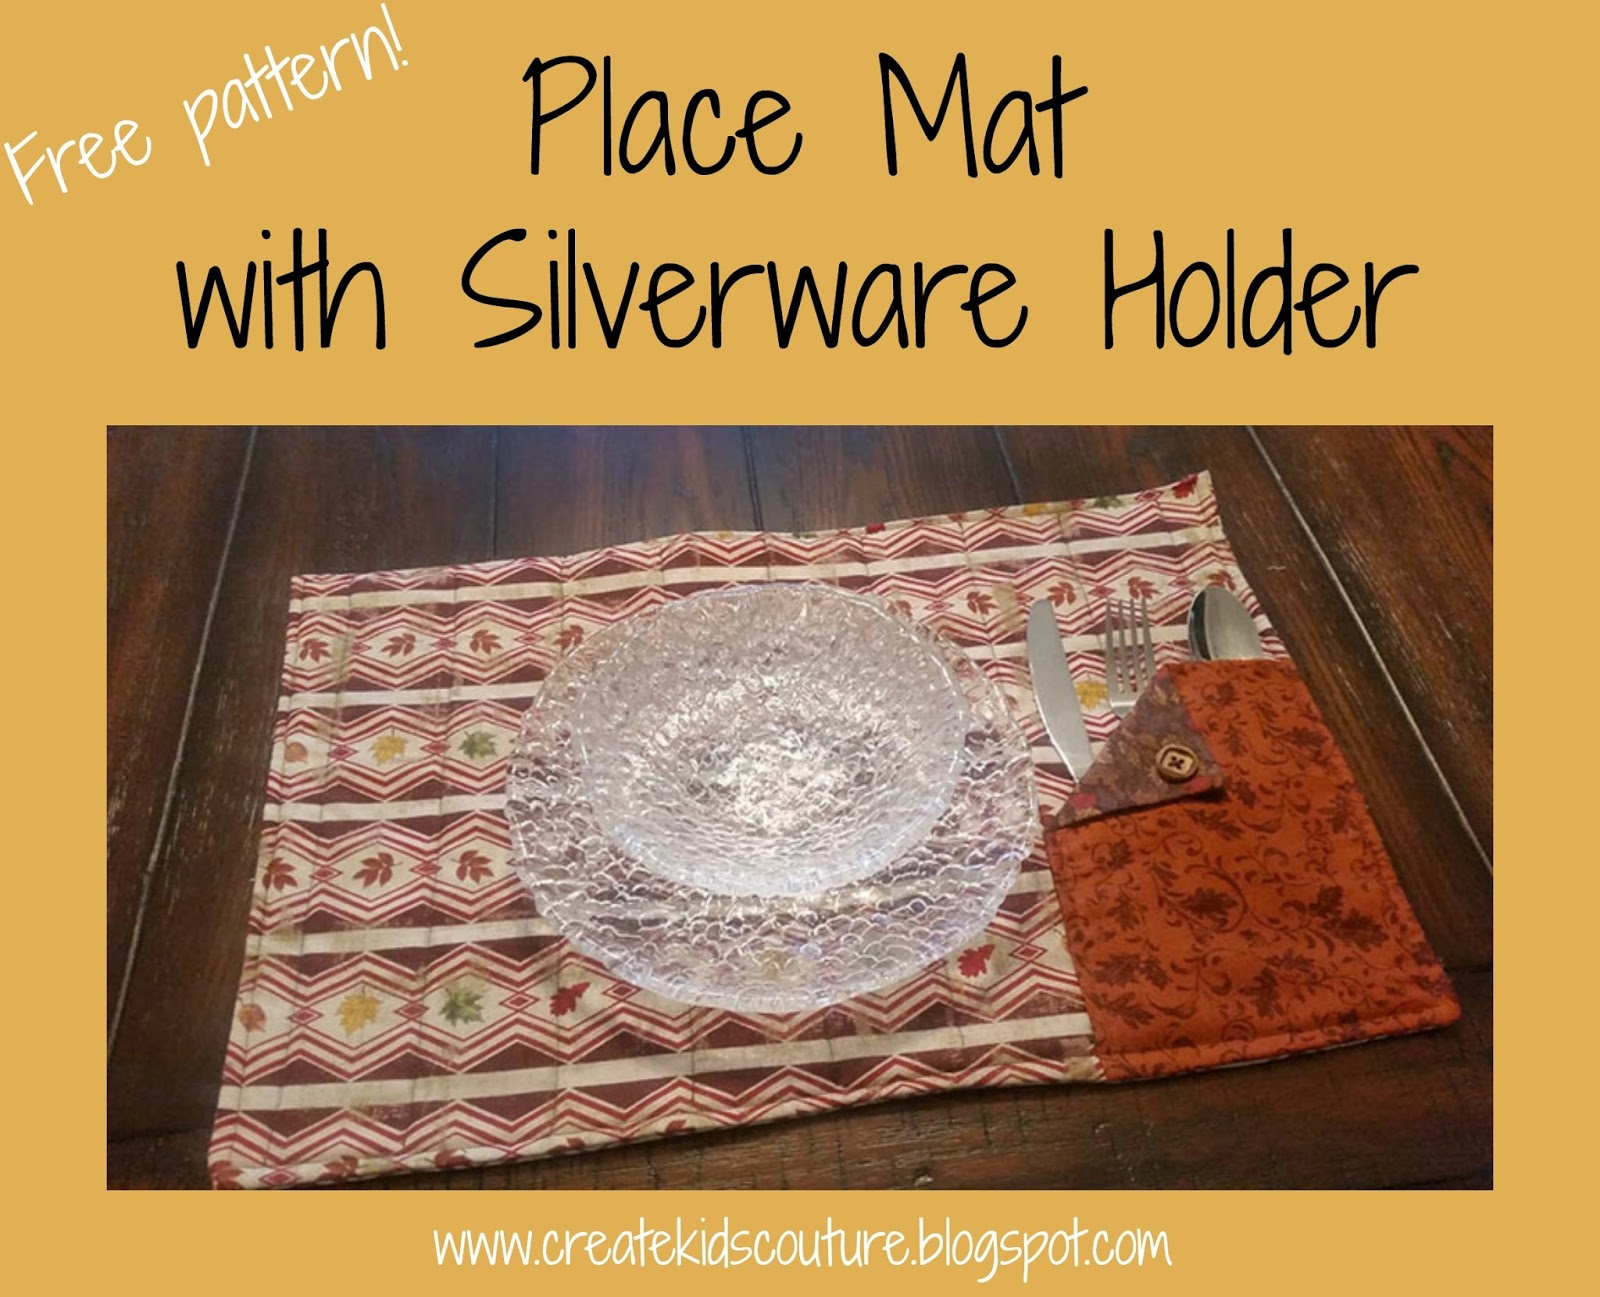
Isn't that cool?! I love how there's even a place for the silverware, tied back with a button. The OCD in me wants to give Tiffany a big hug for doing that! The place mat is also quilted and the seams are fully enclosed, making it a classy piece for your home. The steps look like they're pretty straightforward, so no stress even if you're a beginner! Here's Tiffany with the full tutorial:
Materials Needed to Create 1 Place Mat:
2/3 yard main fabric
1/4 yard silverware holder fabric
1/4 yard reverse side silverware holder fabric
1 button
2/3 yard Quilting Interfacing (Sew-in)
Cut Your Fabric:
Cut 2 of the main fabric, 13" x 19"
Cut 1 of the Quilting Interfacing, 12.5" x 19"
Cut 1 of the silverware holder fabric, 8" x 6"
Cut 1 of the silverware holder reverse fabric, 8" x 6"

Let's begin by measuring out lines across the front of one
of our main fabric pieces. Measure over
from one short side 1.5". Using a
fabric marker, draw a line. Measure over
2" from that line and draw another line.
Repeat across the entire piece of fabric. Set aside for now.

Place your 2 silverware holder fabrics on top of each other,
right sides together. Sew across one short side and one long side as indicated
in red.

Clip the corner and flip.
Poke out the edges with a blunt object and press.

Fold the sewn corner down and press. Then sew on a decorative button through all
the layers of the silverware holder.

Align the raw edges of your silverware holder with the bottom left corner of
your front place mat piece. Pin in place.
Topstitch down the left side of your silverware holder, attaching it to
the top of your place mat piece.

Fold the top of your main fabric piece down 1/2" and
press. Repeat with the second main
fabric piece.

Place the two main fabric pieces on top of each other, right
sides together. Then place the quilting
interfacing on top. You'll need to make
sure the interfacing is scooted all the way to the bottom. Pin in place. Sew across the two sides and
the bottom.

Clip the bottom corners and flip. Using a blunt object, push out all the sides
and corners and press. Topstitch around
all 4 edges of the placemat, 1/8" from the edge.

Remember those lines we drew on the front of our place mat
piece? Now we will simply sew down each of those lines, creating a quilted
effect. And we're done!

Now it's your turn! Tiffany and I can't wait to see how you dress up your table using these place mats. Please come share your finished photos with us in our patterns group when you're done! That's our favorite part of blogging free patterns for you.
Let's Create! ~ Kristen
