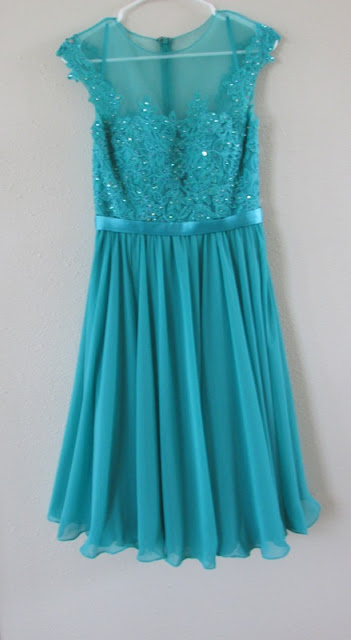
If you've been following our Serging 101 series, you should be coming right along in learning the basics! One of my favorite uses for my serger is a rolled hem on the bottom of a skirt or dress. We already covered how to thread your serger for a rolled hem. Now I will show you how to neatly finish the rolled hem when you get back around to where you started. This will give the bottom of your ruffle or skirt a seamless finish.
Are you ready to get started?
First of all, you will construct your dress up to the point where it needs to be hemmed. This may be an unattached ruffle in your case, or the whole dress with all of it completed except the hem. Either way, you will have a raw edge at the bottom, with the skirt/ruffle already in a tube, as shown below.
(In my case, I am shortening a formal dress to make it into a party length dress for my niece's upcoming contest. When I'm working with a fancy dress that's already costly, I definitely want to make sure the hem comes out fabulous! This dress is satin underneath with a sheer layer over the top. I did a rolled hem on both.)
Now that your dress/ruffle is in a tube and ready for the rolled hem, here's what's next! Please, sit back and enjoy our video:
And that's all there is to it! Not bad at all, right? If you couldn't view the video or if you just want a little refresher of what you watched, here's a quick rundown of the steps:
1- Set the serger settings for a rolled hem. Test the rolled hem on a scrap and adjust as necessary for your fabric type.
2- Create a tail end of the threads to begin.
3- Begin the rolled hem on the edge of the fabric, an inch or two away from a seam.
4- Continue the rolled hem all around the ruffle/skirt.
5- Before you get back to where you started, trim off the extra thread tail.
6- When you get back to where you started, serge barely onto the previous hem and then quickly "drive" off the edge of the fabric, creating a small tail end.
7- Trim the extra thread tail again. Try not to leave any threads.
8- Apply Fray Check to the thread ends of the hem at that point, and let dry.
It turns out beautifully!
Now that you've seen and heard it all twice, you should be all set to begin serging your own! I hope this technique works out as well for you as it does for me. We're really happy with how the dress turned out, and nobody can even tell where the rolled hem begins and ends! That can be our little secret.
Let's Create! ~ Kristen


