
Hello, CKC Family! Ever since the release, I’ve had fans ask how to turn the Danika's dress into a stylish yukata…so today is the day! Follow these super easy steps and you’ll have a cute robe in less than an hour!

Materials you will need:
·
Enough SILKY fabric for a Danika's dress
·
Lace or trim (optional)
·
Scissors
·
Pins
·
Sewing machine

Step 1 – Adding the Sleeve (optional):
After
cutting out the Danika pattern piece, we are going to do a little altering to
the original piece! You may choose to
add some length to the sleeve. This step is completely optional…the yukata
will turn out totally cute with the sleeve design already in the pattern! To lengthen the sleeve while cutting the
front and back pieces, continue the shoulder seam down the amount you want to
lengthen. For this one, I’m choosing
5”. Then you will continue down with a
straight vertical line the width you want your sleeve to be. For this one, I’m doing a wide 12”
opening. Finally, cut from the bottom of
the sleeve back up to the mark for seam placement that is already noted on the
pattern! Ta Da! A new sleeve!

Step 2 – Cutting the Length:
Next,
we are going to cut the length of the yukata.
Measure the distance between the top cut line and dress cut line and
divide by two. Measure down from the top
length that amount and draw a line…this is your new length line. You will want more of a tunic length for your
yukata!

Step 3 – Constructing the Dress:
Once
we have the front and back pieces cut out to our personal preference, we will
now follow the instructions of the pattern following steps 8 and 9. For step 9, you will continue the sleeve seam
as shown in the photo.

Step 4 – Cutting the Front:
Next
we are going to open up the front of the dress.
Find the center of the front neckline and the center of the front hem
and mark with pins. Using a fabric pen
or tailor’s chalk, draw a line from pin to pin so you have a vertical line down
the front. Cut on the line down the
FRONT OF THE DRESS ONLY.

Step 5 – Adjusting the Neckline:
We
are now going to smooth out the neckline.
There is no wrong way to do this!
Starting at the neck curve, you can cut a straight line to the center
front, or you may choose to curve it.
Either way you decide, make sure you do it the same way on both sides of
the yukata.

Step 6 – Hemming:
You
are now going to be doing rolled hems along the bottom, front and neckline of
the yukata, and along both arm openings.
This is easiest with a serger. If
you do not have a serger, you are still able to do it, it will just take a
little longer. To do a rolled hem on a
sewing machine, fold the fabric back 1/4", iron, then turn it back another
1/4", iron and sew 1/8” away from the fold. It’s very simple, just time consuming, but it
is worth it!

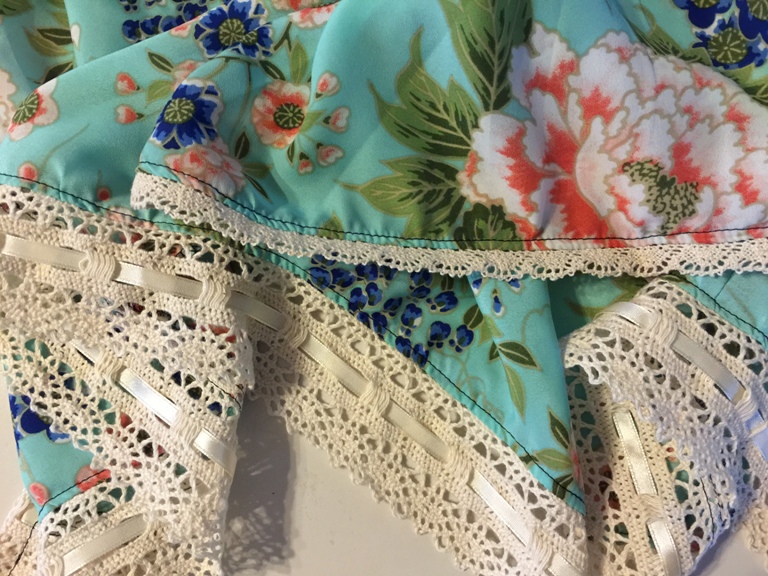
Step 7 – Adding Trim (optional):
You
may choose to embellish your new yukata with lace, bias trim or even a pretty
ribbon! You can sew it to the bottom hem,
around the front and neckline, the sleeves…or all of the above!
And
look at that! You just modified a
fabulous pattern in 7 easy steps! There
are so many possibilities to customize them by adding different lace or ribbon
to the openings or trying different printed fabric! Try that pretty robe on and prepare to feel
amazing!
Be sure to share your Danika's yukata creations in the pattern group!
Love, Kristi
