


Hello everyone! Today I am going to show you how to make TWO
different fabric quilted ornaments. These are such darling little
things!! These ornaments would be perfect for birthdays, Christmas
gifts or a just-because gift for someone special. And the best part of
it is that they only take a small amount of fabric scraps!! Let's begin,
shall we?
Supplies:

There are not many supplies needed for these ornaments. You can
pick up any of these supplies at Walmart, Hobby Lobby, Joanne's,
etc. Don't forget your coupons!!!
1. Fabric: You will need two different prints of fabric (for both of the
ornaments). These can be scraps or if you wish to purchase fabric
for these 1/4 yard of each will be plenty! For the rest of this tutorial I
will refer to these fabrics as fabric A and fabric B. You will also
need a main "center" fabric. This can be a character, team logo,
etc.
2. Styrofoam balls: You will need the 3 inch styrofoam balls. You
can purchase these at Hobby Lobby for $5 and use your 40% off
coupon! Walmart also sells these.
3. Pins: You will need the flat head pins for this project. There are
several different kinds but, the ones I get are the long flat head pins. The shorter ones will not work to well. Joanne's has a pack of 750 for around $5!
4. Scissors
5. Rotary cutter or mat (optional)
6. Ruler
7. Ribbon or fabric cut into strips:
You will need 5/8 inch grosgrain or satin ribbon for the outer shell and bow at the top of the
You will need 5/8 inch grosgrain or satin ribbon for the outer shell and bow at the top of the
ornament. You may also use the coordinating fabric for your outer
shell. We will get to that later on in the tutorial but, you will still
need the ribbon for the bow at the top.
Okay, now that is out of the way....shall we get started? Good!
We are first going to start out making the quilted ornament with the
image in the center.


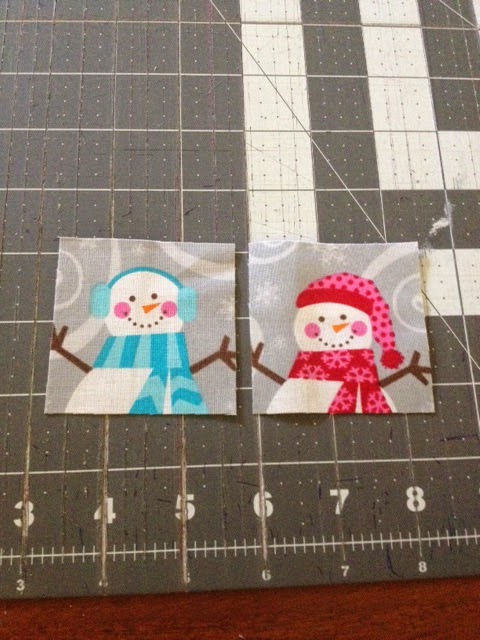
Step One: Pick out your fabric that you would like to use for the
center. This can be any image on your fabric. Characters, team
logos, etc. Don't worry if you may think that it is too big because
you will be cutting it down.

Now take your fabric with the image and cut out the image so that
it is 2 1/2 by 2 1/2 square. Don't worry if you are a little off. It will all
work out in the end! This will be called our center square.
Now take your fabric A and fabric B and cut out in the following
measurements:
Fabric A: Sixteen 2-1/2 inch squares
Fabric B: Sixteen 2-1/2 inch squares

Step Two: Take one of your center squares and place it on the
center of your styrofoam ball. Pin the fabric to the ball in all four
corners.

Step Three: Take one of your fabric A squares and fold it in half
width wise. Use your finger and make a crease along the center.
Now take one of the corners and bring it into the center at the
bottom. Repeat with the other side. Make sure to use your finger to
press the creases well as you go along.


Step Four: Now open up your square. Can you see the center of
the fabric made from your creases? This is much easier to do it this
way than to iron all our squares. If you want to you may iron them
though!!

Take one of your pins and place it in the center of fabric A's square.

Step Five: Now you need your handy dandy ruler! Measure up 1/2
inch from the center bottom of your center square (the fabric square
that is already attached on your ball) and pin your fabric A square on your ball.

Remember how you originally folded your squares? You will repeat
that same process!
Fold your square in half width wise.

Then fold one of your corners into the bottom center. Repeat with other side.

Now put a pin in your center bottom to hold it in place. Now we have a triangle!!

Step Six: Are you still with me? Good! Let's keep going!! Now
repeat Step five all along the four sides of our square.

Step Seven: Take our fabric A square already folded with
creases and pin the square right in the middle between two of
triangles as shown below. Then pin the bottom two corners down.


If you have some fabric that is not laying flat when you are pinning your squares in between triangles,just take your ruler or seam ripper (or whatever you have on hand) and just tuck it in behind the triangle.


Step Eight: Continue pinning your fabric A squares all around till
you have the whole row complete.

Step Nine: We are going to repeat the same process with our
fabric B squares. Measure down 1/2 inch from the top center point of one of the attached fabric A
triangles and pin your fabric B triangle in place, as shown below.


Continue all the way around until your row is complete!

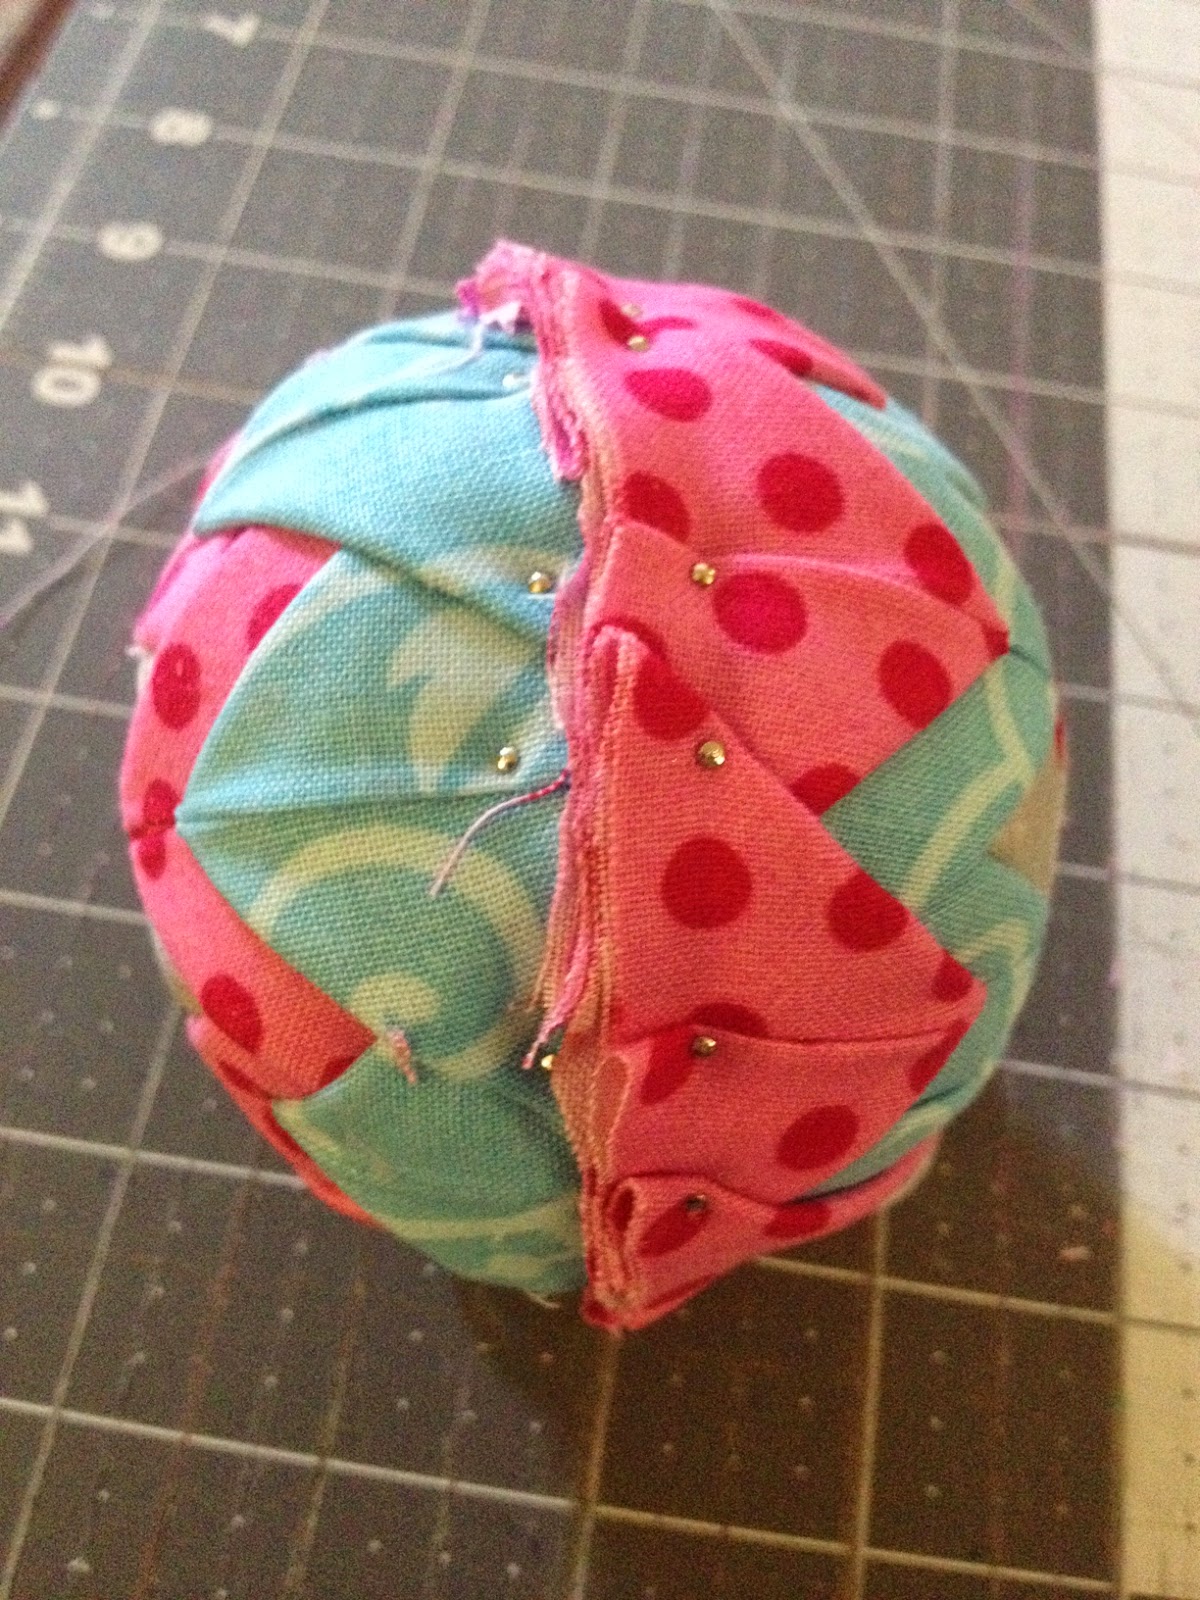
CONGRATULATIONS! You have completed one side of your ornament!!
Step Ten: Repeat steps 2 through 9 for the other side of your
ornament.


Step Eleven: Trim your excess fabric all around the center of your
ball.

Step Twelve: Now we are going to cut our ribbon or fabric for our
center.
For Ribbon: Cut a strip of ribbon 10 inches long. Put a drop of glue in the center
top of your ornament. Now glue your ribbon to the ball. Wait a few
seconds to make sure the ribbon is secured on the ball. Now pull
your ribbon tightly all around the ball until we reach the center
where we started. Glue the end of the ribbon on top of the
ribbon where we started. Cut off any excess ribbon we may have.


For Fabric: Cut a strip of fabric 2 inches wide. We are now going to iron our
fabric like we do basis binding. Iron your fabric in half length wise.
Now iron one side of your fabric into the center crease. Repeat with
the other side. Now iron in half again.


Now follow the ribbon instructions above for gluing on your fabric strip around your
ornament center.
Step Thirteen: If you have any visible pins after gluing our center
ribbon/fabric on, just move the pins under the center ribbon/fabric
so they are no longer visible.


Step Fourteen: Now we are going to cut the ribbon for our bow.
Cut 4 strips of ribbon 8 inches long and one strip 6 inches long.
Fold one of our 8 inch strips of ribbon in half.

Unfold and put a drop
of glue in the center of our ribbon. Now fold one end to the center...

... and repeat with the other. Now we have the start of little bow!

Repeat with the other 3 ribbon strips.
Step Fifteen: Now glue our 4 ribbon bows on top of each other,
criss-crossing as we go to form a bow!


Step Sixteen: Take our 6 inch ribbon strip and glue it together in a
circle.

to the top center of our ornament and WOW you are now done with
your quilted ornament!!!!

Wasn't that easy? It might seem a little tricky at first but, I swear you
will get it quickly. If along the way you do not like the way it is
coming out...just undo the pins and start over!!
Now let's talk about the second quilted ornament!

Step One: Cut our fabric A and fabric B to the following
measurements:
Fabric A (this includes our center) 26 2 1/2 inch squares
Fabric B 16 2 1/2 inch squares
Step Two: Place one our fabric A squares in the center of our ball.
Pin in all four corners.

Step Three: Fold our fabric squares the same way we did in the
earlier tutorial, press with your fingers, and then unfold.
Now place one of our fabric A squares on top of the square we
have already pinned to the ball. Make sure to line up with the
corners.

Re-fold into the triangle shape, keeping the top point in the center of the ball, and pin in place.

Step Four: Repeat step three 3 more times to form the center
Step Four: Repeat step three 3 more times to form the center
of our ball.

Step Five: Now measure down 1/2 inch on one of the triangles
and pin in place.

Now follow steps five through sixteen from the first ornament above and then you're done!!!

WHEW!!! That was a lot but, I hope the pictures and my steps will
make it easy for you to make these beautiful ornaments!! Thank
you for this chance to share this tutorial with you!