
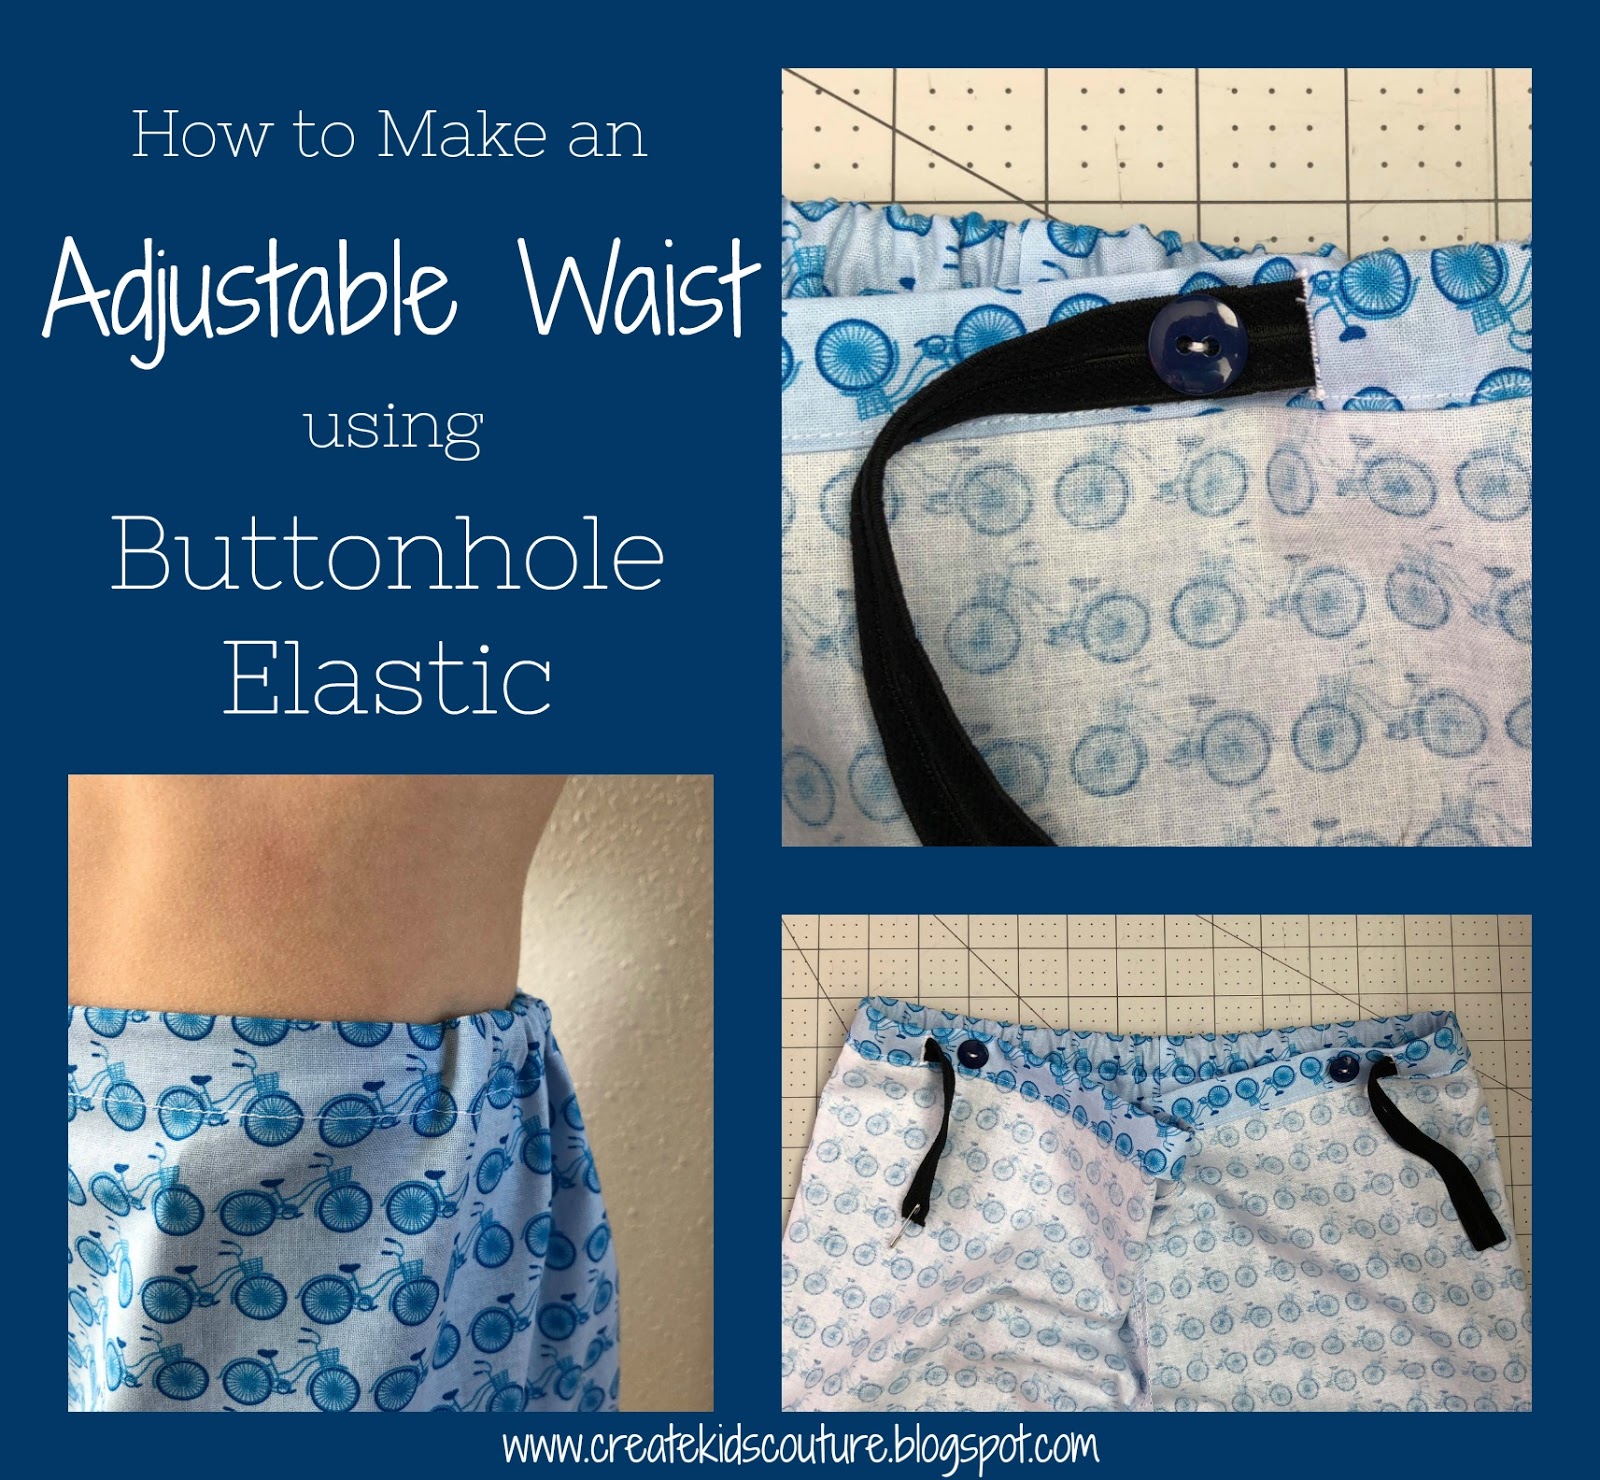
One of the features I have always looked for on my kids' storebought jeans is the awesome adjustable elastic on the inside of the waistband that gives the perfect fit no matter what body type they are. (My kids are all different!) Plus, you'd never know by looking at the outside of the jeans that they have hidden elastic to help keep the pants up without a belt. It's fabulous!
I'm not here to sell you on that kind of jeans though. I'm here to tell you that you and I can build it into any of our kids' homemade clothes too! In fact, I'll show you right now:
This technique will work on various types of waistbands. The one I'm showing you today is a standard folded-casing waistband. If you're making something that use a separate waistband, you simply make the waistband, determine where you want the elastic to come out, and add the buttonholes there before closing it up. That will make more sense as we go through the tutorial.
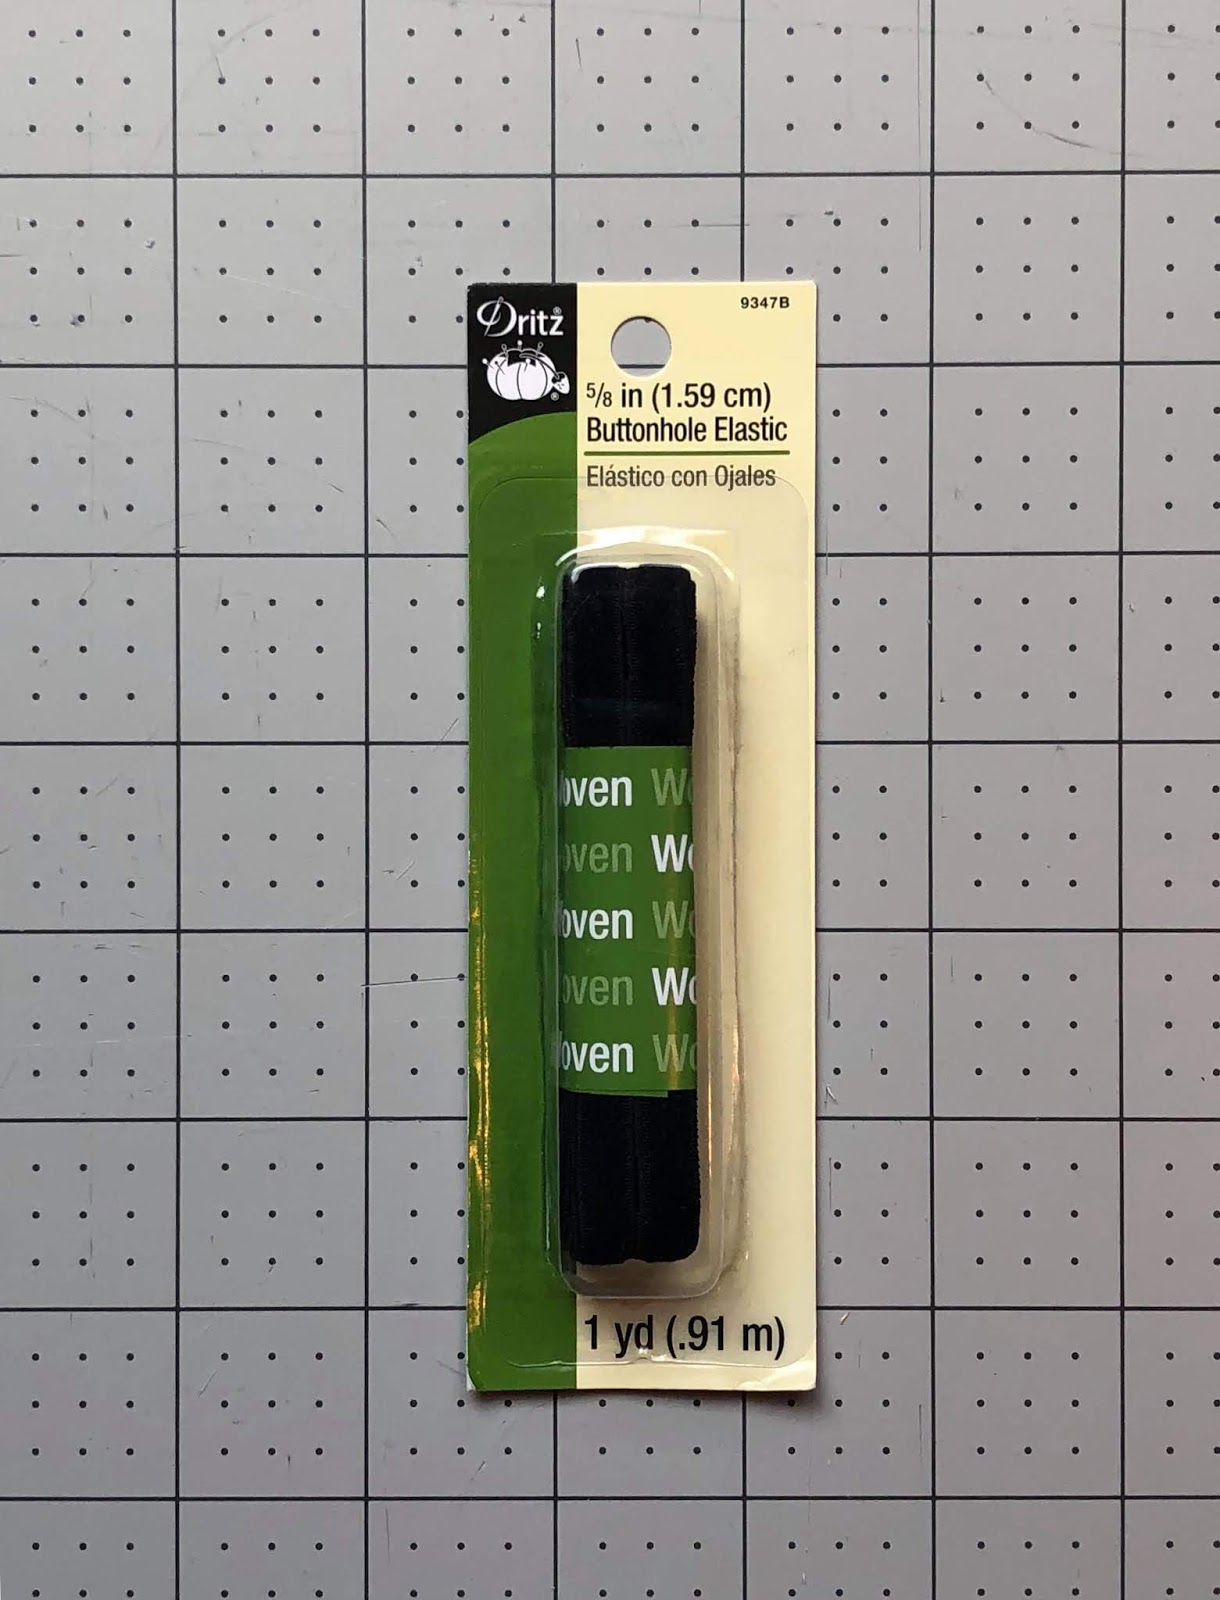
First, you need to get some buttonhole elastic. I have seen it at most fabric stores in various colors, usually white and black. You could even upcycle some out of your kids' old jeans!

The buttonhole elastic is exactly that -- it is stretchy elastic that has buttonholes spaced at intervals. This makes it possible to attach the elastic to a button at whatever length you need it to be, on both ends.
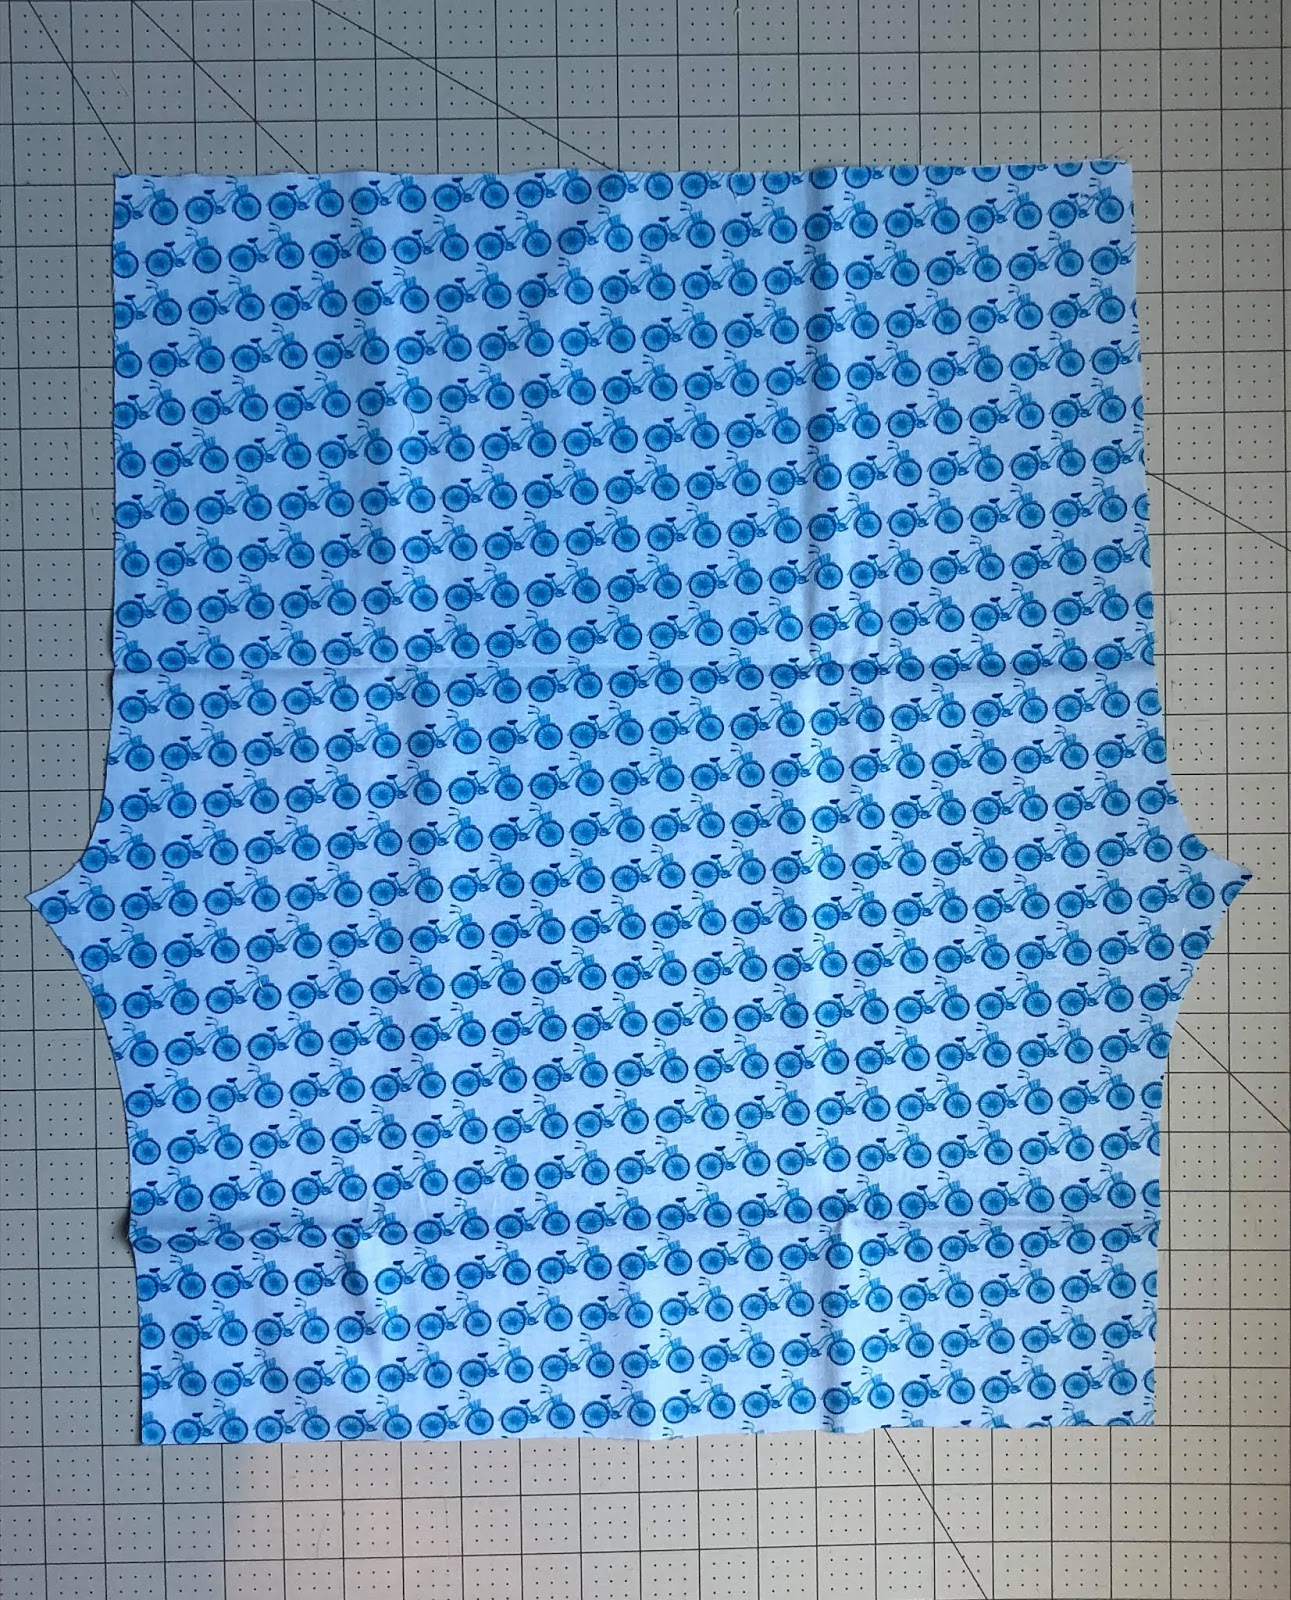
Next, you'll need the usual pattern and fabric for whatever you're making. This works on shorts, pants, skirts, capris, or anything else that has a waistband!
Go ahead and cut out the fabric as instructed in your particular pattern. You don't need to make any adjustments.

Do the usual construction up to the point of the waistband. I even went ahead and hemmed my shorts right away. All that changes is the waistband.

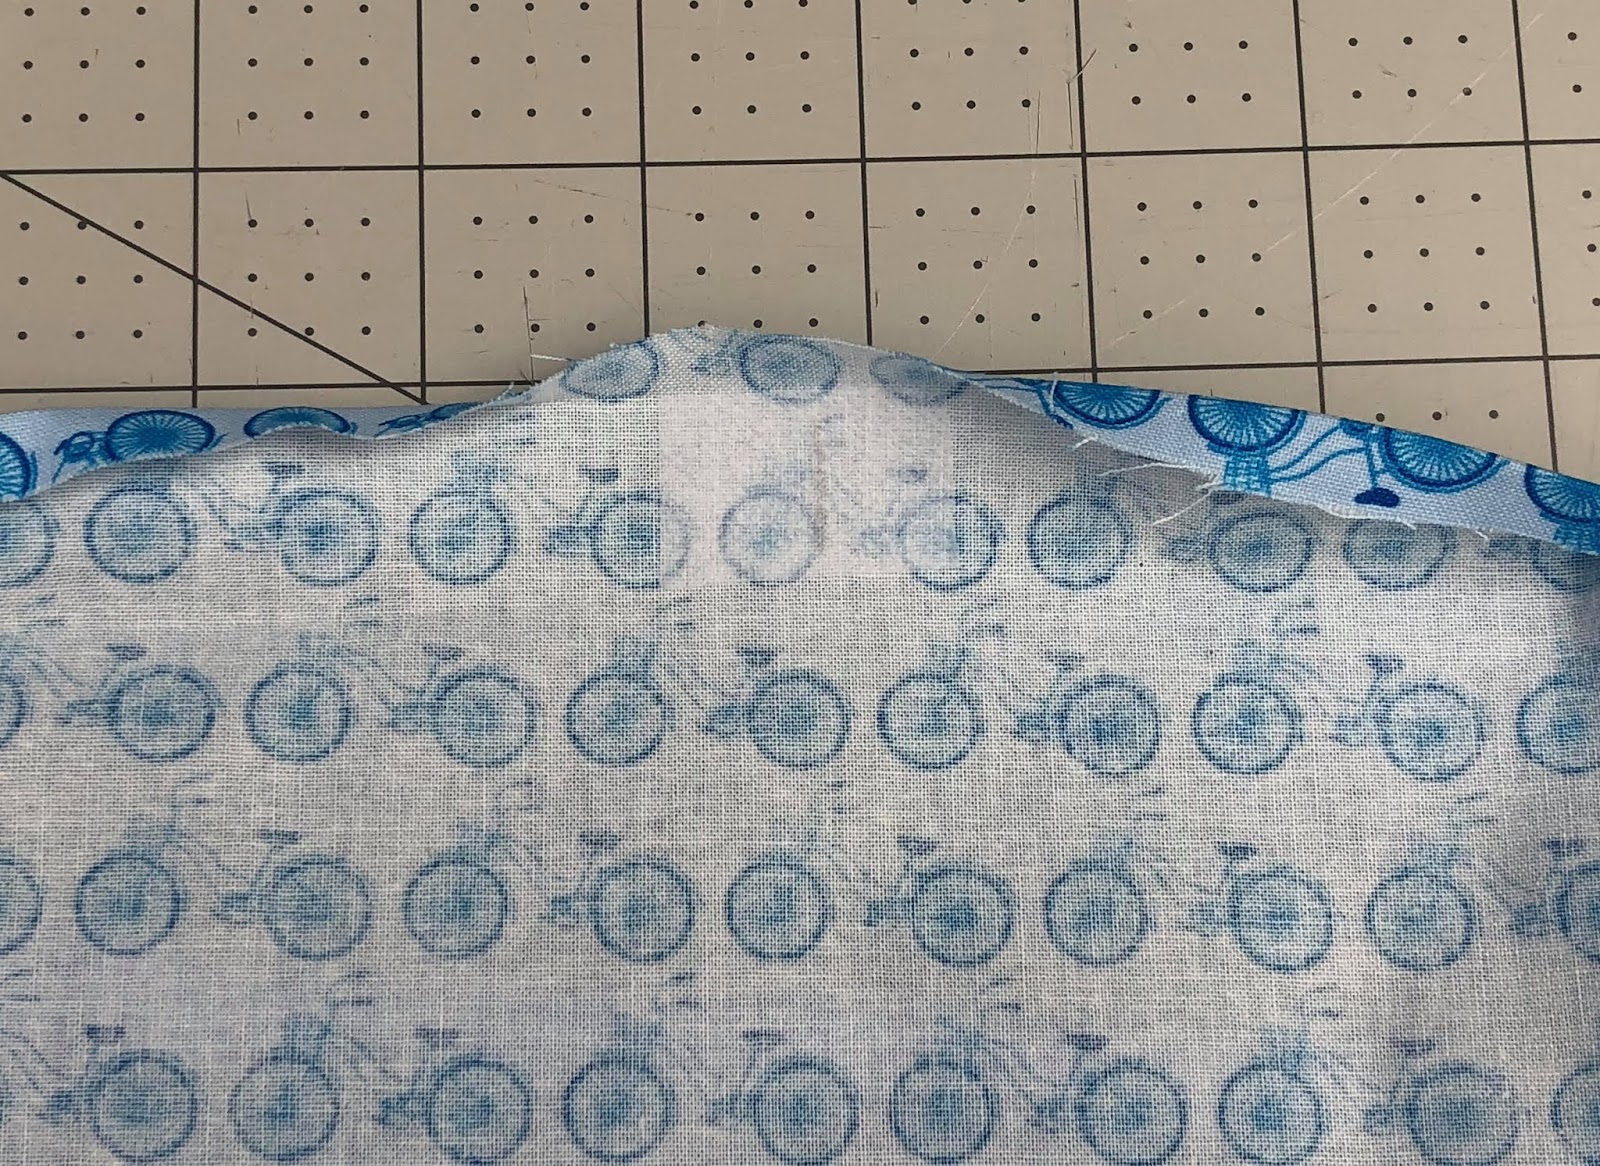
Now prepare the waistband as you normally would. In my case, I folded the top edge down 1/4" and then 1" and ironed and pinned in place. See photo above.
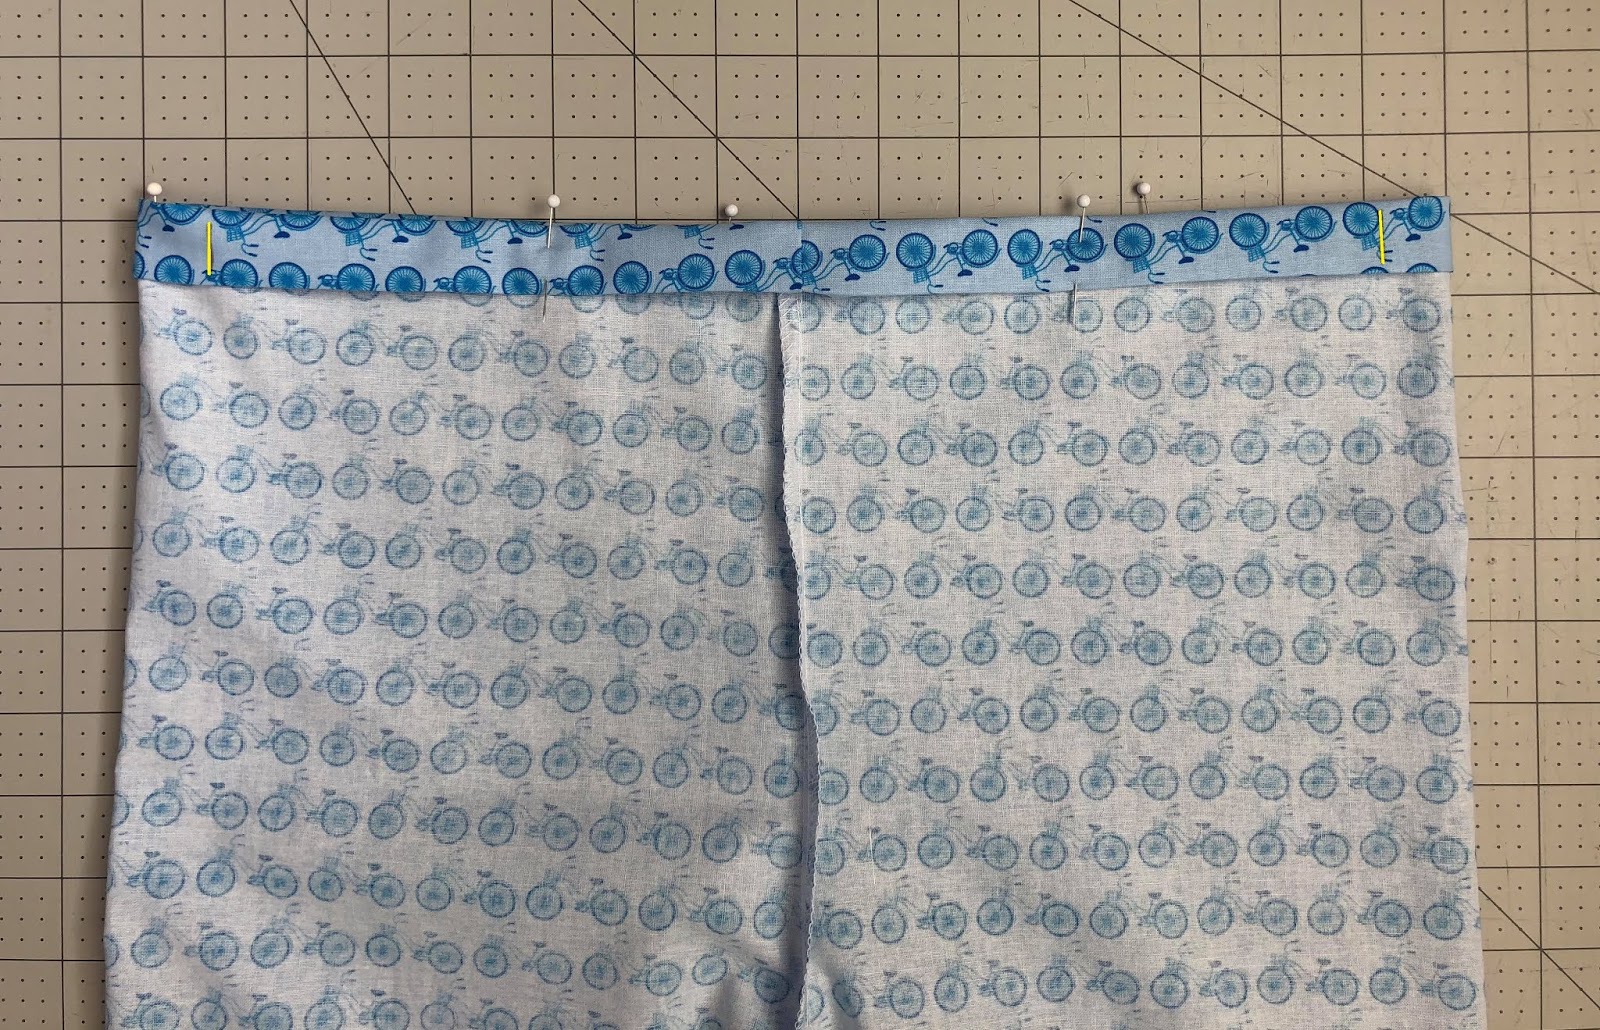
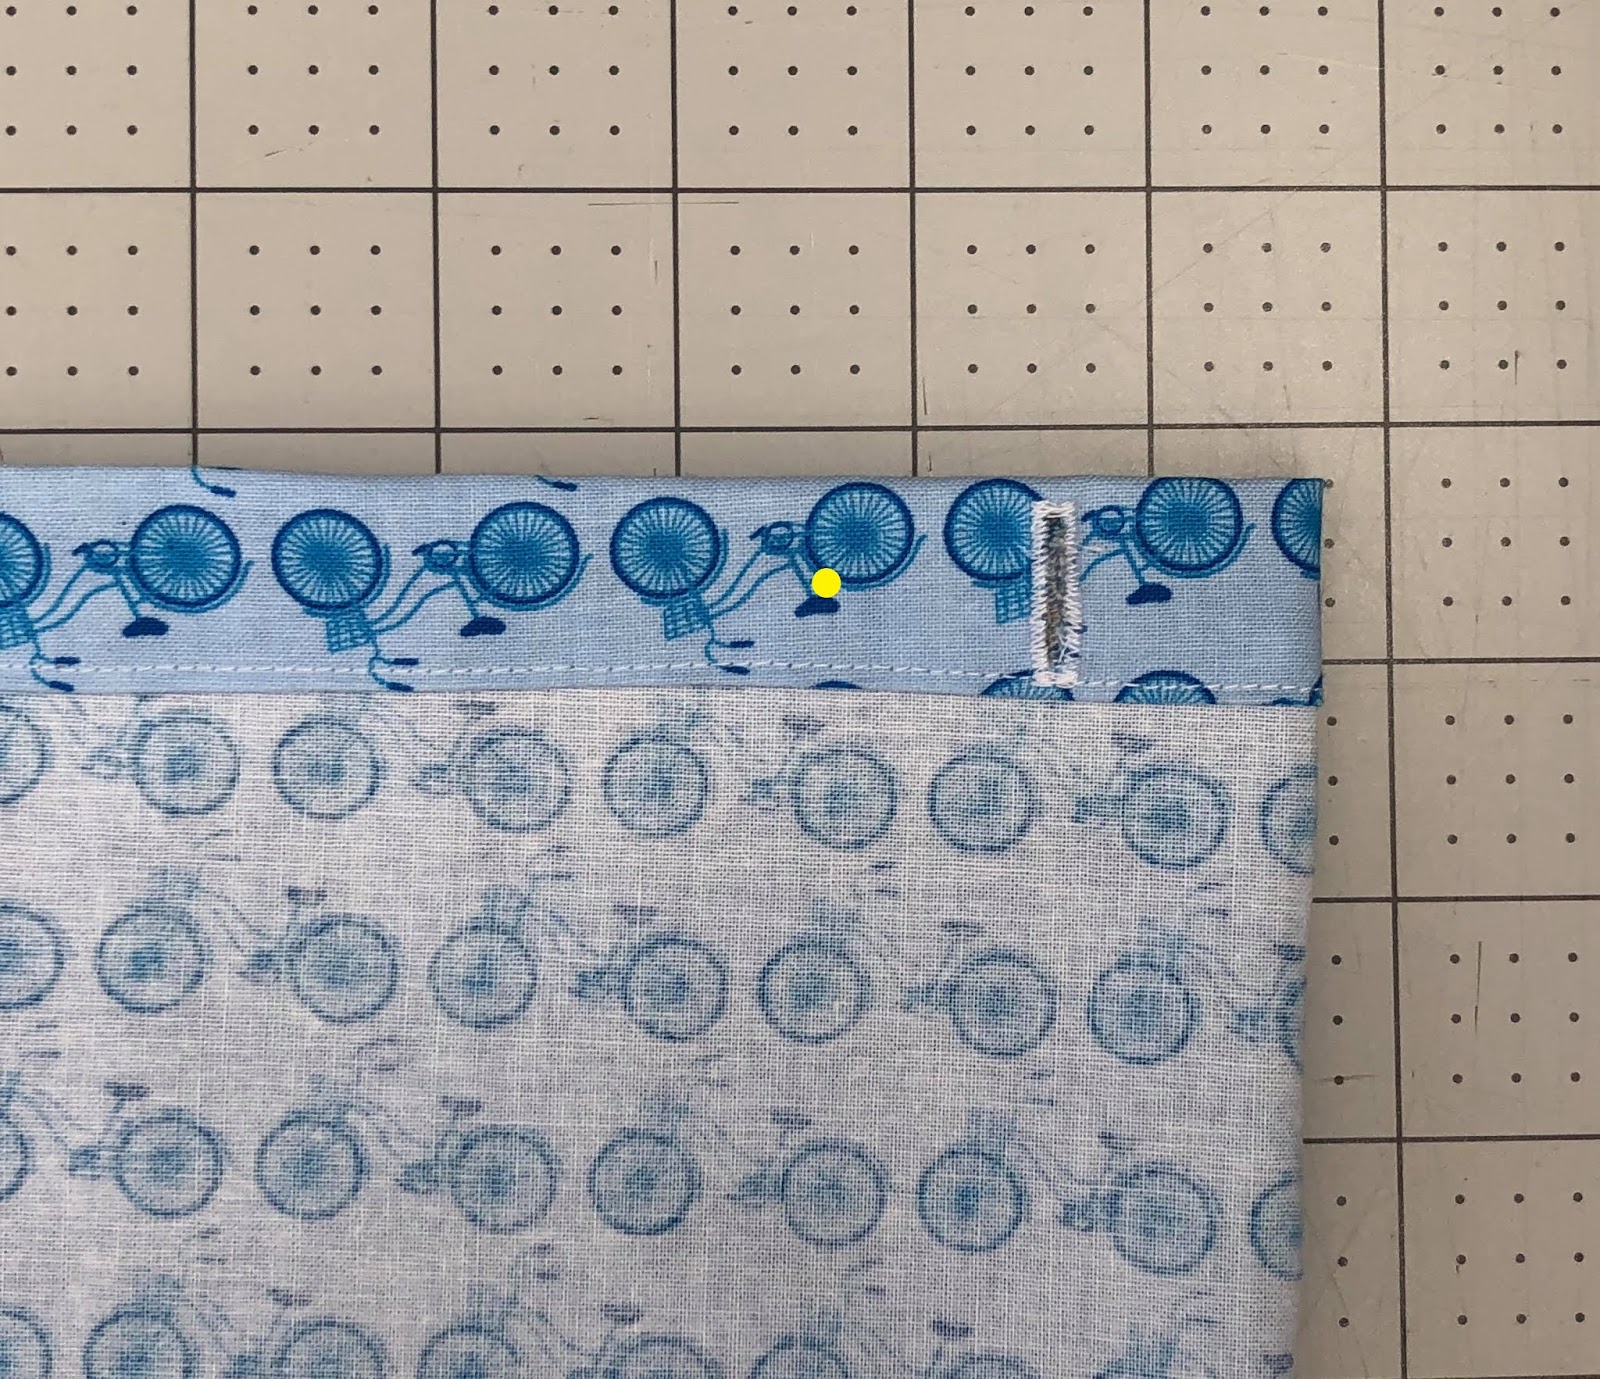
Here's where the modification comes in! You are going to mark on the waistband where you want the two buttonholes to be. (Note: The buttonholes are not for the buttons to go through -- they are for the elastic to feed through!) To do so, lay the shorts out flat, wrong side out, with the front of the shorts facing up. Find the side of the shorts and measure in 1" toward the center. Mark a vertical line on the casing at that point. Then do the same on the other side. See the yellow lines in the photo above.
Remove the pins near the markings and open the casing. Add a rectangle of fusible interfacing on the wrong side of the fabric, right behind where the buttonhole will be. It should be about 1" x 1" or whatever fits inside your casing. Use an iron to adhere it. Repeat on the wrong side of the other buttonhole marking. This fusible interfacing will make the buttonhole more sturdy.
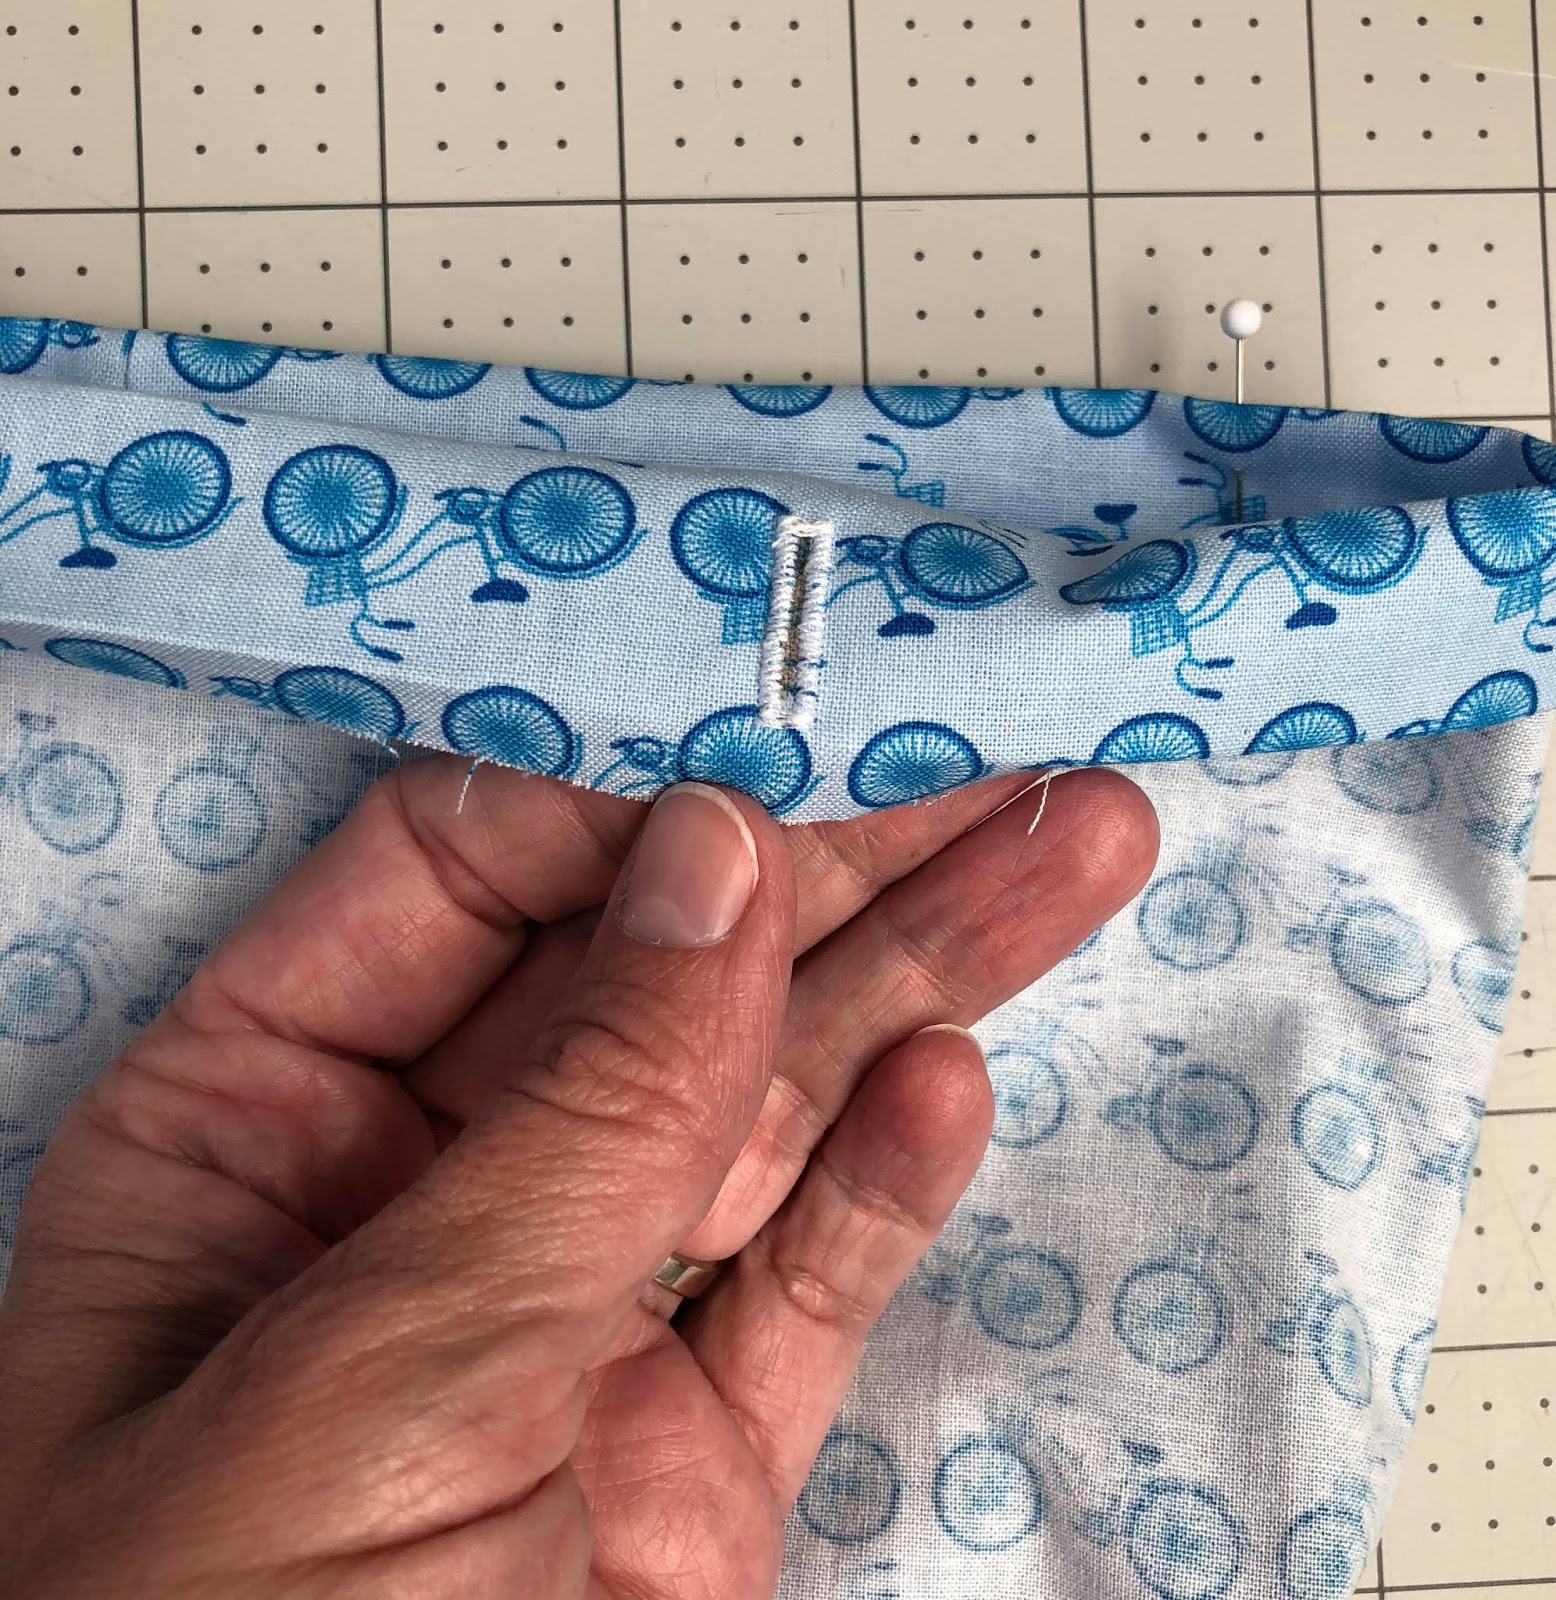
On the right side of the fabric, sew a vertical buttonhole* on the line you marked earlier. It should fit within the casing. On my 1" casing I made a 3/4" buttonhole. The exact size doesn't matter as long as your elastic fits through it. Repeat on the other marking you made.
*If you have never made a buttonhole before, you may find this blog post helpful (click here).
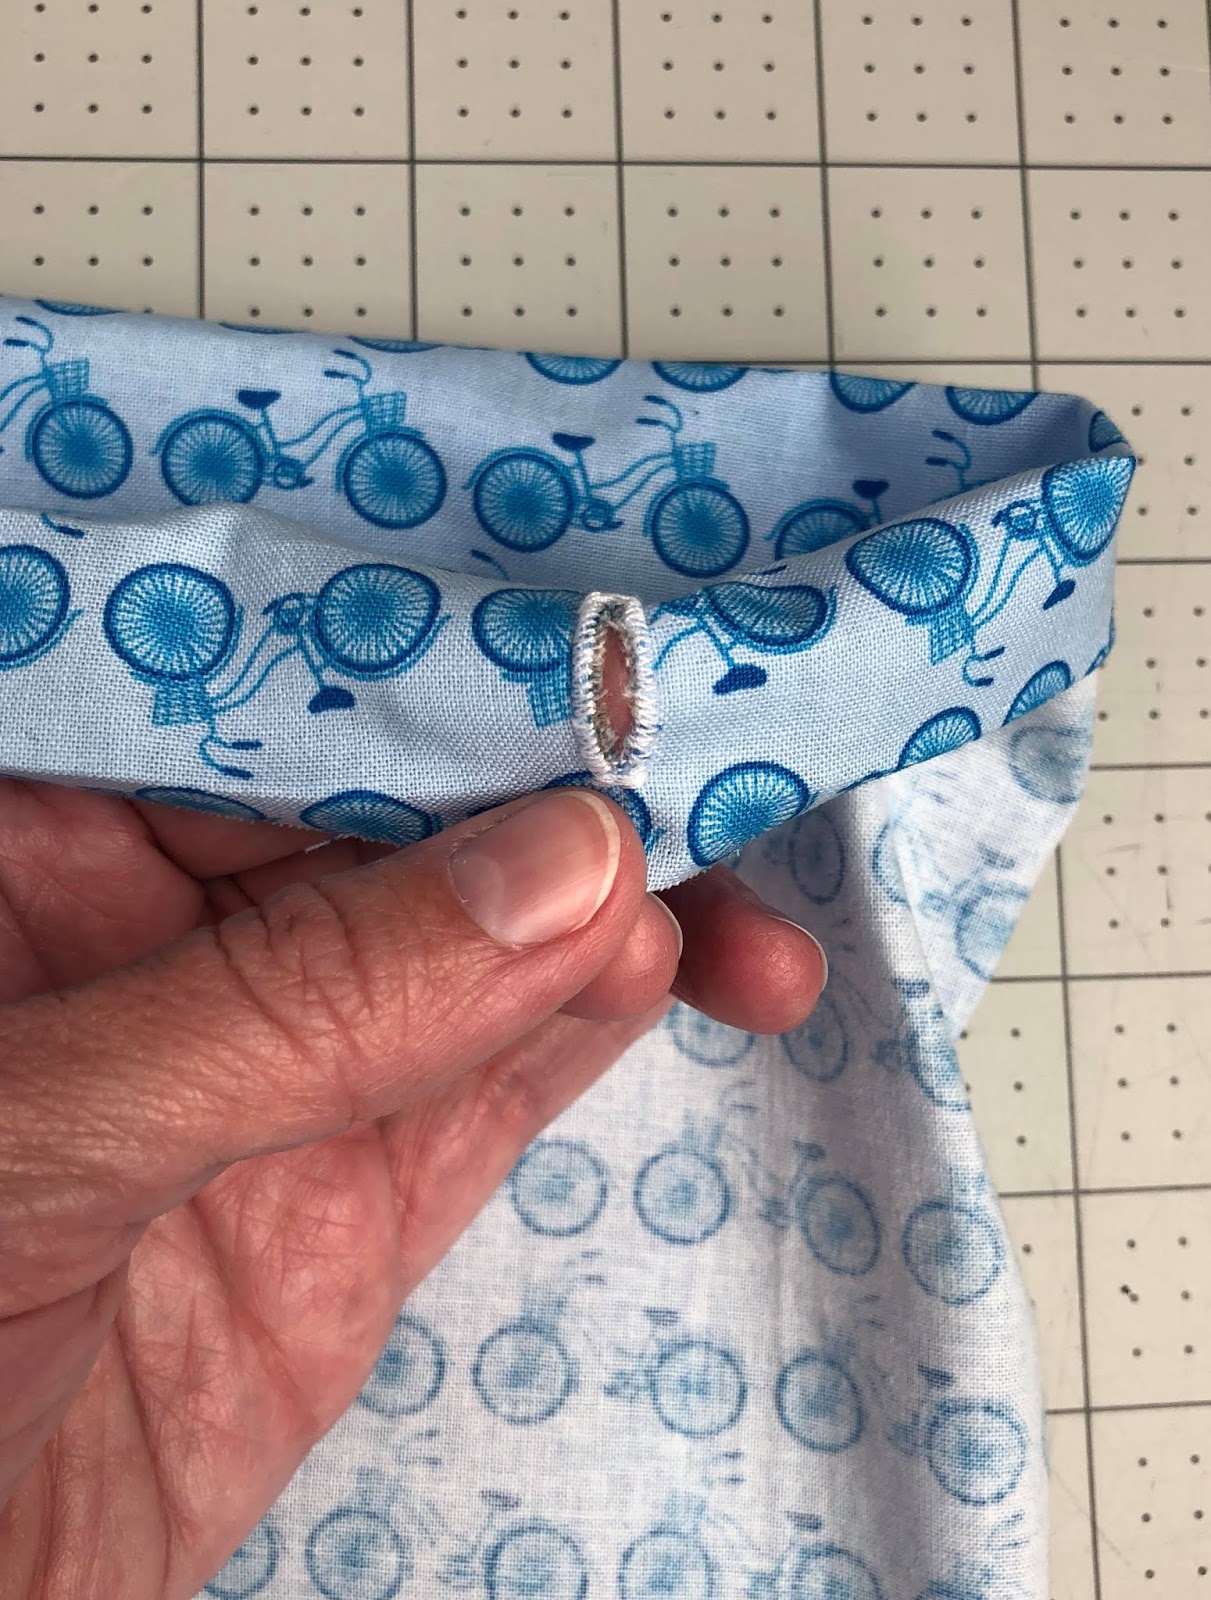
After making both buttonholes and making sure they are in the appropriate places, go ahead and open them using a seam ripper or snipping scissors. (You will find helpful tips at the same buttonhole blog post linked above.)
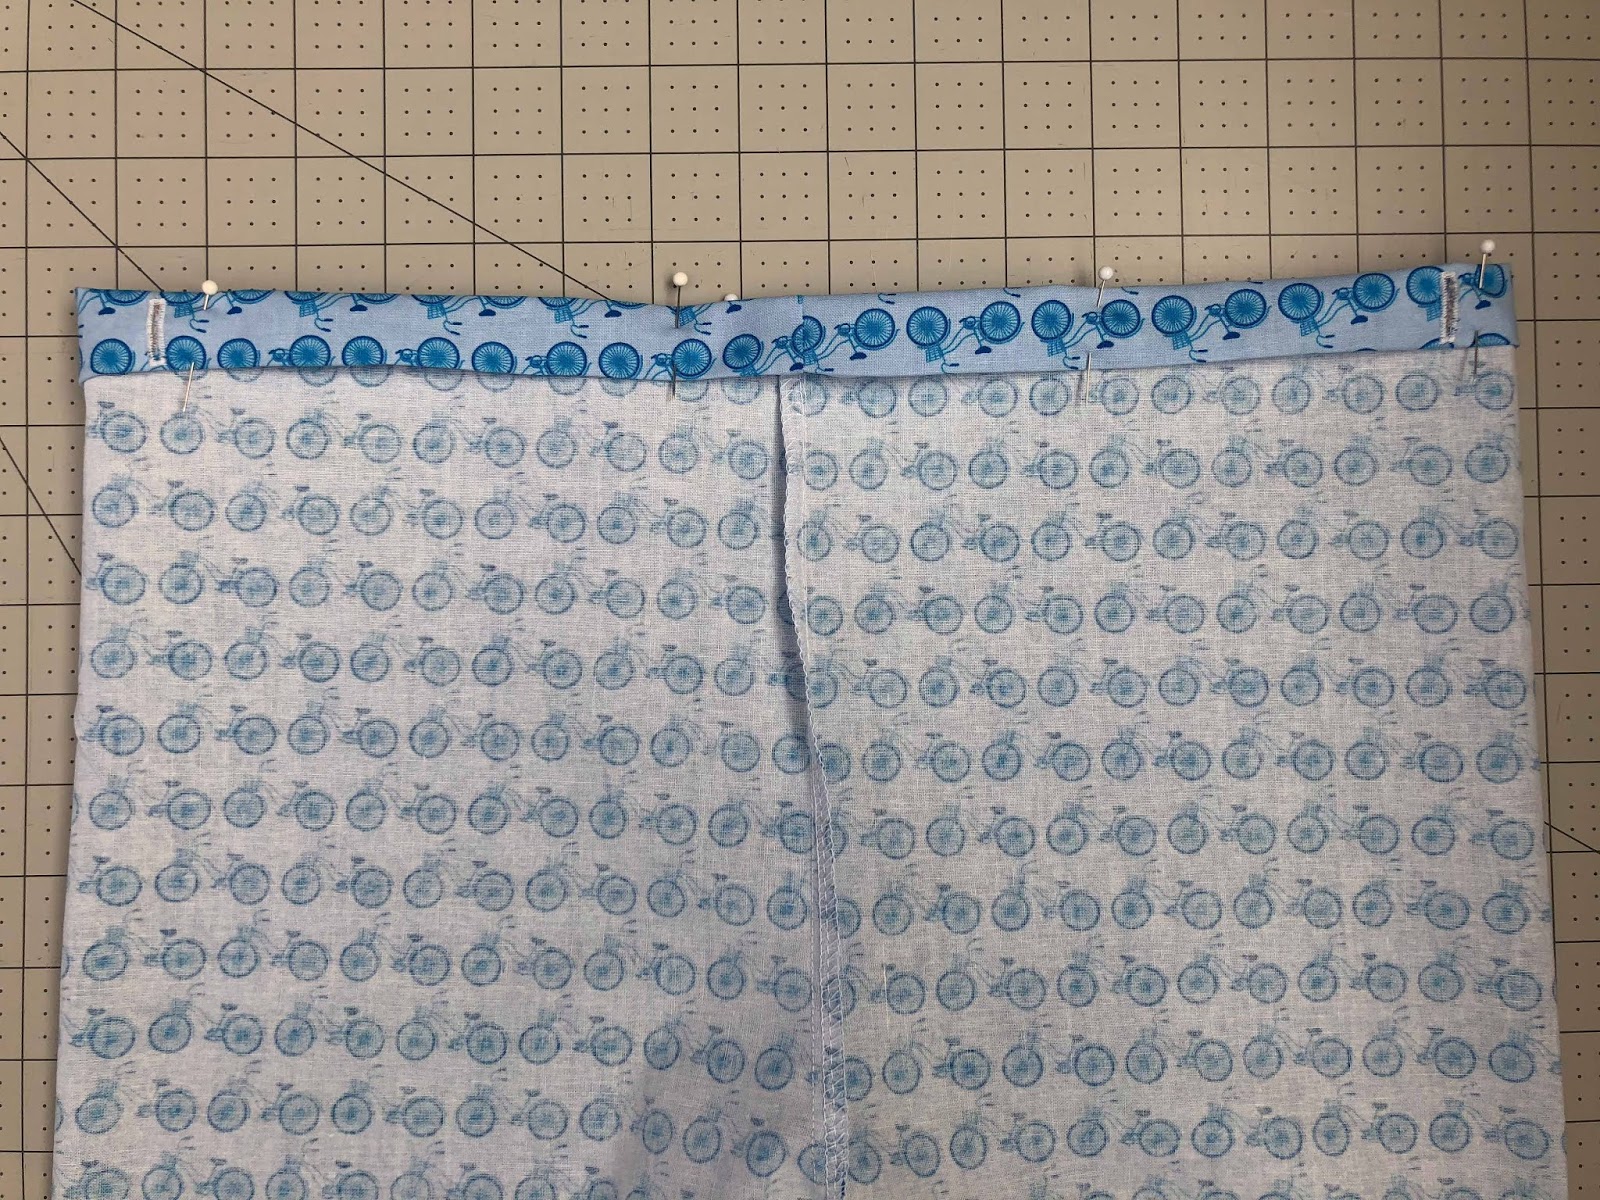
After completing the buttonholes, fold your waistband back to where it was and pin in place. Then sew the waistband/casing according to your pattern instructions. However, you do NOT need to leave an opening to insert elastic, because you will be inserting it through the buttonholes you just made.
With the outfit still wrong side out, lay it on a flat surface. Starting at one of the buttonholes, measure 1" toward the center front and mark a dot at that point. See yellow in photo above. Repeat with the other buttonhole, again measuring toward the center front.

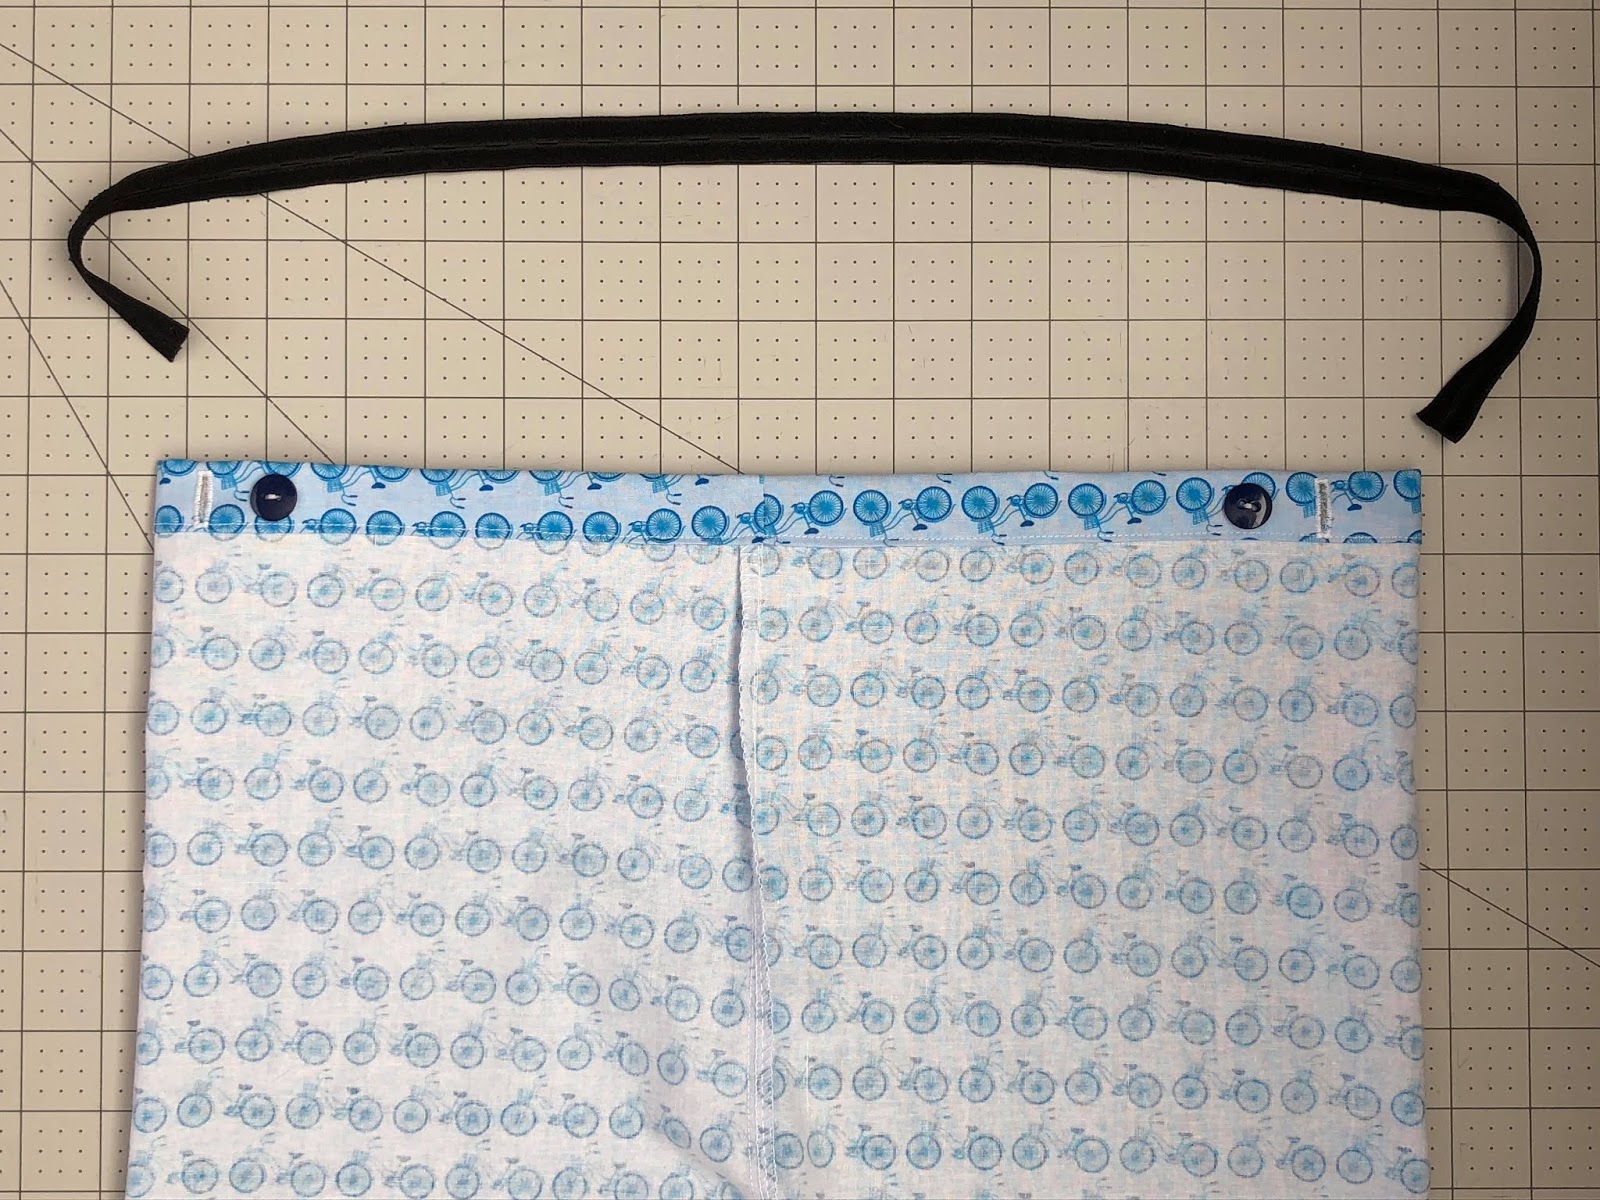
Sew a button on each of the two dots you marked. Be sure to use buttons that fit through the buttonhole elastic!
Note: When sewing the buttons, you can either go through both layers of the waistband, or you can sew through just the top layer. Sewing through both layers would be a little more sturdy, but I prefer not having the stitching show on the outside, so I sewed the buttons through just the top layer of the waistband casing.
Take the buttonhole elastic and cut it to the length you want. The package recommends measuring the distance it will cover around the back of the shorts and adding 5" to that. Don't be afraid to err on the side of extra length. Even if it is longer than you need at first, it's very easy to trim the buttonhole elastic later.
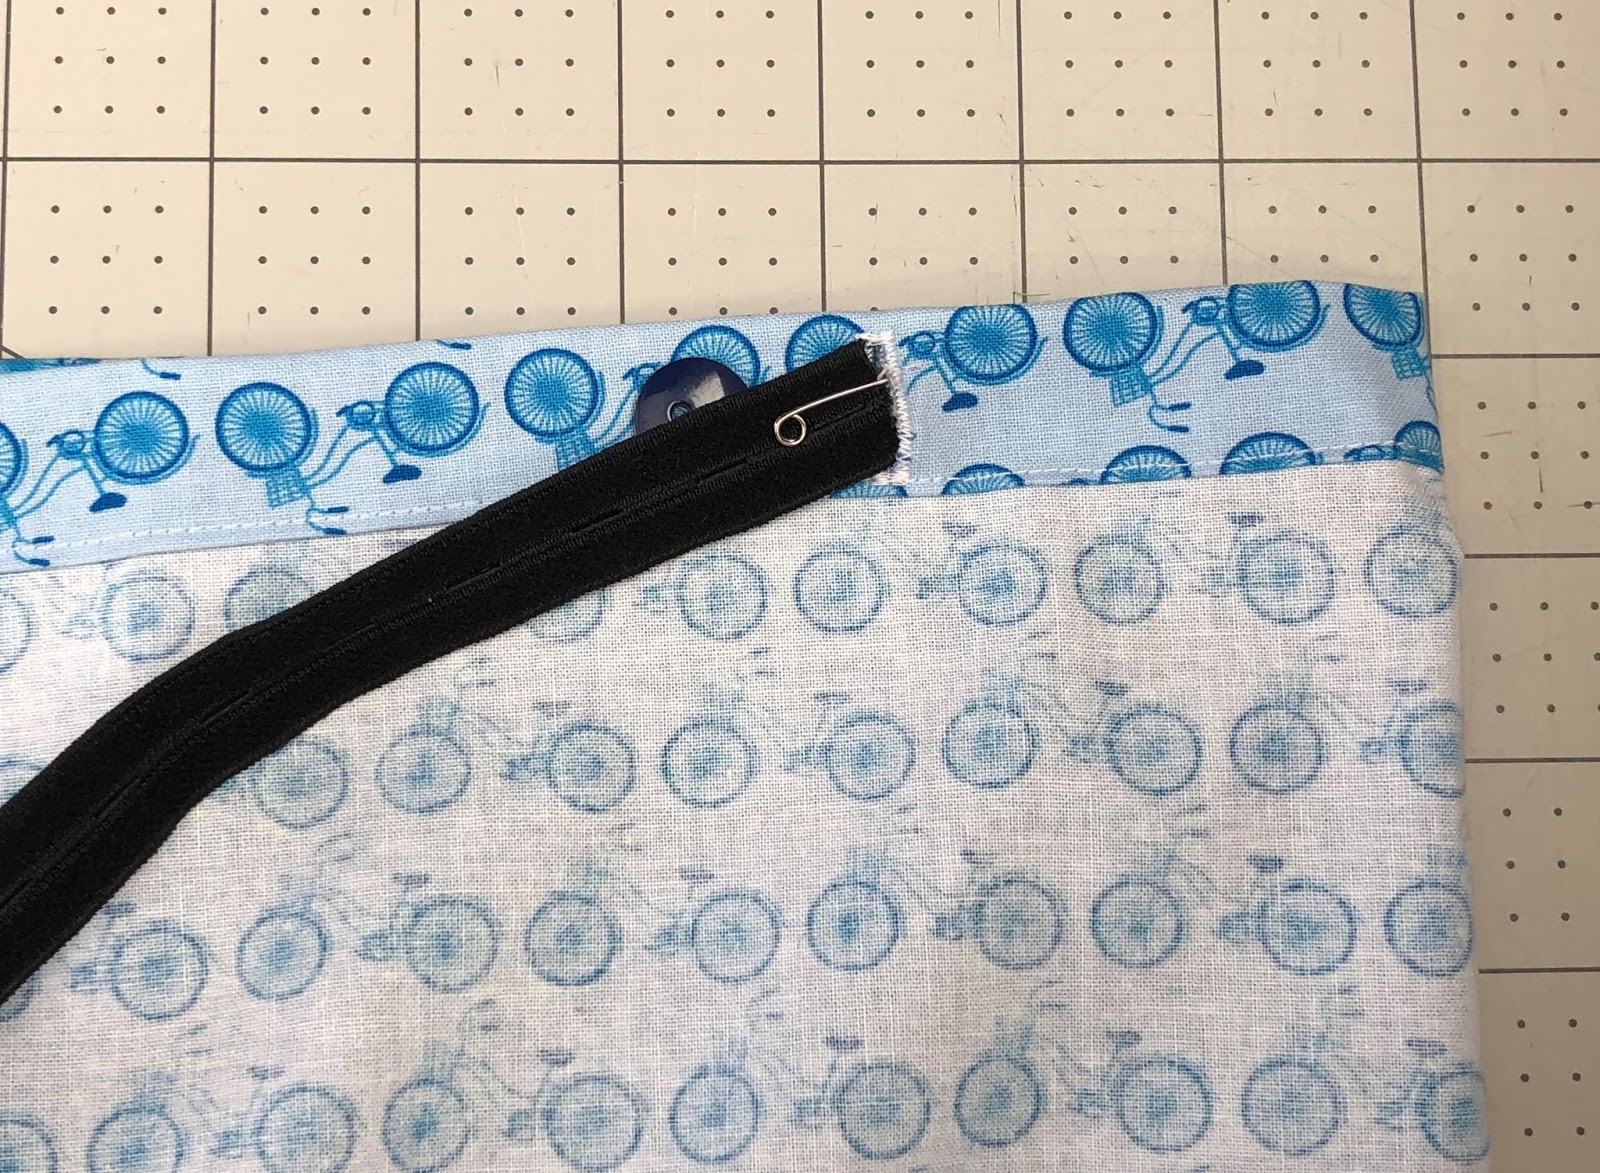
Use a safety pin to feed the elastic into one buttonhole, through the casing all around the back of the outfit, and then out the buttonhole on the other side.
When you're elastic is through the buttonholes, it should look something like the photo above.
Remove the safety pin. On each end of the elastic, fold the end over 1/4" and stitch in place, to keep the ends from fraying.

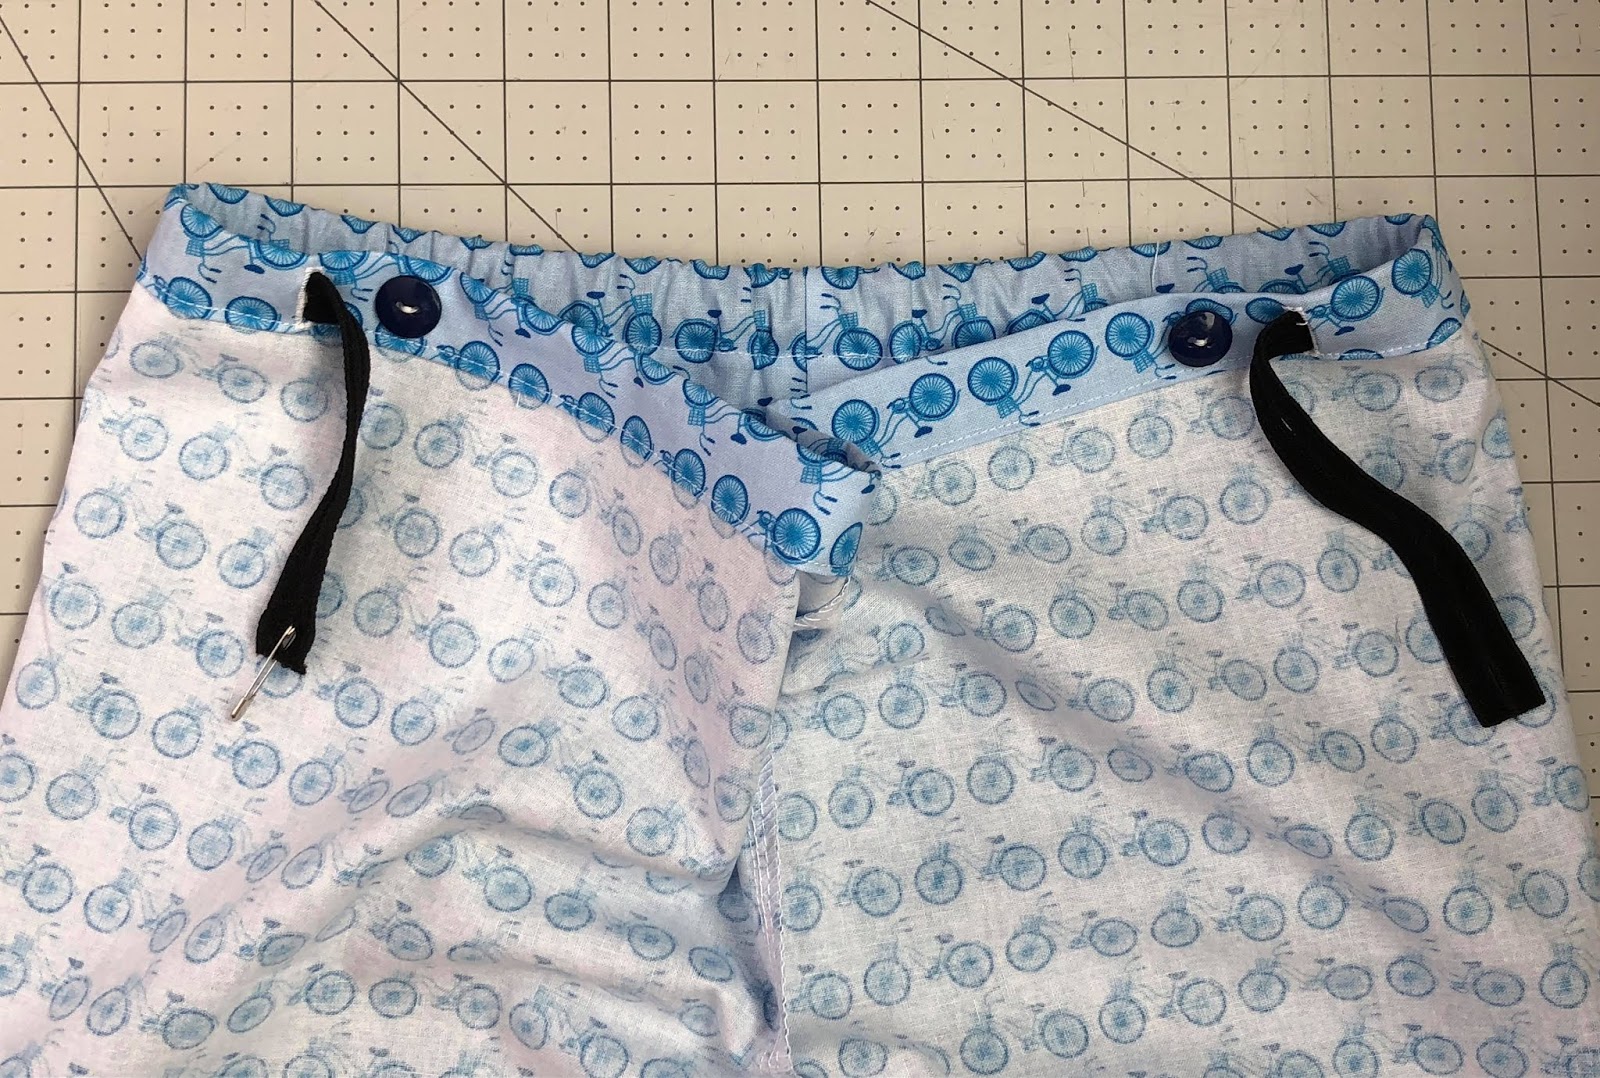
Slide the buttons through the elastic holes on each side, pulling the elastic to the size you want the waistband to be. I usually guess on the size before putting it on my child, and then it's really easy to adjust while they're wearing it.
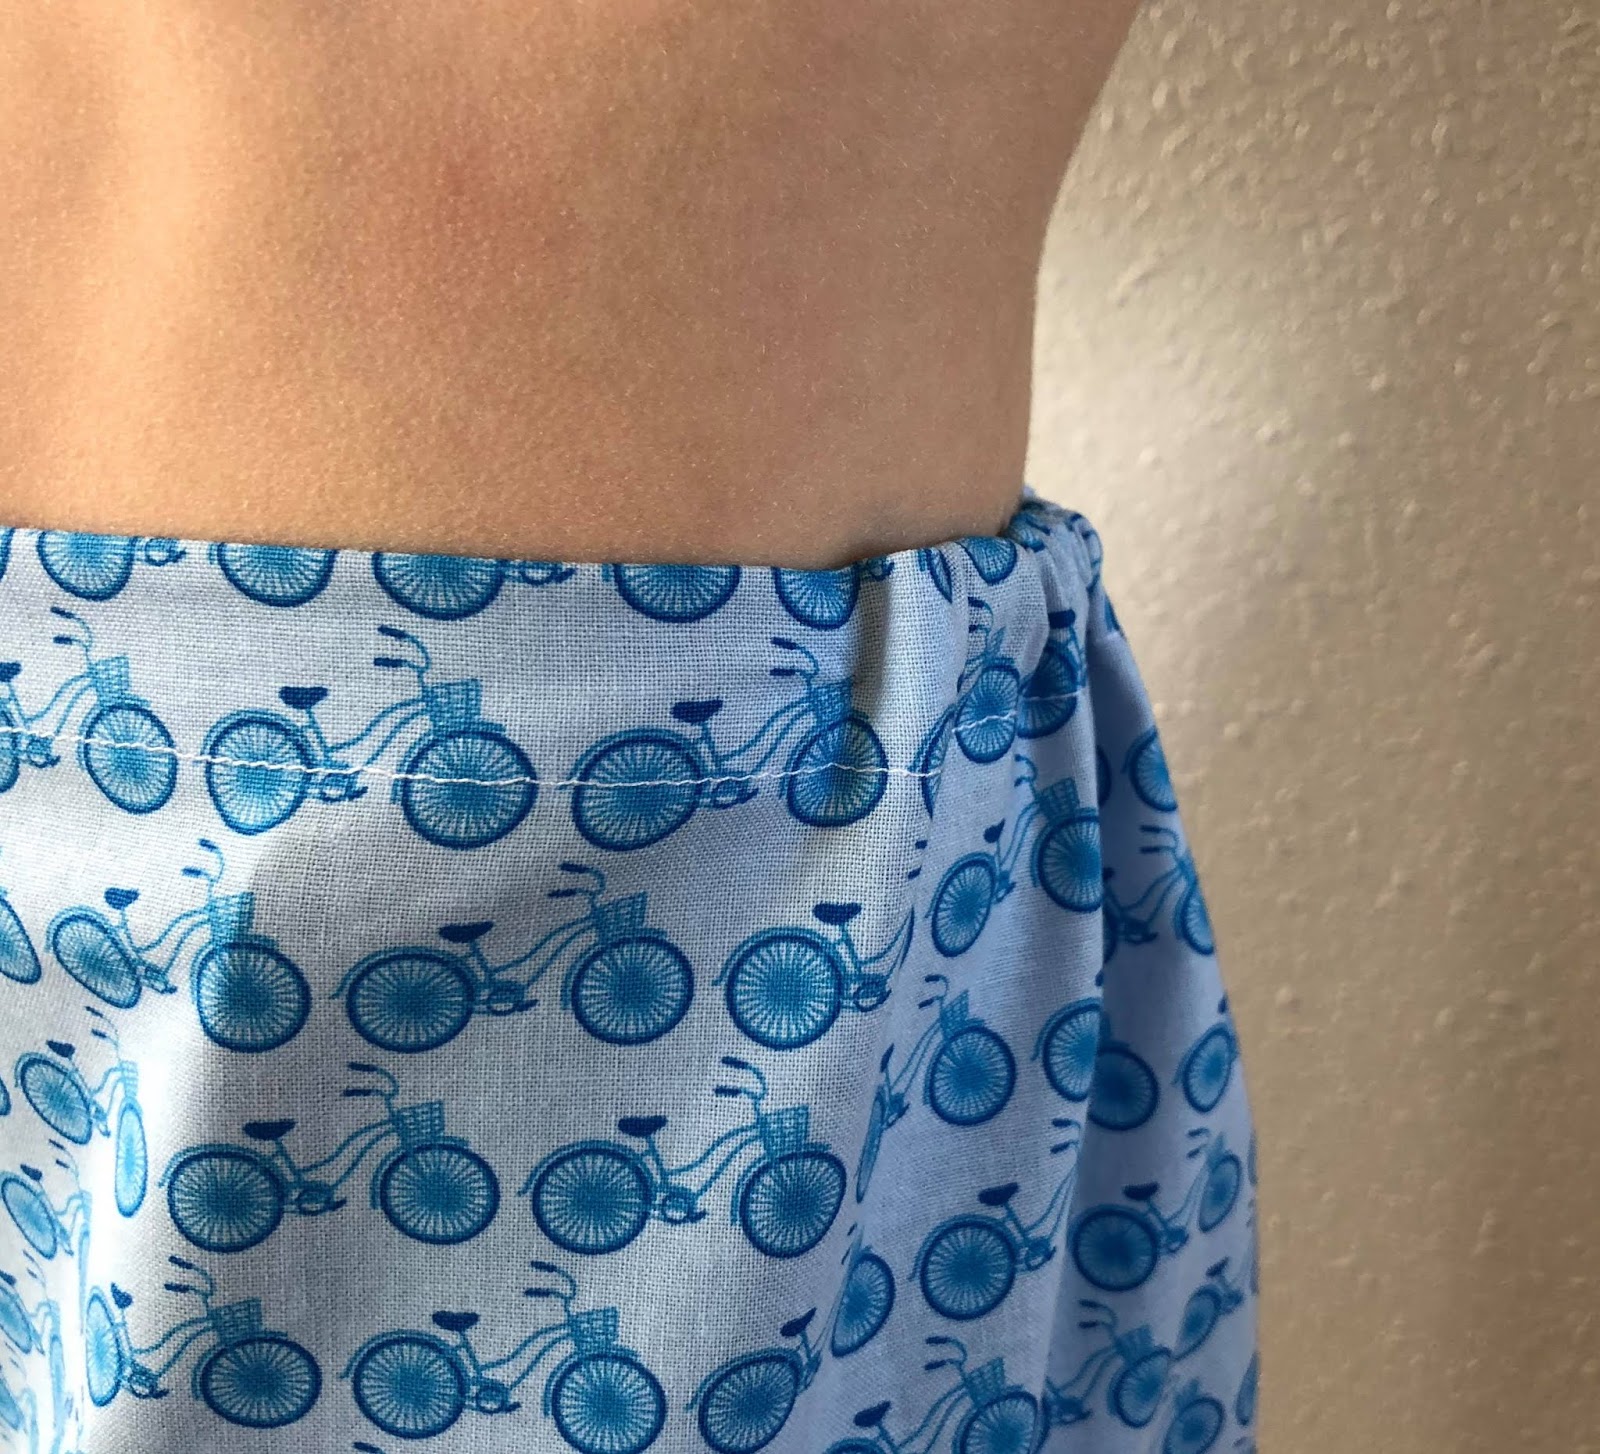
Tada! I love the look of a flat front with elastic in back. On lightweight fabrics like the cotton I used here, the elastic gathering will be distinct like a regular elastic casing. If you are making a more fitted pair of heavyweight shorts or pants such as denim jeans, the elastic has a pretty subtle look, hidden on the inside, while still giving the perfect fit.
And that's it! Now you can go work your magic on all your kiddos' clothes! They will love that the fit is adjustable (I'm surprised how often we move it in and out), and you will love that they can wear their clothes longer before they outgrow them at the waistband! It's a win-win for everyone!
If you have any questions or want to share your photos with us, please come do so in our patterns group on Facebook! We would love to see what you make.
Let's Create! ~ Kristen
Located in northern Europe, Latvia is one of three Baltic states. It has been a member of the European Union since 2004, a member of the Euro Zone since 2014 and the 35th member country of the Organization for Economic Co-operation and Development (OECD) since 2016. http://www.confiduss.com/en/info/blog/article/latvian-account-opening/
ReplyDelete