

Hello again! It’s Shannon Buckbee from the CKC tester group. I'm here today to show you how to modify the adorable Libby’s Circle Leggings, by adding a second circle layer to the leggings. Really, adding an extra circle ruffle just brings the cuteness factor of these leggings up 100 extra points! Best of all, it is very easy to modify and make these. Let’s get started, shall we?

Libby’s pants, cut out to the size you need
Knit fabric for your circle pieces
Circle pattern piece, printed out in the size you need using the full ruffle
piece.
Thread
Scissors
Pins
Fabric Marker / Disappearing Ink Pink / Tailor’s Chalk
Measuring tape or Ruler

Step 1: Take your circle pattern piece and cut out two pieces on the fold. These
will be the bottom circle pieces for your pants. I find it’s easier to take my
fabric piece and fold the edges in towards the middle, then fold that middle
piece in half again so that your folds are laying one on top of the other. You
can now lay your pattern piece on those folds. When you cut your pattern piece
out, you will now have both pieces cut at the same time.

Step 2: Next, take your pattern piece and your measuring tape or ruler and mark your pattern using the chart below. I find it best to make dots or dashes all the
way around the pattern then connect the dots, making sure you are following the
natural curve of the pattern.
Size: Inches from top curve:
6/12 mos 1 ½ inches
12/18 mos.-4T 2 inches
5T 2 ½ inches
6 - 7 3 inches
8 3 ½ inches


Step 3: Once you have your dots connected and your line drawn, cut that line out.
Disregard the bottom piece and keep the top piece. This will now be the new
pattern piece for your top circle ruffle.

Step 4: As you did in Step 1, you will now take your new pattern piece and lay it on
the fold, on the fabric you are using for your top ruffle piece. Cut out 2
pieces. You will now have 2 circles for the top and 2 circles for the bottom.

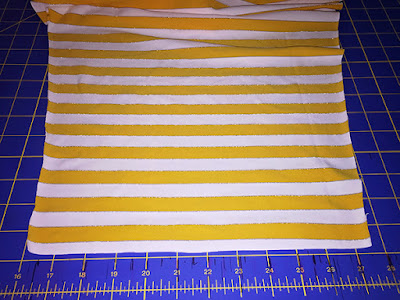
Step 5: Next, open up your circles and lay them flat. Using your measuring tape or
ruler, draw a straight line from the inside opening to the outside edge. You
will then cut that line. (See picture)**You only need to draw the line on half
of your circle. You just want to cut one side so that you can open your circle
up.**


Step 6: You now have a few options. You can hem the edges or leave them unfinished. Since
you are using knit, it is okay to leave the edges raw because knit does not fray.
If you are leaving your edge unfinished, skip to Step 7.
If you do want to finish your edges, you can do a
rolled hem using your sewing machine or serger (preferred). You could also choose to create a lettuce edge finish with the rolled hem as I did. Here is a CKC video tutorial for making a lettuce edge:
( https://youtu.be/fLW4uHMOq6M )
Here is what your circles will look like with the two different types of rolled edges:


Step 7: We will now take our pants piece and lay one of the legs down, right side
up. Take your top ruffle piece and place it, right sides together, onto the
bottom of your pant leg. Pin in place. Do this for the other pant leg.


Step 8: Next we will take our bottom ruffle piece and place it, right side down, on
top of our top ruffle piece. The right side of your bottom ruffle will be
touching the wrong side of your top ruffle piece. Pin in place. Do this for the
other pant leg.
You will now have a sandwich of fabric with the pant leg being on bottom,
top ruffle in the middle and bottom ruffle on top.

Step 9: Now take this to your sewing machine or serger and sew the edge you have
pinned.


Step 10: We will now need to topstitch. To do this we will sew 1/8 inch up from the
seam where we attached our circle ruffles.

We are now done adding our extra circle ruffles and can continue on with our
Libby Circle Legging pattern. For even more fun, consider adding a large button
or one of the adorable fabric flowers that can be found in our Megan’sAccessory Pack to your pants.
The sky
is the limit, so have fun creating!
Happy Sewing!
~Shannon B.
ePSXe, a total classic back in the day became the best alternative for emulating PlayStation on Android and PC. It’s one of the few original projects that aren’t based on a third-party Open Source code,
ReplyDeletehttps://apkmodule.com/epsxe-apk/