
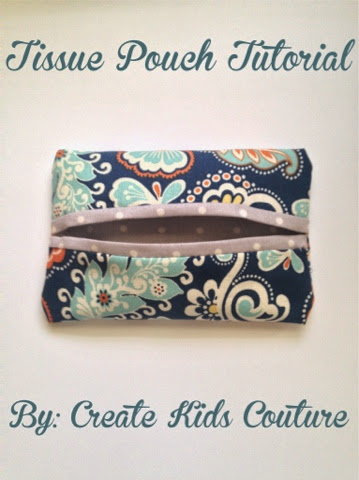
I never understood those people who had tissues on hand 24/7. Then I became a mom... of a toddler with allergies! Now, how I grew up in Kentucky and never had allergies I will never know. (Fun fact: The third worst city for allergies is here in the bluegrass.) Needless to say, not only do I now understand those people but I have become one of those people! So for today's how to I have quick and simple scrap buster to make a cute little pouch to tote those tissues around in style!
To start you need two small scraps: one that measures 5.5" x 7.5" and one that measures 5.5" x 6.5".

Then with right sides together we sew down both short sides, as shown below:

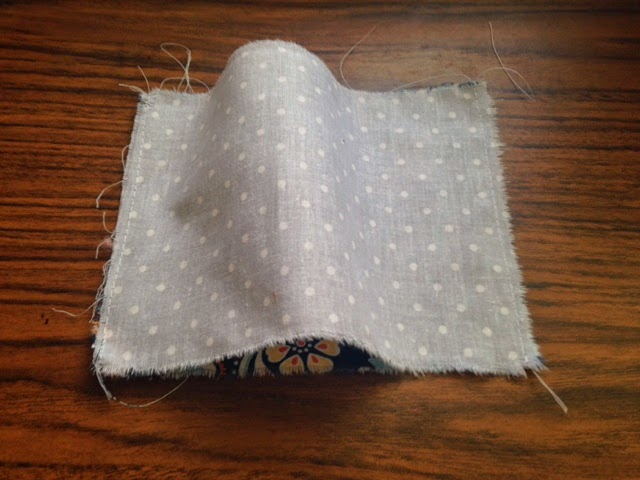
We will now flip our fabrics right side out and press so that there is an even amount of lining showing on both sides.

Next we will bring both sides to the middle and pin in place.
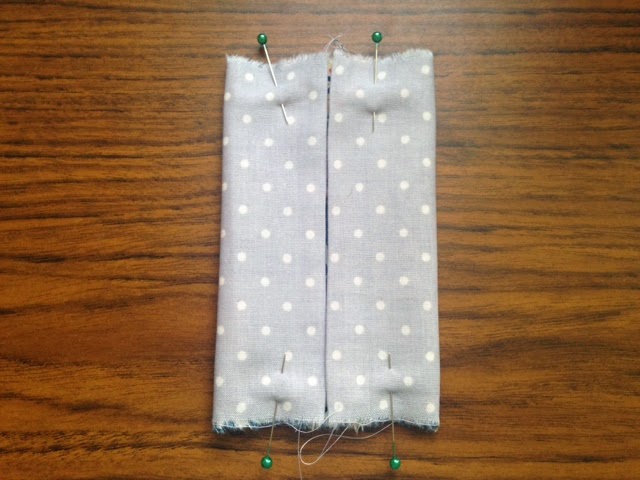
Sew down both short sides and flip right side out.
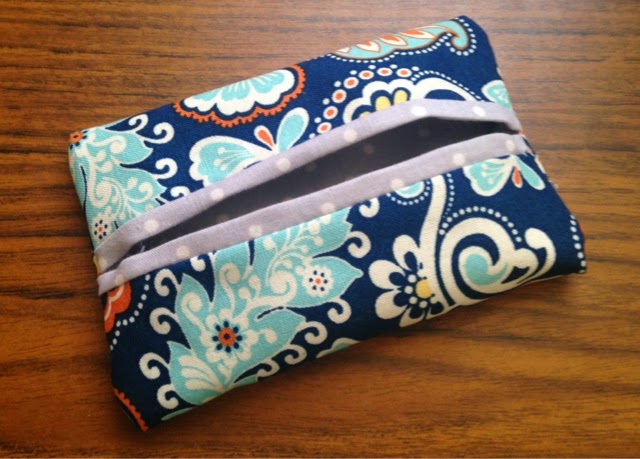
And just like that you're done! Slide your pocket tissue pack into its new handy dandy little home!
Happy sewing y'all,
Morgan
Best Tissue Pouch tutorial I've seen so far! Thank you :)
ReplyDeleteThanks much. I love this super simple and very nice little project. It has made great well received gifts. :)
ReplyDeleteThanks for this tutorial! Super quick and easy. Would be OK if I sold items made from this pattern?
ReplyDeleteFound the answer on your FAQs page, should have checked there first! Thank you :)
DeleteYou have made this look so simple. I am going to give it a try! Thank you.
ReplyDeletecheapest product ever , top class products:
ReplyDeletePaper Serviettes|
Jumbo Roll|
Kitchen Paper Towel |
Tissue Paper Supplier |
Folding Paper Napkins |
Toilet Roll