
Fur is as cozy as it gets when it comes to cool-weather clothing. Plus it's just so darn cute! You may have wanted to sew with fur in the past but weren't sure where to start. Today we will show you some tips that will make it a breeze!

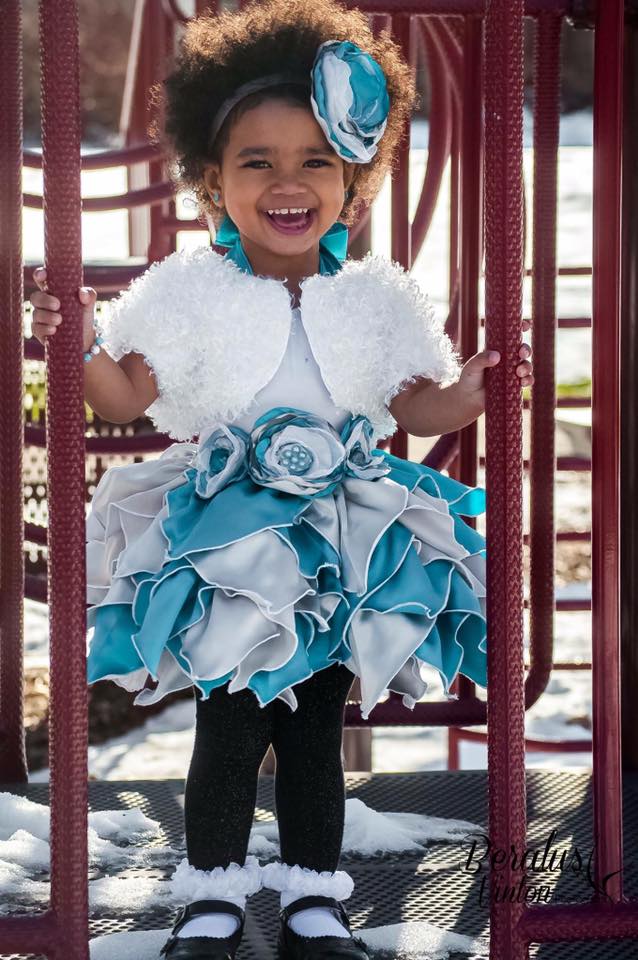
The great thing about sewing with fur (or faux fur, of course) is that it can be used on a variety of patterns. You don't have to use a fur-based pattern! Tosha made the adorable Winnie's above by using the fleece pattern as written and replacing some of the pieces with faux fur. Super adorable and oh-so-cozy!
Karlene's is another pattern that works great in fur. Suze Vinton made this one for her cutie. The perfect winter accessory! Don't limit yourself to just these patterns though -- there are soooo many to choose from. How fun would it be to make a fur coat using Oakley's, Finn's, or Bristol's?!
Now that you're all excited, let's get started with some tips! Read through the suggestions below and then we'll show you some photos to help too.
Cutting:
1 - Brush fur with fingers so it's all going the same direction.
2 - Flip the fabric over and pin or draw the pattern on the back of the fabric.
3 - With the back side facing you, use scissors (not a rotary cutter) to cut through the main backing, without cutting the fur.
4- Carefully pull away the cut pieces.
5 - Brush again and trim any fur that seems out of place.
6 - If the back of the fabric is rough, be sure to add a lining, even if it is just basted to the back of each piece before sewing.
Sewing:
1- Use a longer stitch length, set at a very narrow zigzag.
2 - Use a stronger needle on thick furs, such as a denim needle.
3 - If possible, use a slightly wider seam allowance.
4 - Be sure to backstitch at the beginning and end.
5 - If there are ironing steps, you can set the folds with stitches instead.
6 - Periodically clean the fluff out of your machine as you go! Vacuuming out with an attachment is better than blowing air in.
Those are our basic pointers, and now it's time to show you our secret weapon!

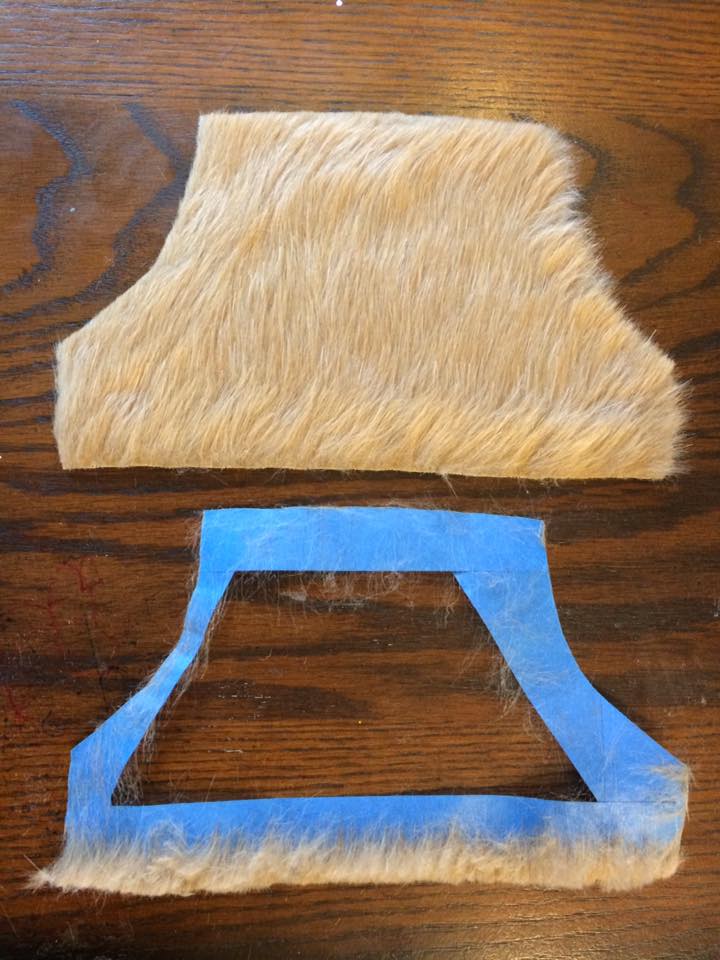
Painter's tape! Tosha showed me this brilliance just this weekend! If you want to minimize the amount of fur and fluff floating around your work area, it's worth trying this out! Apply painter's tape to the fur before you cut, and it will keep the fly-aways from flying away!
Of course you want to make sure your fur can handle the painter's tape. Most fabrics should be fine. If your fur isn't too delicate, go ahead and put some painters tape on the fur-side of where you will be cutting. It doesn't need to be exact -- you're just holding the fur in place for now. See photo above.

Then lay your pattern piece on the fur/tape and either trace it or pin it in place.

Cut out the pattern piece using scissors, cutting right through the tape. (Maybe you won't want to use your fancy fabric scissors on the tape though. I do but I'm kind of rough on mine. Your call.)

When you have the piece cut out, simply peel away the painter's tape.
Look at all that fur on the tape! Thank goodness it is caught in place rather than floating all over the room. See, it really is a secret weapon!

If you decide you don't want to outline your whole fur fabric piece in painter's tape before cutting, you could also just cut without it and then use the tape afterward to pick up the worst of the leftover fur. You won't get quite as much of the extra fur, but it still gets quite a bit.
You will still want to have a vacuum handy though. That fur is no joke.
It does turn out TOTALLY amazing though! It's definitely worth it. We hope you are inspired by our tips and photos. If you have any suggestions of your own to add, feel free to comment below! We would also love to see any fur projects you make using this tutorial and/or CKC patterns! Please share in our patterns group when you're done.
Let's Create! ~ Kristen
No comments:
Post a Comment