

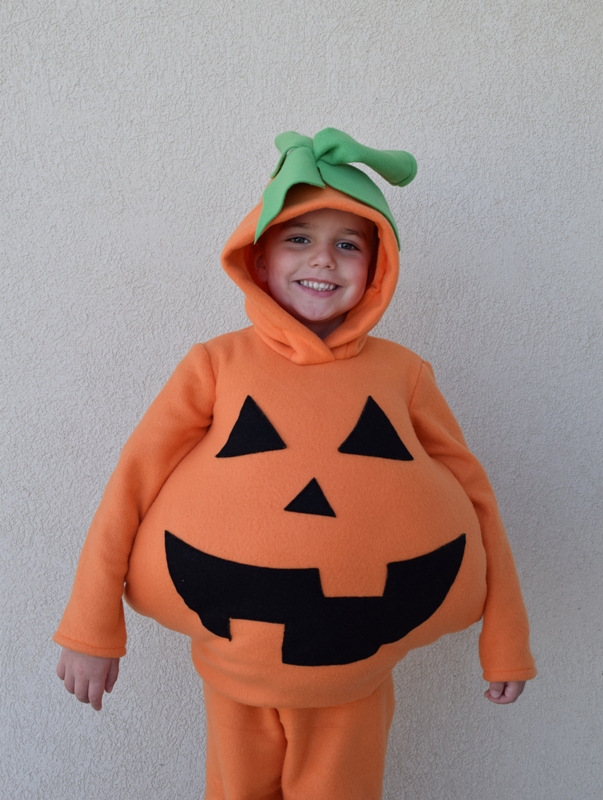
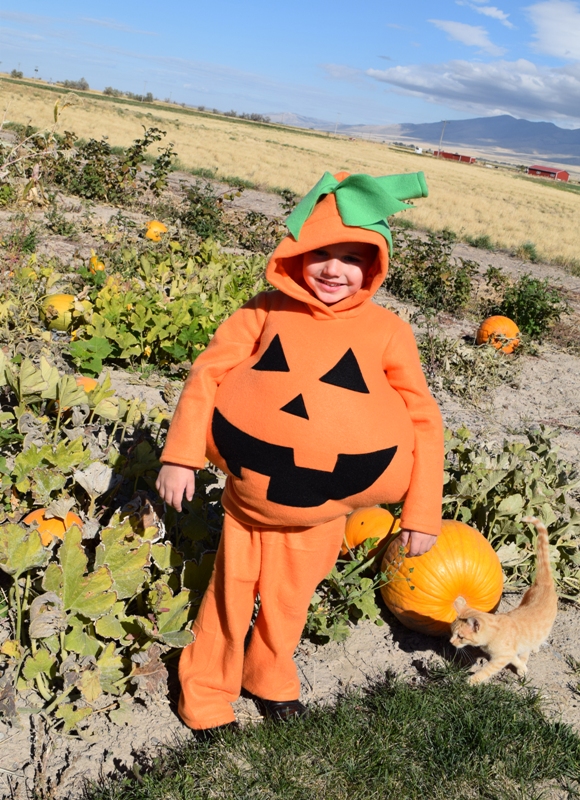
It's Day 7 and time for another free tutorial! This one comes to you from... myself! My kiddo wanted to be a "fat pumpkin" for Halloween this year. He kept emphasizing that it needed to be a fat pumpkin, not just any pumpkin. A really, really fat pumpkin. So ladies and gentlemen, today we give you...

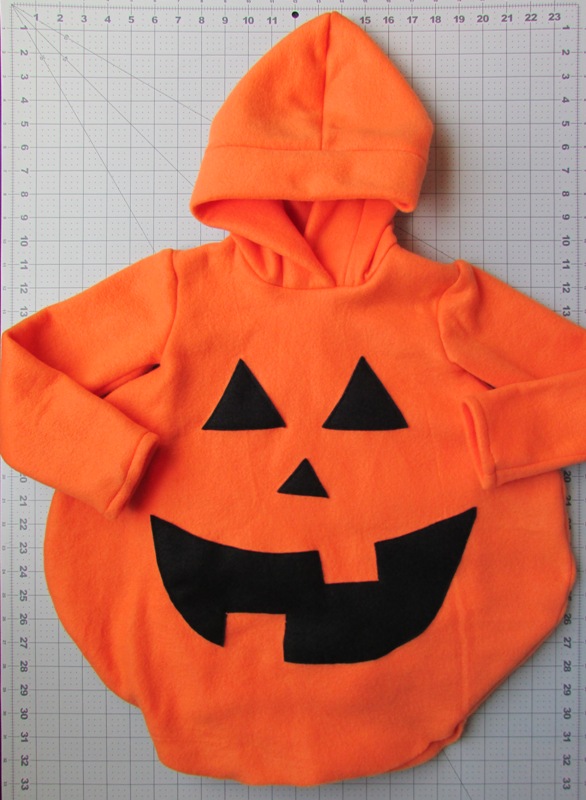
A very fat pumpkin costume!
My boy didn't leave my side the entire time and he's beyond happy with his costume. If you want to make a pumpkin costume like this, you're about to learn how! Yours doesn't need to be this wide, of course. And this tutorial can be used for other poofy costumes as well. In fact I first used this technique a couple years ago when my older son wanted to be the blue Angry Bird.
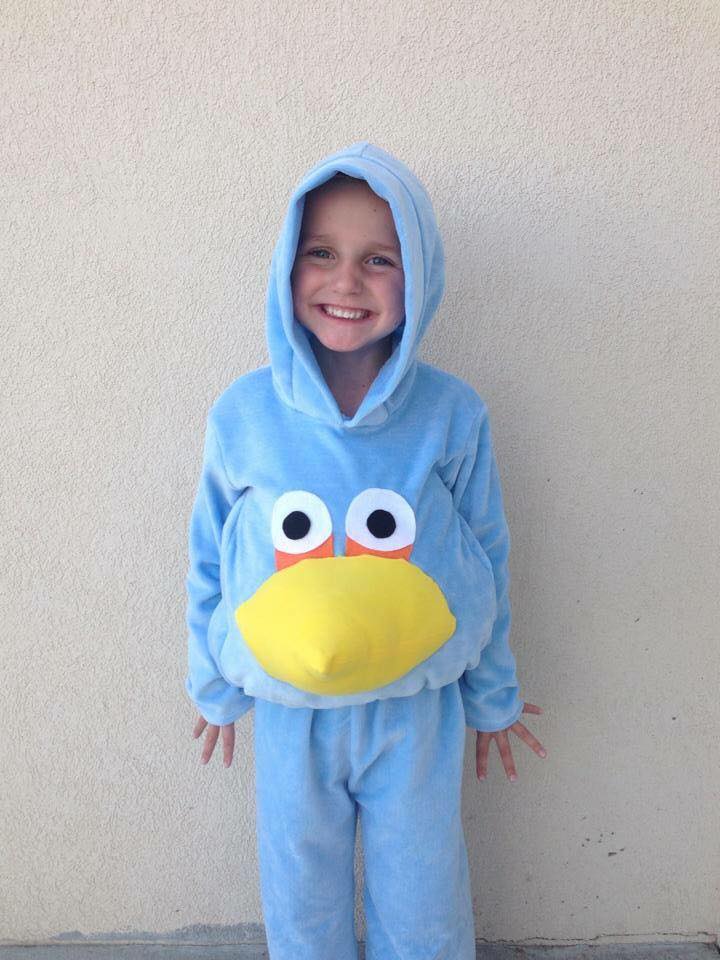
See?! So today's tutorial is pretty versatile. You can use it for any animal, character, or object that uses a hood and round-ish shape. What I love about this costume is that the stuffing is between layers, so it stays right in place and doesn't bug the kiddo. Let's get started!
Supplies needed:
Orange Fleece or Knit Fabric
Green fleece and black felt
Sewing Machine, etc.
Polyfil or other batting
Toby's hoodie pattern (or one similar)
Optional: Noah's pants pattern (or one similar)
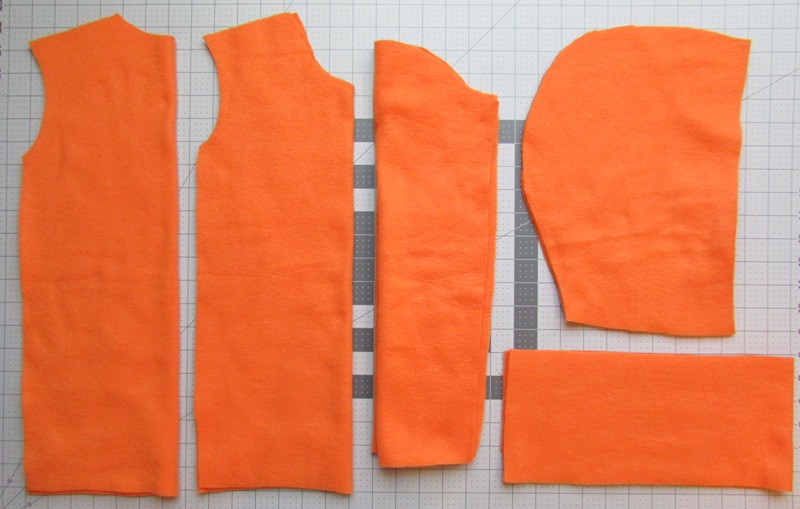
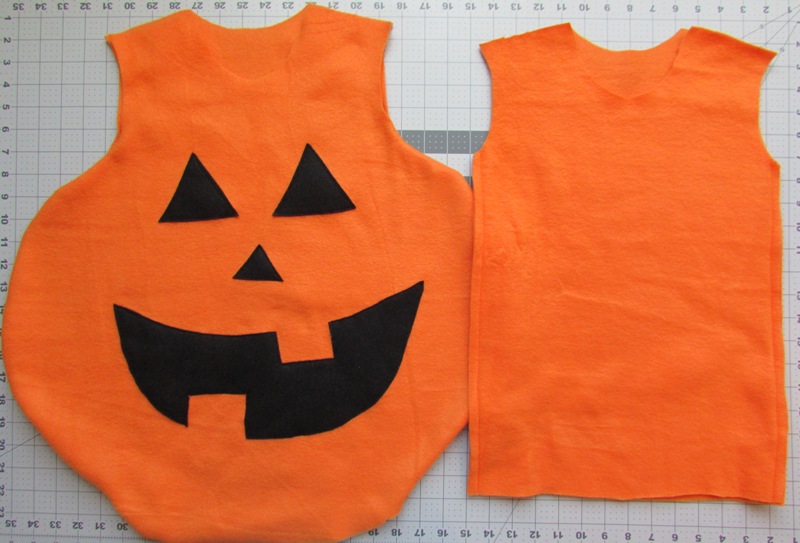
Step 1: Print the pattern pieces. Cut the paper pattern pieces out 1 size larger than you would normally make for your child, and add 3" to the front/back piece. Then use the pattern pieces to cut out all the fabric pieces, as shown above. (This will be the inner layer so it doesn't need to be "fat".)
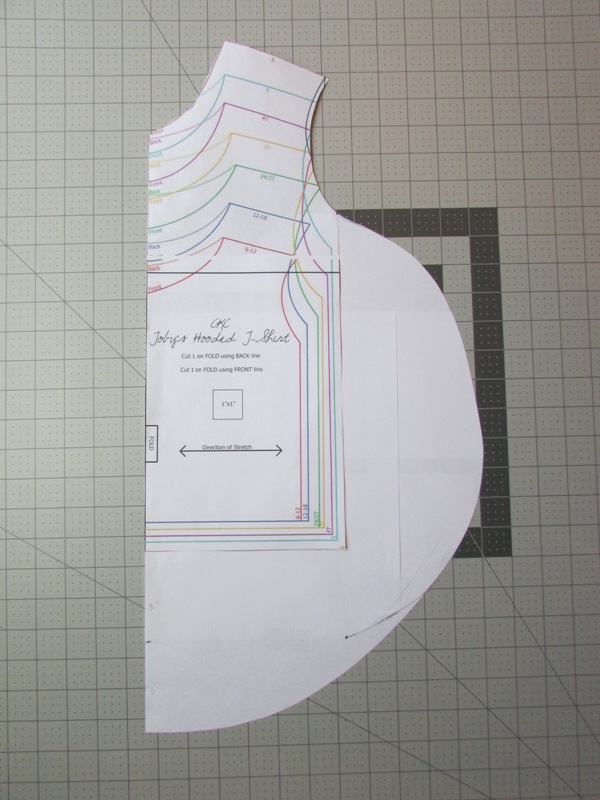
Then take your front/back piece and tape some extra papers to the bottom and side of it. At the corner just under the armhole, mark a large dot. This will mark where the armhole ends and the side curve begins. Then on the bottom corner of the printed pattern piece, measure 3" down from the bottom corner and mark another dot. This marks where the edges of your first pieces were. Now on the center fold line, measure down an additional three inches from where the first mark was. Draw a large dot. Now you're ready to draw a curved line all the way from that lowest dot up to the underarm dot you first marked. You can make it just a little wider than the first, or you can make it really wide like mine shown above. After you draw a curve, cut out it of the paper.

Use your new paper piece to cut out another front and back piece on the fold. Then use a pins to mark the side curves at the places where you drew dots on the paper, using the photo above as a guide. There needs to be a pin under each arm curve and at the bottom of where the original piece was. This is to mark the "sides" of the rounded pieces. It will make more sense in a moment if it doesn't already. Be sure to mark two places on each side of each fat piece.

Open up the front piece (the one with the lower neckline) and decide what you want your face to look like. I freehand cut some triangles and a mouth out of black felt. Pin the face pieces in place. Then sew them in place by topstitching close to the edges around all the pieces. Set this aside for now.
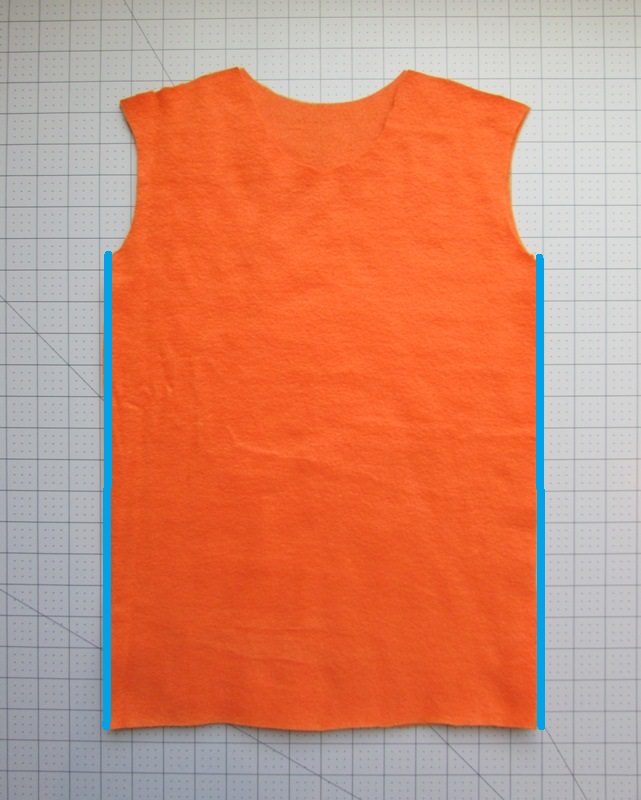
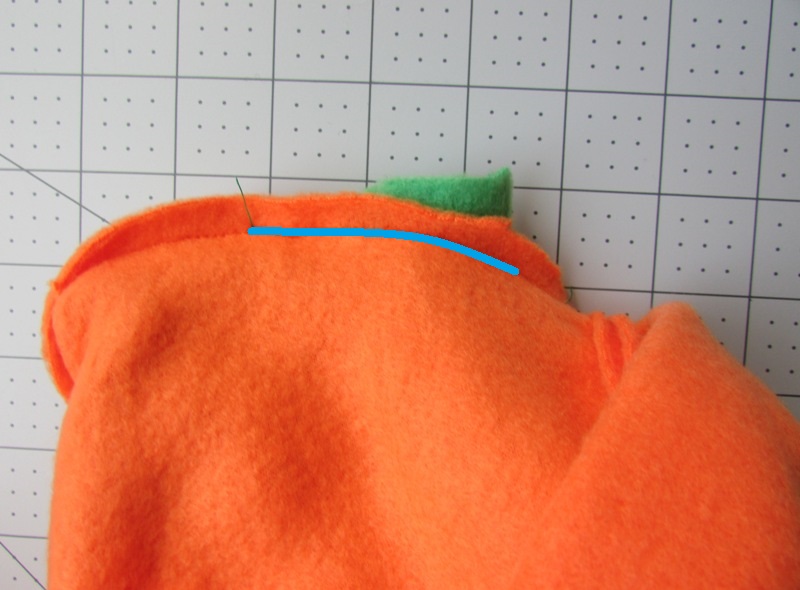
You're now ready to begin construction! Take the two regularly sized shirt pieces. These will be the lining of the costume. Match them with right sides together at the underarms and pin in place. Then sew the sides together using a 3/8" seam allowance, as shown in blue above.

Do the same with the front and back outer pieces, the time sewing the "sides" from the upper pins to the lower pins. See blue in the photo above. If you're not sure where to stop, you can lay the lining pieces on top. You want the sides to end at the same lengths.
With the sides sewn together, turn your outer pieces right side out so the face is showing, but keep the lining part wrong side out. See photo above.
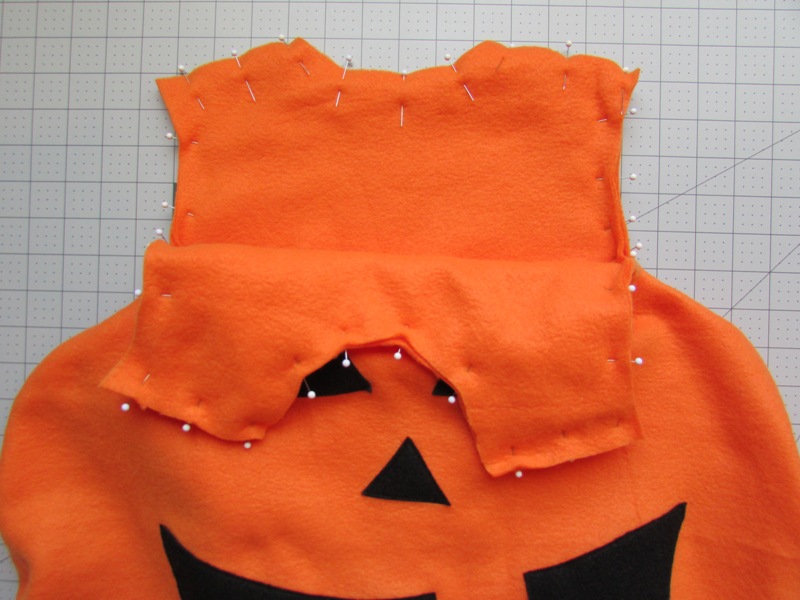
Slide the lining pieces down into the pumpkin pieces, with wrong sides together, and match the upper curves and edges. Pin the layers together around the neckholes, armholes, and shoulder edges. See photo above.
Using a 1/4" seam allowance, sew the edges together all around the neck, armholes, and shoulders. From now on you will be treating these layers as one.

Now it's time to construct the hoodie as instructed in the pattern. Begin by turning it wrong side out and sewing at the shoulders.
Continue through all of the hoodie steps to sew on the hood and sleeves. Leave the bottom edges open for now!

When you have the top of the hoodie complete, you're ready to stuff it with polyfil through the bottom. Open up the layers and stuff in front of and in back of the lining. Do NOT put any polyfil inside the lining - that's where the child's body will go.
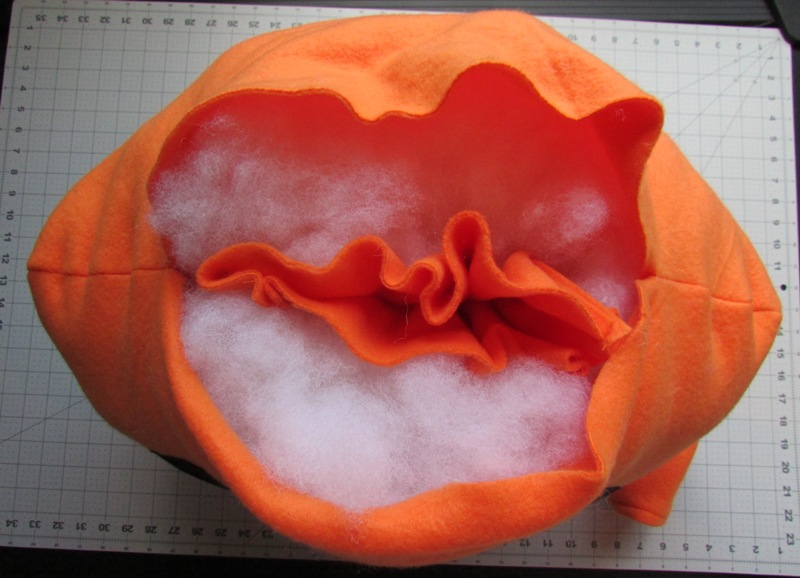
Stuff it as much or little as you want. Like I said, my child wanted a very fat pumpkin so I maybe went a little overboard. (No regrets though.)
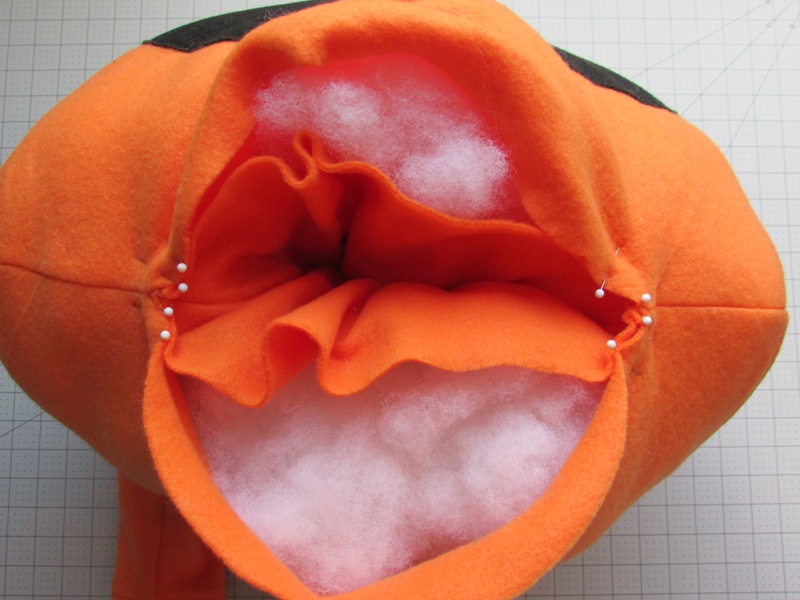
When you have it as full as you want it, match up the side edges of the holes so the lining and outer edges meet. Use several pins to hold the sides in place, as shown above.
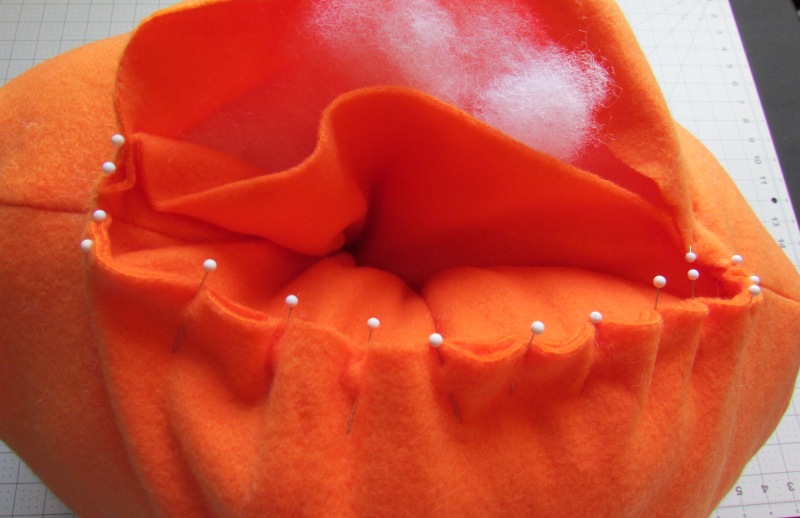
Now you need to pin the curved outer edge to the straight inner edge. First pin the centers. Then find the centers of the remaining edges and pin those. Continue on until you have all of the edges pinned. The curved edge is wider, but it should easily pin in onto the shorter edge because of the slight stretch that your fabric allows. See photo above.
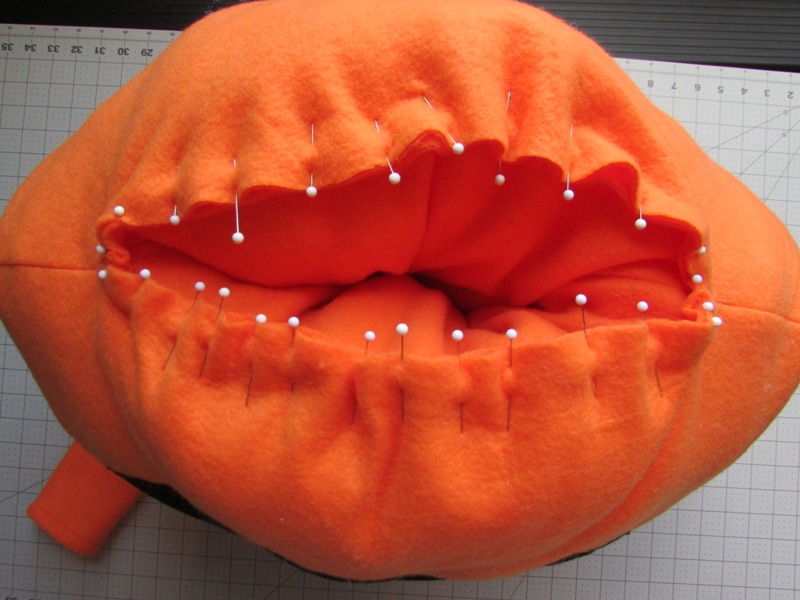
Do the same on the other edges. When you have it pinned in place all around, sew the pinned layers using a 1/4" seam allowance. It can be tricky to get the bulk up at your machine, but it's very doable.
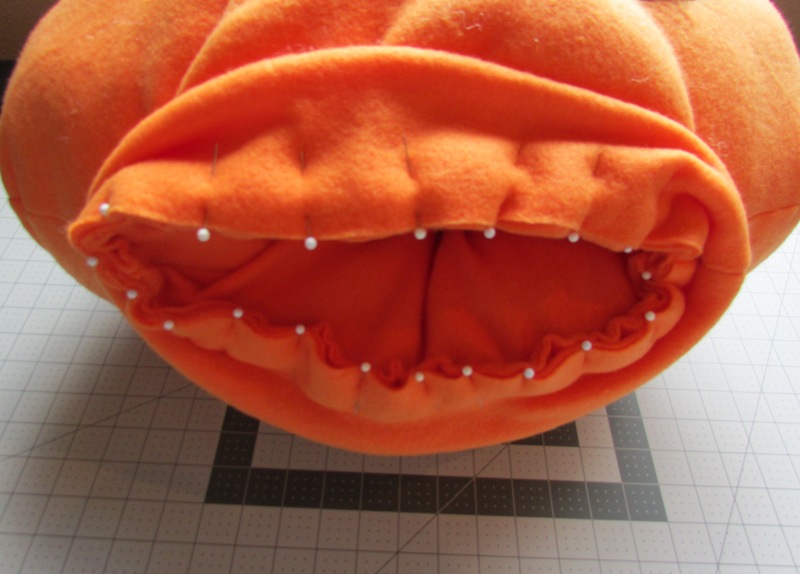
Now take the bottom waistband and pin it to the bottom as you normally would in the hoodie pattern. Again you're working with a lot of layers and bulk, but it wasn't too bad at all. The more pins you use the easier it will be to sew.

After sewing the band on, the bottom will look something like the photo above.
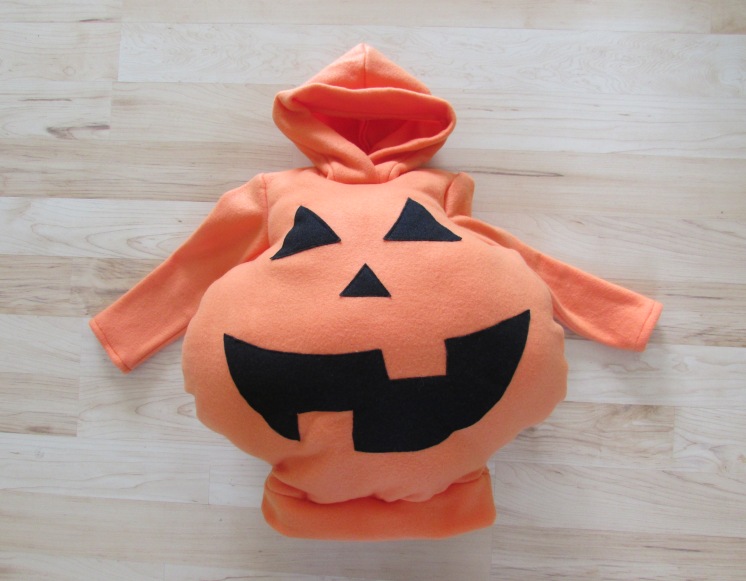
Look how awesome it turned out!
Now if you decide you want to add a little greenery to the top of the costume, you may continue.
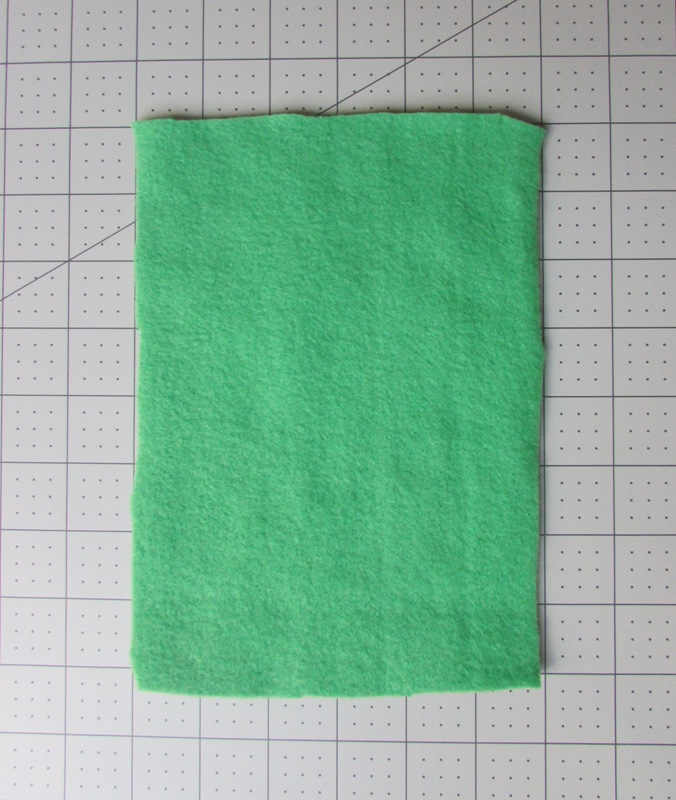
Cut a rectangle of fleece or felt that measures about 8" long by 6" wide.
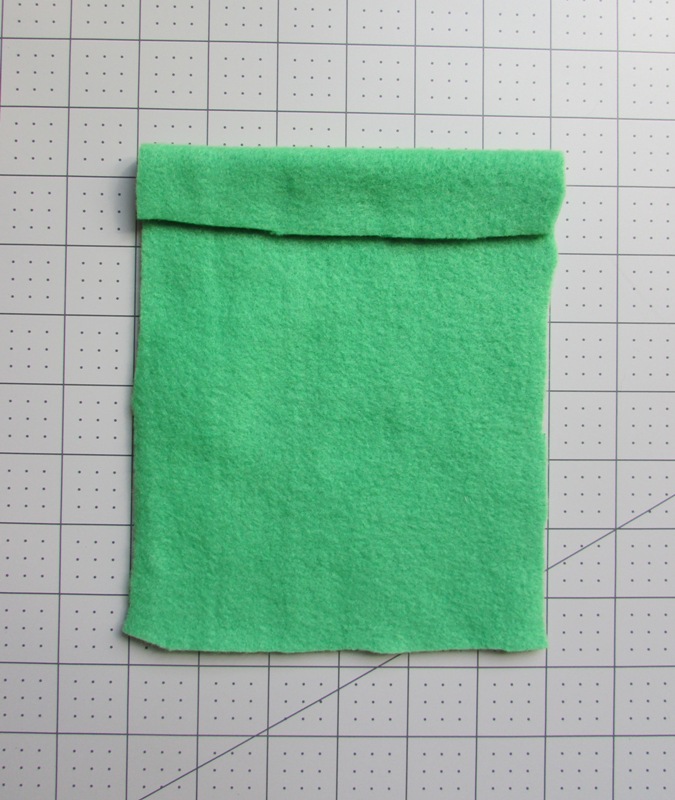
Fold the top edge down about 1" to the wrong side, as shown above.
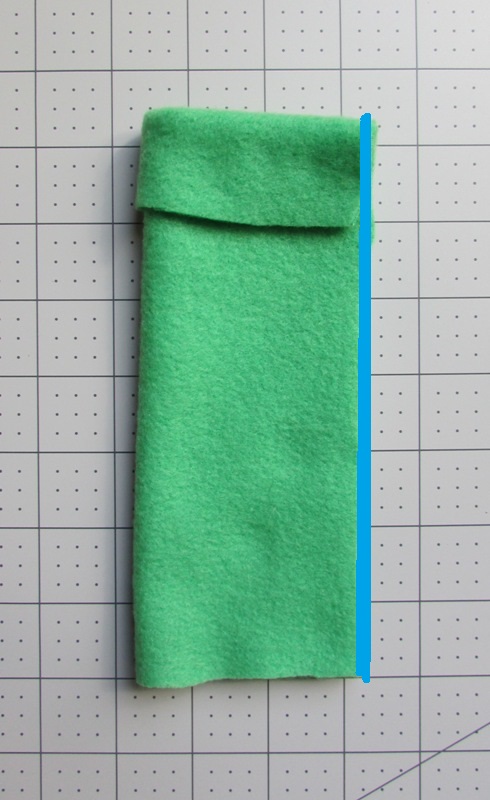
Then fold it in half widthwise with right sides together, as shown above. Sew the long edge using a 3/8" seam allowance, as shown in blue.
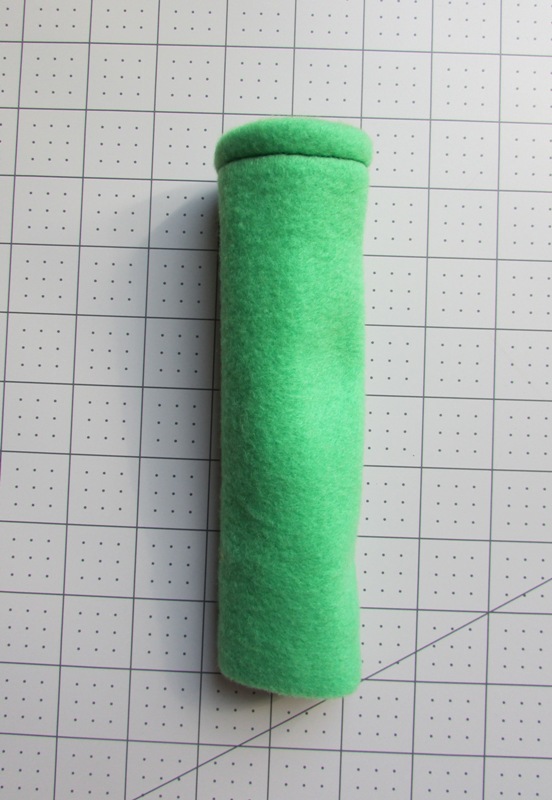
If you want to hold the seam in place, topstitch 3/8" from the upper edge. It will look like the photo. Your stem is now complete.
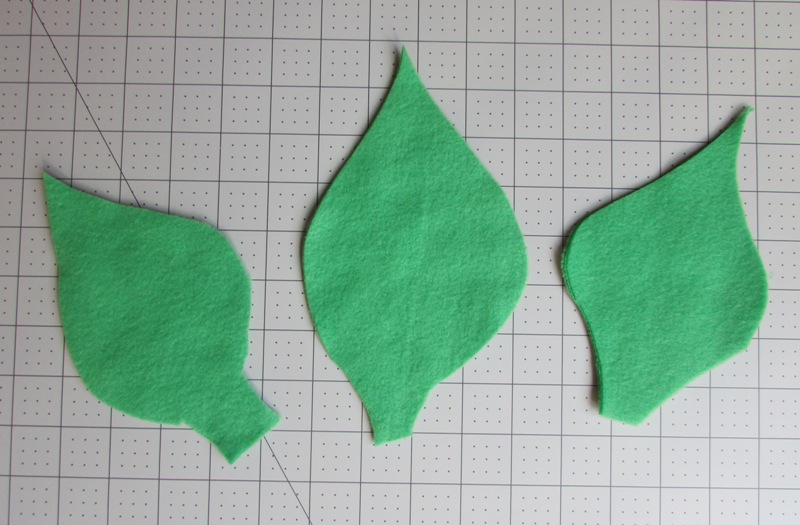
Cut out a few leaves. I just free-handed these. Be sure to leave about an inch at the bottom.

On the top of the hoodie, use a seam ripper to remove the stitches where you want to insert your greenery. (You could have done it sooner, but I always like to add these details last.)
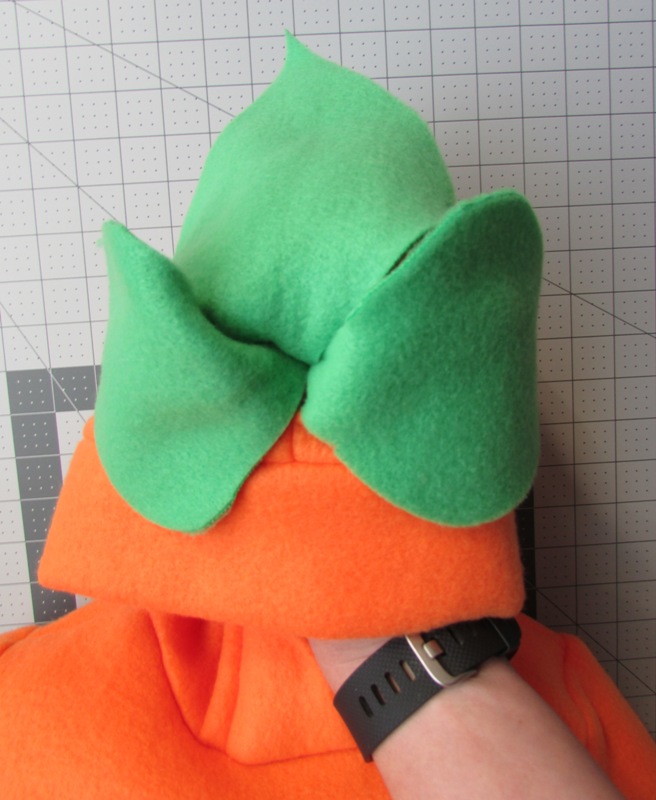
Insert the leaf stems into the hole you opened, and grab them on the inside of the hood.
Then bunch up the raw edges of the stem and put it through as well, being sure to put the seam in back.
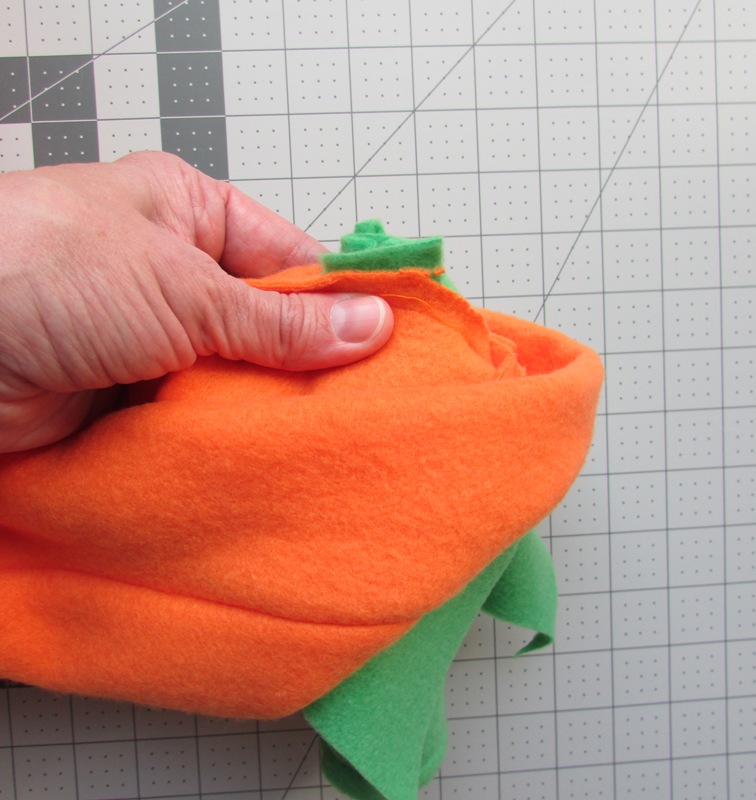
On the inside of the hood, grasp all the greenery layers between the seam edges that you opened. See photo above.
Use your machine to resew that seam, catching all of the greenery layers in it.
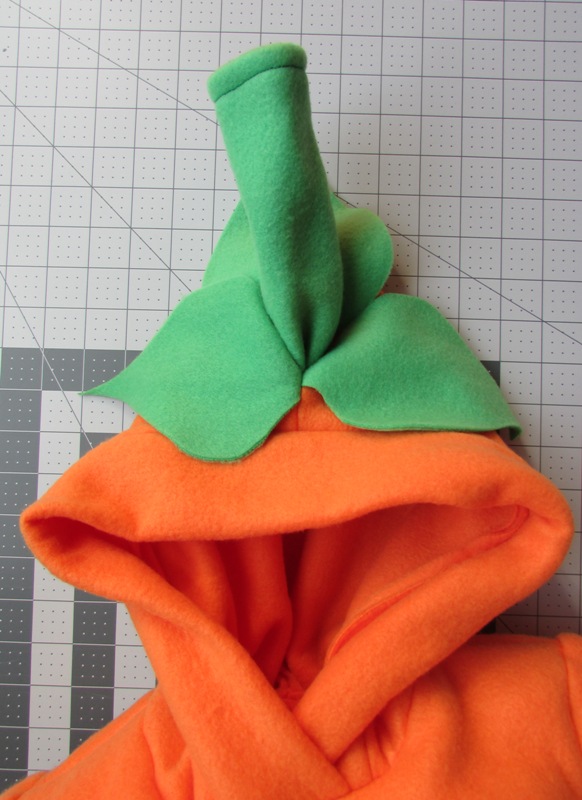
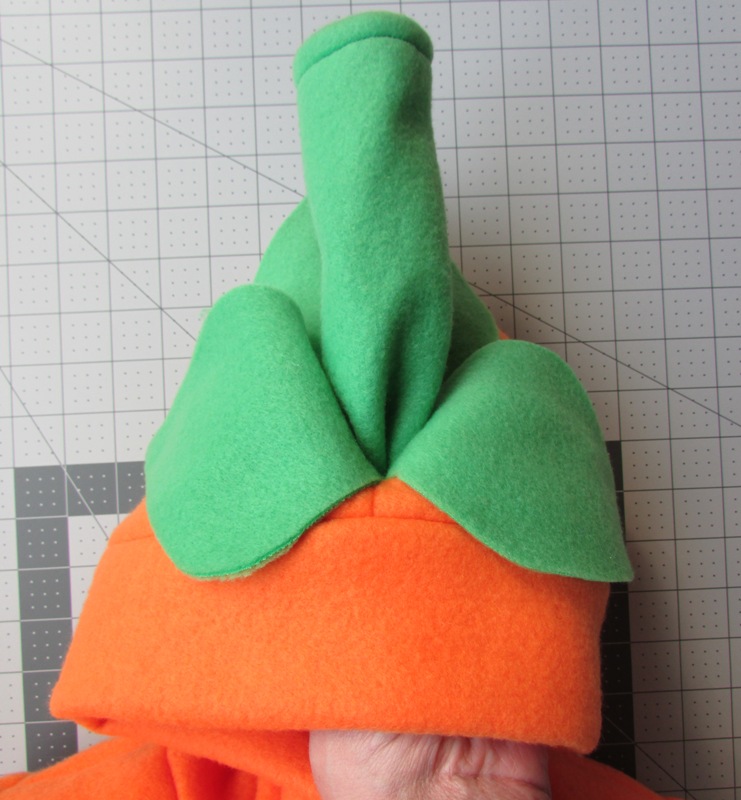
The outside of the hood should now look like this! If you're not happy with how the leaves or stem lay, you can cut them down or go back and resew. Remember that real leaves/stems don't sit perfectly so these don't need to either.
And that's it! Your costume is now done! Your little guy or girl is going to leave being all plump and cute, whether a pumpkin or any other theme you decide to go with.
I hope you enjoyed this free tutorial! I can't wait to see what you make with it. When you're done, please come share your photos in our patterns group on FB! That's my favorite part about these tutorials. That, and the happy kiddo of course.
Let's Create! ~ Kristen
oh cute! I've got a Craft Gossip post scheduled for later today that features your pumpkin costume tutorial: http://sewing.craftgossip.com/?p=90058 --Anne
ReplyDeleteYou are literally my savior, I have been looking for so long for a specific kind of pumpkin costume. Who knew I would find suck a detailed instruction on how to make Neely exactly what I want. Thank you very much and I hope you have the best life ever!!
ReplyDelete