
On our handmade creations, sometimes its the details that make all the difference! Many people like lace; others like buttons. I'm a big fan of studs myself -- the kind that you iron onto the fabric as accents. My favorites are the silver shiny ones, but there are a variety of styles available. Iron-on studs are perfect for collars, cuffs, sashes, bodices, hems, and even accessories such as clutches and bows. Today I'm going to show you exactly how to adhere the iron-on studs, along with a free project!
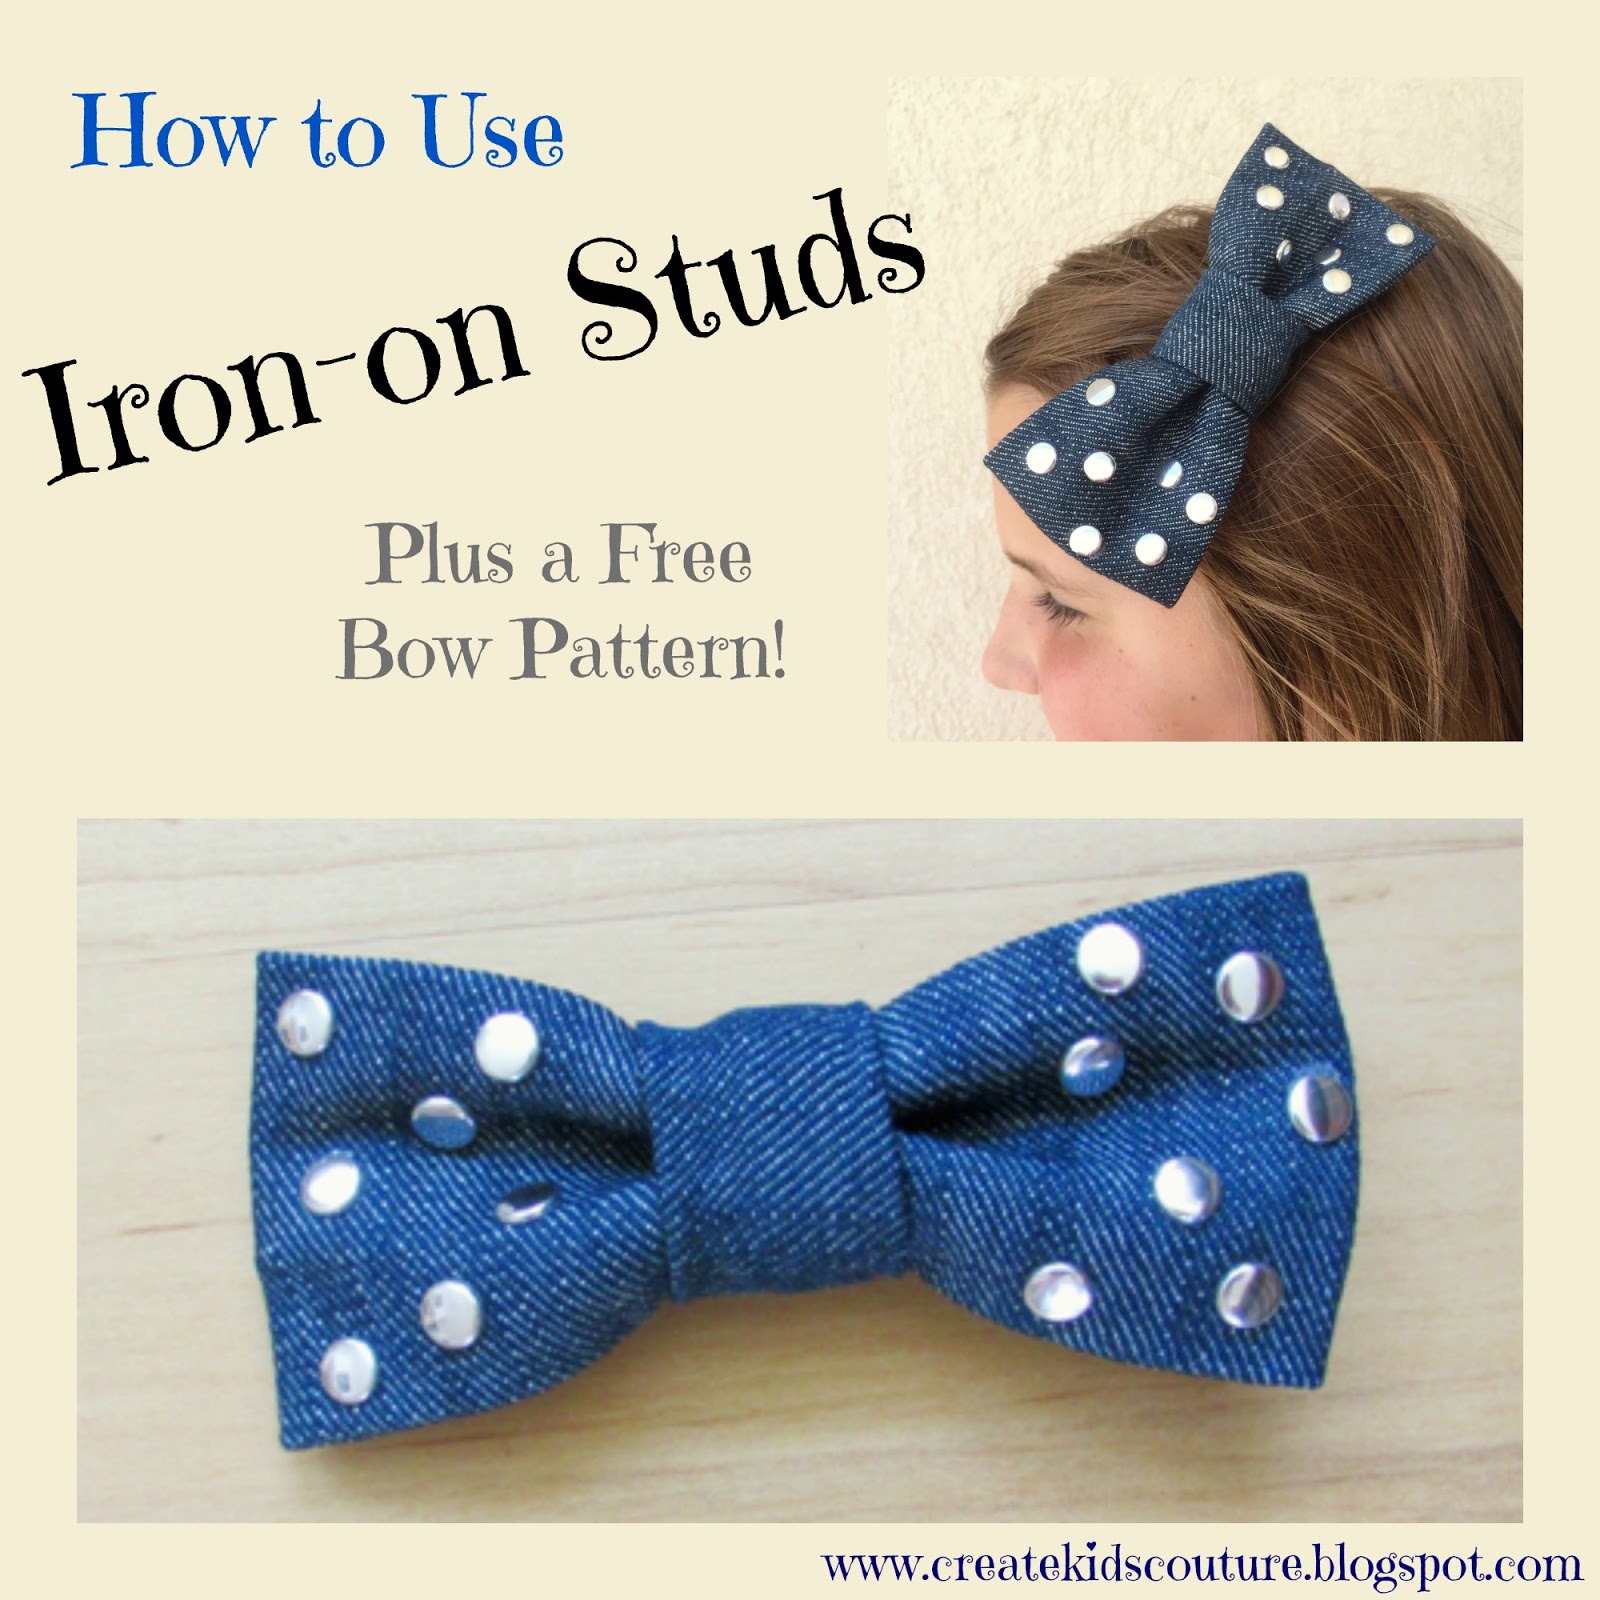
Super cute, right?!
We will get started on the free bow in just a moment, but first I have to show you how fabulous these studs look on clothing too!

This amazing jacket was made by Shirley Dee using our pattern for Oakley's Pea Coat. I just can't get over the details.


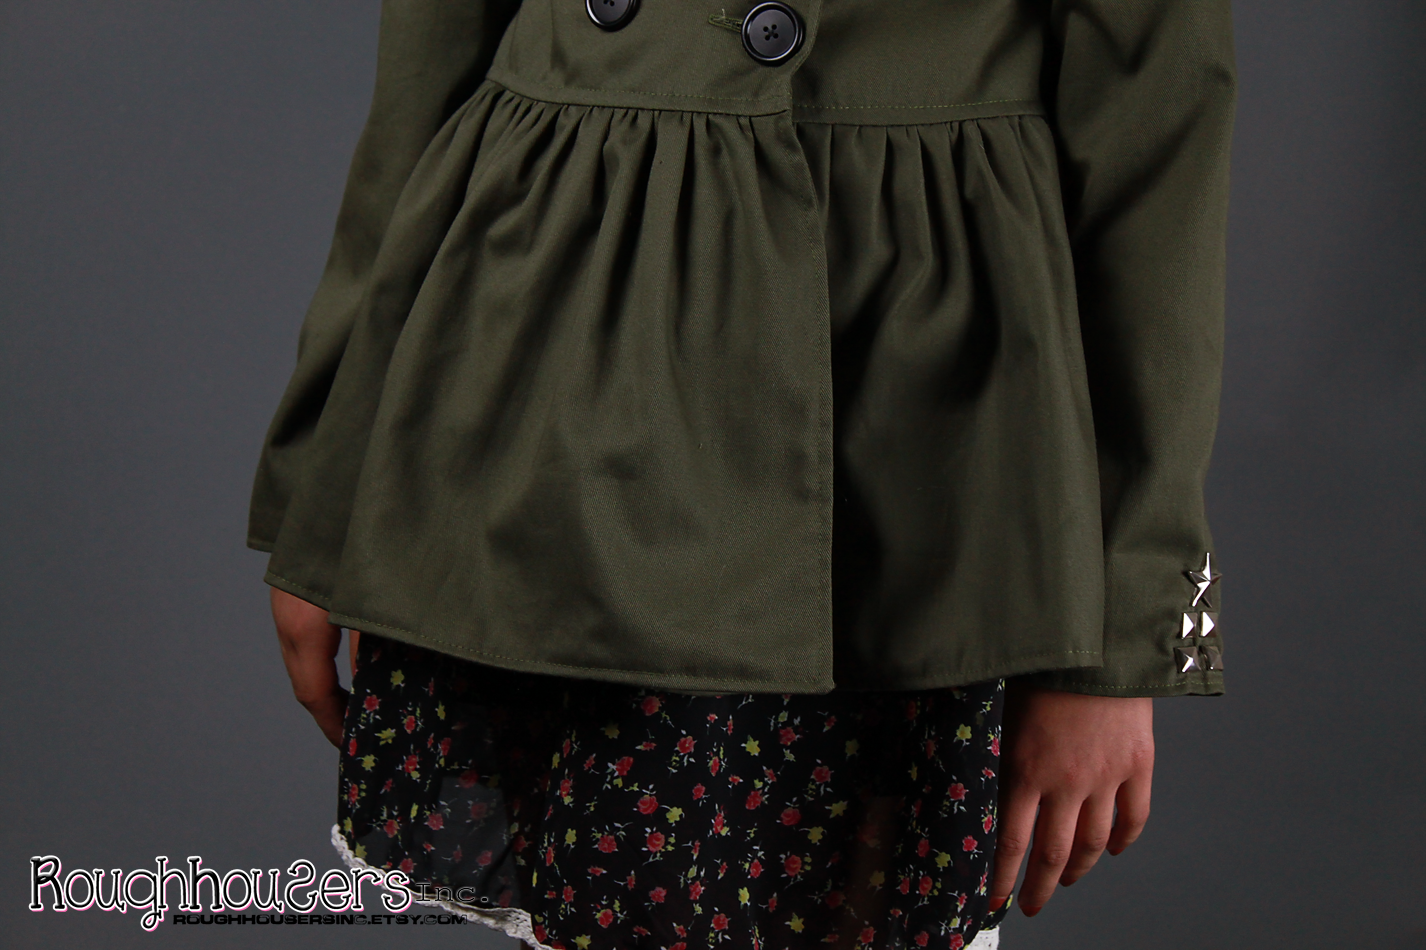
See how much drama can be added with carefully placed studs?! I love, love, love them.
Plus, the studs are SO easy to use! You can find iron-on studs in most craft/fabric stores. If you get lucky they will come with instructions, but I have noticed that they often don't. Not a big deal though, because you're about to learn how!
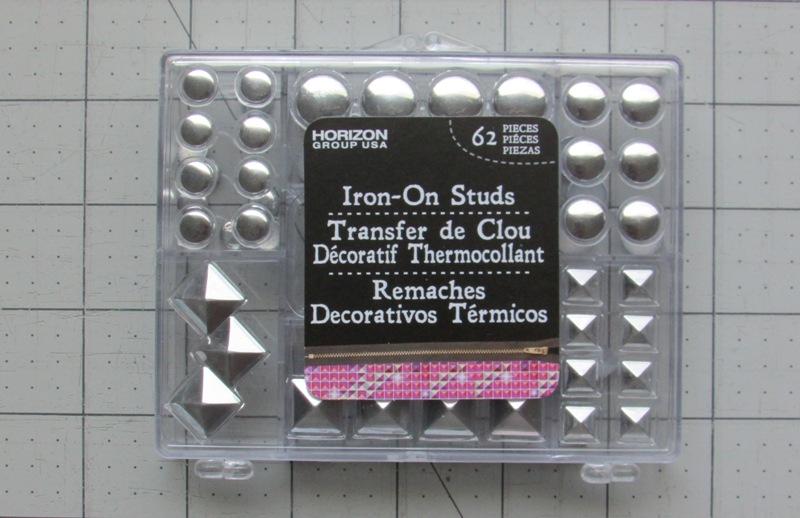
Sometimes you will find studs that come on an adhesive sheet. Those are great too, especially when they come in decorative designs such as flowers and hearts. But I really like the free-standing studs like these used in this tutorial, because they allow you to place them anywhere you want. They also tend to be bigger, which adds more drama.
You will usually, if not always, want to sew the project you're making before adding the studs, mostly so they stay out of the way of the sewing machine needle. I consider them to be the finishing touches on projects, to be done last. So with that in mind, let's get started on our free project today!

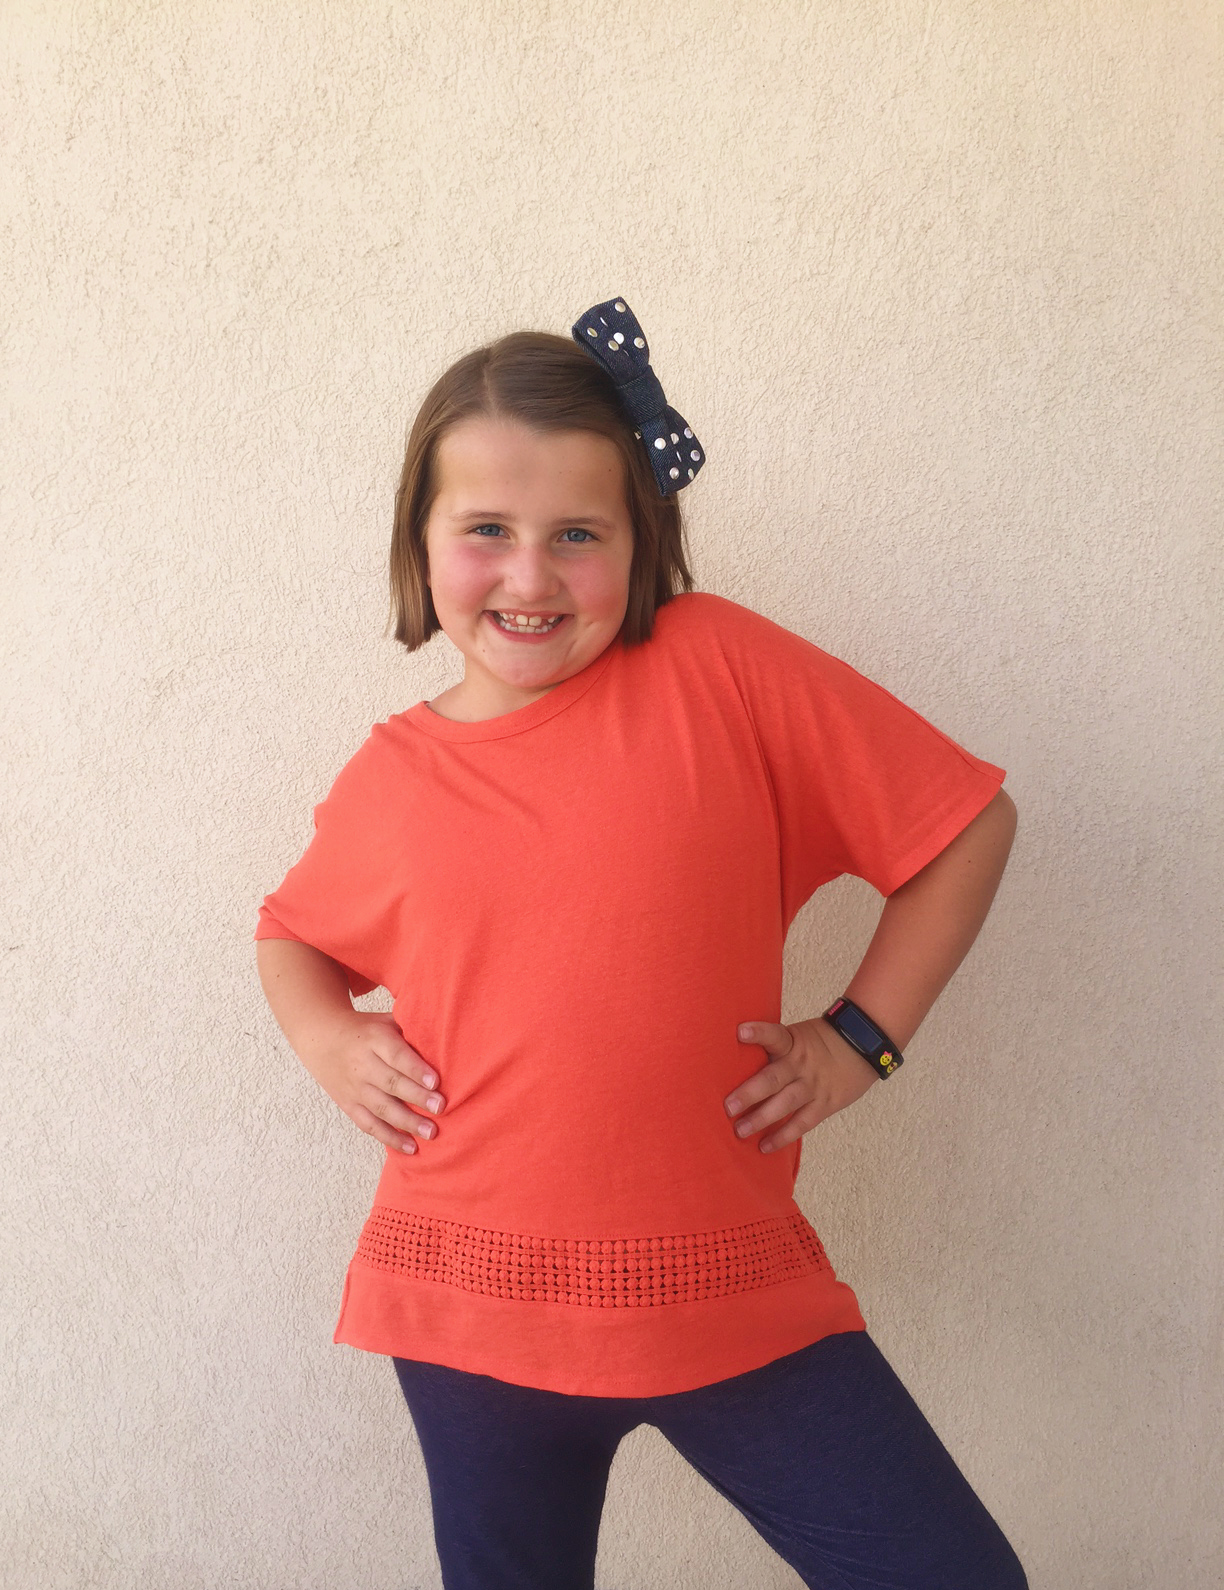
Here's the super cute studded bow we'll be making! I used denim but you can use any fabric you want.

First, cut your fabric:
Cut 1 bow piece 5.5" x 11"
Cut 1 bow center piece 2.5" x 3.5"*
If you are using knit or a lightweight fabric, you may want to cut the same sizes out of fusible interfacing too, and adhere them to the back of your fabric pieces so they will be more sturdy. I used denim for my bow so the interfacing was not necessary.
*If your fabric is extra bulky, you may want your center piece to be 3" x 4" to give more room. The large bow piece will stay the same.

Time to sew! Fold the big bow piece in half lengthwise with right sides together. Sew along that edge using a 3/8" seam allowance, as shown in red above.

Do the same with the bow center piece.

Turn the big bow piece right side out. Use a dowel if necessary.

Turn the small bow piece right side out too. To do this, it will help to use a safety pin. Attach the safety pin in the seam allowance near the top. Don't go too close to the edge or it might tear out.

Turn the safety pin and feed it in to the tube, as shown above. Begin pushing the pin down through the tube.
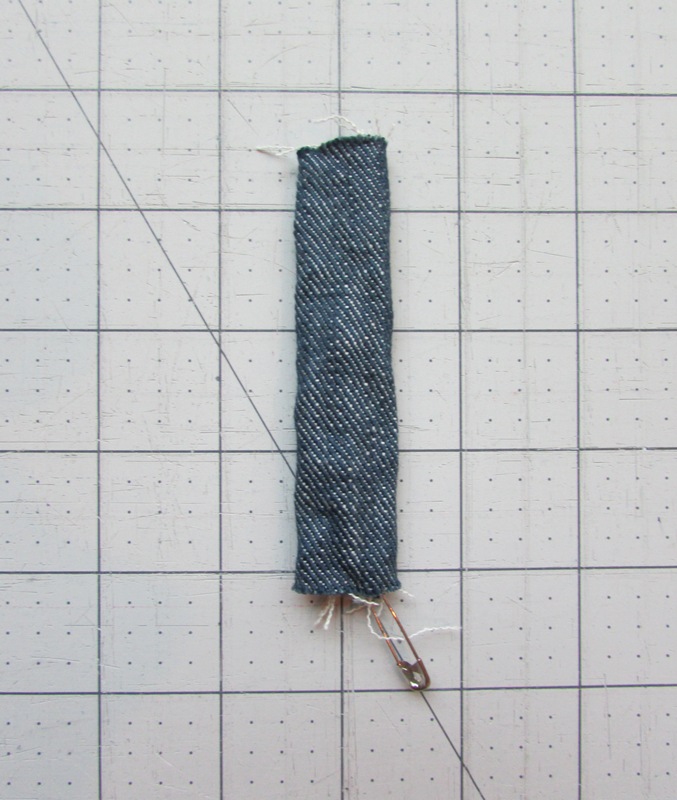
Continue pushing through until it comes out the other end. Pull through so the bow piece is right side out.

Iron both of the bow pieces, with the seams going down the center backs, until they are nice and crisp.

Fold each bow piece in half with right sides together. Match the short ends and sew, using a 3/8" seam allowance. Then zigzag or serge the raw edges.
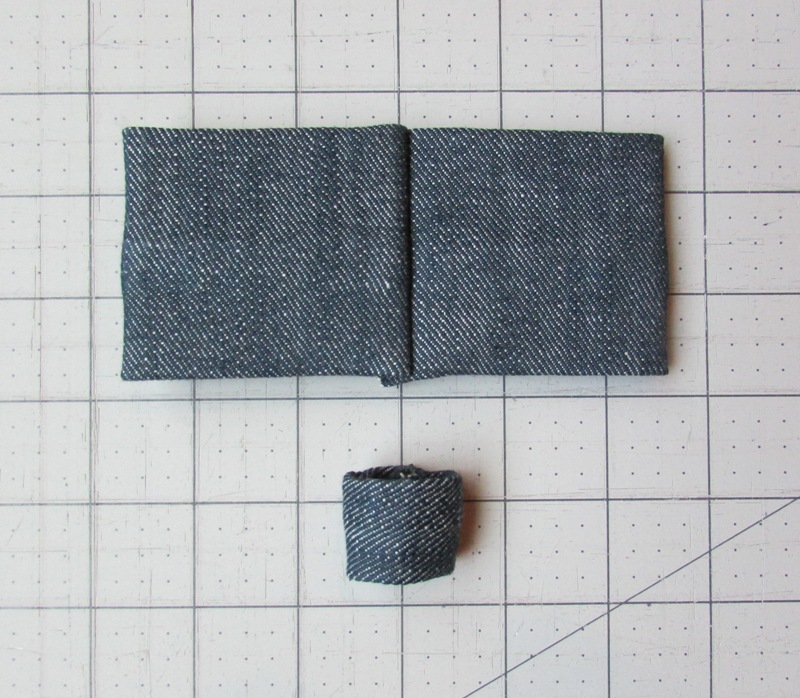
Turn the bow pieces right side out. Again put the seam down the center back. Use an iron to set the large bow piece. The small bow center should be a ring shape.

With the front of the big bow piece facing you, create folds in the center of the bow. This is just to give you an idea of how the bow shape will end up, so you can plan where you want to adhere your studs. It's time to add them!
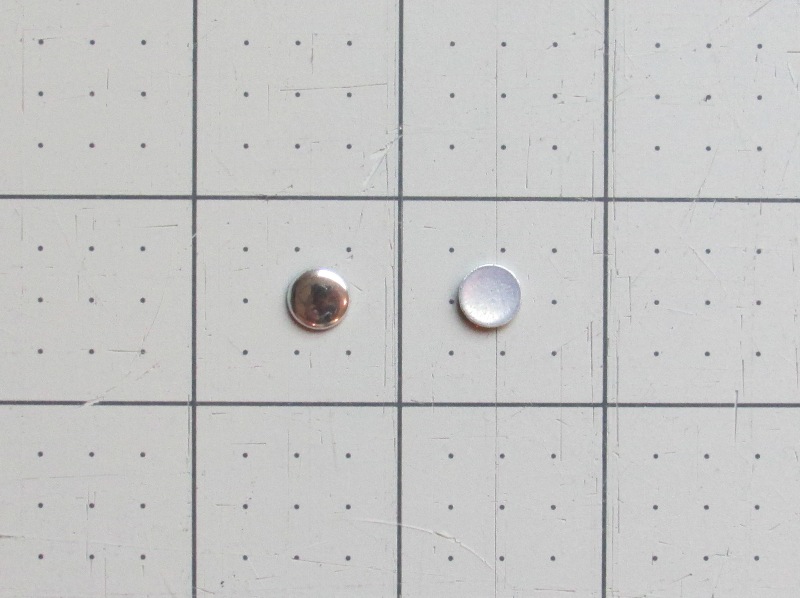
This is where the studs tutorial begins! Notice that the front of the stud is decorative and the back is covered with a dry glue. When you heat up the glue it will become sticky.

On the front of the large bow piece (the side with no seam), practice laying the studs out where you want them. You can either lay them out in a straight row, or create a scattered effect like I did in the photo above. Totally up to you. You do want to keep the studs out of the center of the bow piece, where the center piece will be covering.
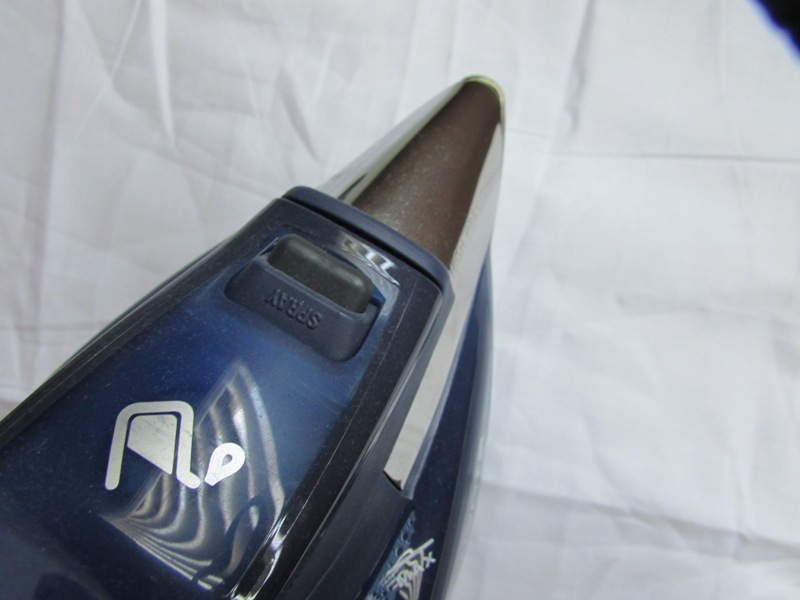
Remove the studs (set them aside) and use an iron to heat the fabric on half of the bow, with the iron on the wool or cotton setting. Then quickly set the studs back in place where you want them on that heated side, before the fabric has a chance to cool.
Cover the studs with an ironing cloth -- or any large fabric scrap will work as long as it covers the studs. Iron through the cloth for 15-20 seconds, or as long as your package recommends. You may be tempted to rub back and forth, but that may accidentally cause the studs to move and smear the glue. You can lift up and press at different angles though, to make sure you're not missing any studs.
As the studs are heated, the glue in them becomes sticky and adheres the studs into the fibers of the fabric. Give them plenty of time to stick, without burning the fabric.
WARNING: The metal studs get *very* hot, even through the cloth. You may be tempted to wiggle them to check if they're adhered, but they will burn you! The studs get almost as hot as the iron. It will take a few minutes for them to cool enough to touch!

Lift up the cloth and visually check to make sure all the studs are stuck in place. If they're not, give them some more heat. If any glue got smeared, try to reheat it and remove it with tweezers or the side of a cloth. But remember the studs are hot!
Now repeat on the other end of the bow, fully adhering the studs to the bow.
When you're happy with how both ends of the bow look, let it sit for several minutes until the bow, studs, and glue have fully cooled. You don't want to go on to the next step too soon!

When everything has cooled, take the bow in your hand and again create the center folds by squeezing the center. This helps its shape.

Take the bow center and slide it onto the end of the bow, with the studs of the bow folded toward each other for protection. You don't want the studs getting scraped off on the edges of the ring as you slide it on!

Slide the ring onto the center of the bow. Adjust the folds again. Your bow should now look something like the photo above! If any of your studs fell off in the process, simply adhere them again, being careful not to disturb the ones that are still stuck. The heat of the iron may loosen the others if you get too close.
(Note: You could actually add the studs after sliding the bow center on, but I found that I couldn't get the studs in at all the angles I wanted without totally flattening the bow in the process. The way instructed above worked much better for me! If you slide the ring on carefully, you shouldn't lose any studs.)

If you're using the bow as a hair clip, go ahead and slide the alligator clip into place. Or if you're using your studded bow on a dress or other outfit, it's all ready to sew on! Such a quick and easy project; plus the perfect way to get comfortable using iron-on studs.

Now you're all set to add iron-on studs to all your favorite projects!
Let's Create! Kristen

No comments:
Post a Comment