social

Facebook Twitter Blogger Pinterest Instagram YouTube

menu

About Us Contact Us News Faq Tutorials Our Shop

giveaways ad

Tuesday, March 31, 2015

Free Tutorial: Fabric Bath Bonnet or Shower Cap

I'm sure by now you have seen our new pattern for Stephen's Comfy Robe that just released.  The pattern is not just for the boys either. It's cute and cuddly for everyone!  Just take a look at this little bath beauty:  


Isn't she precious?!  I just want to scoop her up. The model's mama is Tamara Rykowski, one of our pattern testers.  After getting my baby fix for a few minutes I noticed the adorable matching shower cap/bath bonnet she made to match, and realized that I've never made one before!  But now I must!  Tamara was so generous to offer her tutorial for us on the blog today. (Yippee!) She took pictures to show how, and at the end of the tutorial she even has another totally adorable photo shoot of her baby wearing the new shower cap/bath bonnet. Who can resist such cuteness?  


Let's get started with Tamara's tutorial!   Here she is:

Friday, March 27, 2015

Free Pattern: Child's Hospital Gown

We have an extra special free pattern to share with you today! It is a feel-good sew that is so needed!   This idea came to me months ago when we were having our virtual fair contest to donate items to a children's hospital.When all of the entries came in the mail, I had an extra large box full of donation items from one of our testers, Jeannie Olson. Inside the box she had included several hospital gowns, g-tube pads, and handmade blankets to donate for children at the hospital. I was so touched! I later learned that Jeannie uses her own pattern for the hospital gowns, and now she has graciously agreed to share this pattern on our blog for everyone who can benefit from it!  


Thursday, March 26, 2015

Using Elastic to Faux Shirr or Gather

Joy's Twirly Lace Dress is one of my favorites!  A specific detail I love about Joy's is the shirring on the sleeves. Many of our other CKC patterns use shirring as well, and it is definitely a good skill to learn.  Sometimes, however, we have people ask if there is any other way to gather the sleeve without shirring or making a casing.    


The answer is yes!  Occasionally I like to sew 1/4" elastic directly to the underside of a sleeve to gather it (no casing necessary), and it works great! Today I will show you how to use this method, both with a photo tutorial and with a video! This way of attaching elastic has several other uses too, of course, and by learning how to use it on the sleeves you'll be ready to branch out! Let's get started.

Thursday, March 19, 2015

Free Patterns: Kambria's Dress and Kaya's Cloche

This weekend we are celebrating a special little girl's birthday. Charlotte is turning 6! We are having a HUGE site-wide sale to celebrate, and you are all invited! How does 30% off everything sound? The sale begins at midnight on Friday night (3/20/15) and lasts all weekend long! So get your shopping carts ready and have some fun shopping! When the time comes, you will use the code "Charlotte" to get 30% off all patterns in your cart!  (Code is valid on our website only, and tiered pricing will not be in effect.) Happy Shopping! 

Charlotte, wearing Celeste's Party Dress

Not only that, but as a special gift to you, we have two completely new, entirely free patterns for you to enjoy!  Kambria's Flutter Stripwork Dress and Kaya's Crochet Cloche! You can download them here here on the blog today. Let's take a look: 


The dress is gorgeous on its own, and look at the adorable crochet cloche that completes the outfit!  As the designers at CKC, we have all worked on this project together and we've been SO excited to share it with you!   Let's take a closer look!

Tuesday, March 17, 2015

Upcycle a T-Shirt into Jasmine's Shorts or Pants


Hey everyone! I’m Nikki, head of the women/tween department here at CKC. I get a lot of requests to share how I make my upcycled Jasmine’s Bubble Pants, and I thought it may be best to share it in a blog. So I made three pair today to show you how! 


Saturday, March 14, 2015

Crochet for Beginners

From Emily Wise at Create Kids Couture:

We all love sewing! For me, it’s a second love. My first adventure in self-taught crafting was crochet. I combed YouTube for videos, watched them in slow-motion and tried to follow along. I chained and chained until it was a breeze, then single crocheted and double crocheted in endless strands until I figured out how to turn rows and work in rounds.

So for all of our fans who have watched and wondered and wanted to jump in, now is the time! We’ve created a Beginner to Crochet video tutorial where you can learn how to chain, single crochet, double crochet, half-double crochet, turn your work for rows, and work in continuous rounds. It’s a short and sweet intro or review for fans who haven’t picked up their hooks in a while. It also includes the abbreviations used in CKC crochet patterns.  


Tuesday, March 10, 2015

DIY Measuring Mat for Cutting

When I made my first ever CKC pattern I was intrigued by the idea of using a cutting chart to save on paper and time. I carefully used a yard stick and pencil to mark the rectangles on my fabric, and then I cut them out with fabric scissors. It really did save time and I loved how her tiny dress turned out!  After awhile I realized that other ladies were using a rotary cutter and cutting mat to cut out their rectangles. That's even faster!  A LOT faster. But I wasn't quite ready to commit to the price for those tools yet.  

Sound familiar?  

I continued my yardstick and pencil method for awhile, and quite honestly I would have given anything to know the trick that I'm about to teach you today!!!  If you do not have the funds (or desire) to purchase a rotary cutter and mat quite yet, you can still use the same super fast cutting method they do, by making your own measuring mat out of supplies you have around the house! 


With this do-it-yourself measuring mat, you will be able to easily measure your fabric, mark them with a fabric pencil, and then cut them out with fabric scissors. Suuuuuper fast!  (If you aren't convinced that this method will save you time, be sure to check out our blog post on How to Use a Rotary Cutter! We can cut out a super ruffly dress in 10 minutes, max.)   

Thursday, March 5, 2015

Free Pattern: Uriah's Training Underoos


Potty training.  

It is not fun. But it is a necessary part of parenting! So why not make some special underoos for your kiddo that you can both be proud of? Look at these super cute ones that Tosha whipped up for her little girl! 


I am so excited about this FREE pattern Tosha wrote for us!  Uriah's Training Underoos fit sizes 12m -36m and are perfect on both boys and girls!  They have a snug but comfy fit around the legs, and great coverage too -- just what we want for training!  

My little guy is done with training but I decided to make a pair for him last night just because they're so cute. And wow!  Not only were they quick and easy to sew (less than half an hour), but I can also honestly say (much to my surprise) that they fit way better than any store-bought training pants I've ever purchased! He likes them more than his "big boy underpants" (with Legos on them, even!). And he ran off in them after we finished his pictures, wearing a big smile on his face. 


I am a fan!  

So if you have a little girl or little guy that wants some super cute mommy-made underoos, you can  download our FREE pattern here: 

Tuesday, March 3, 2015

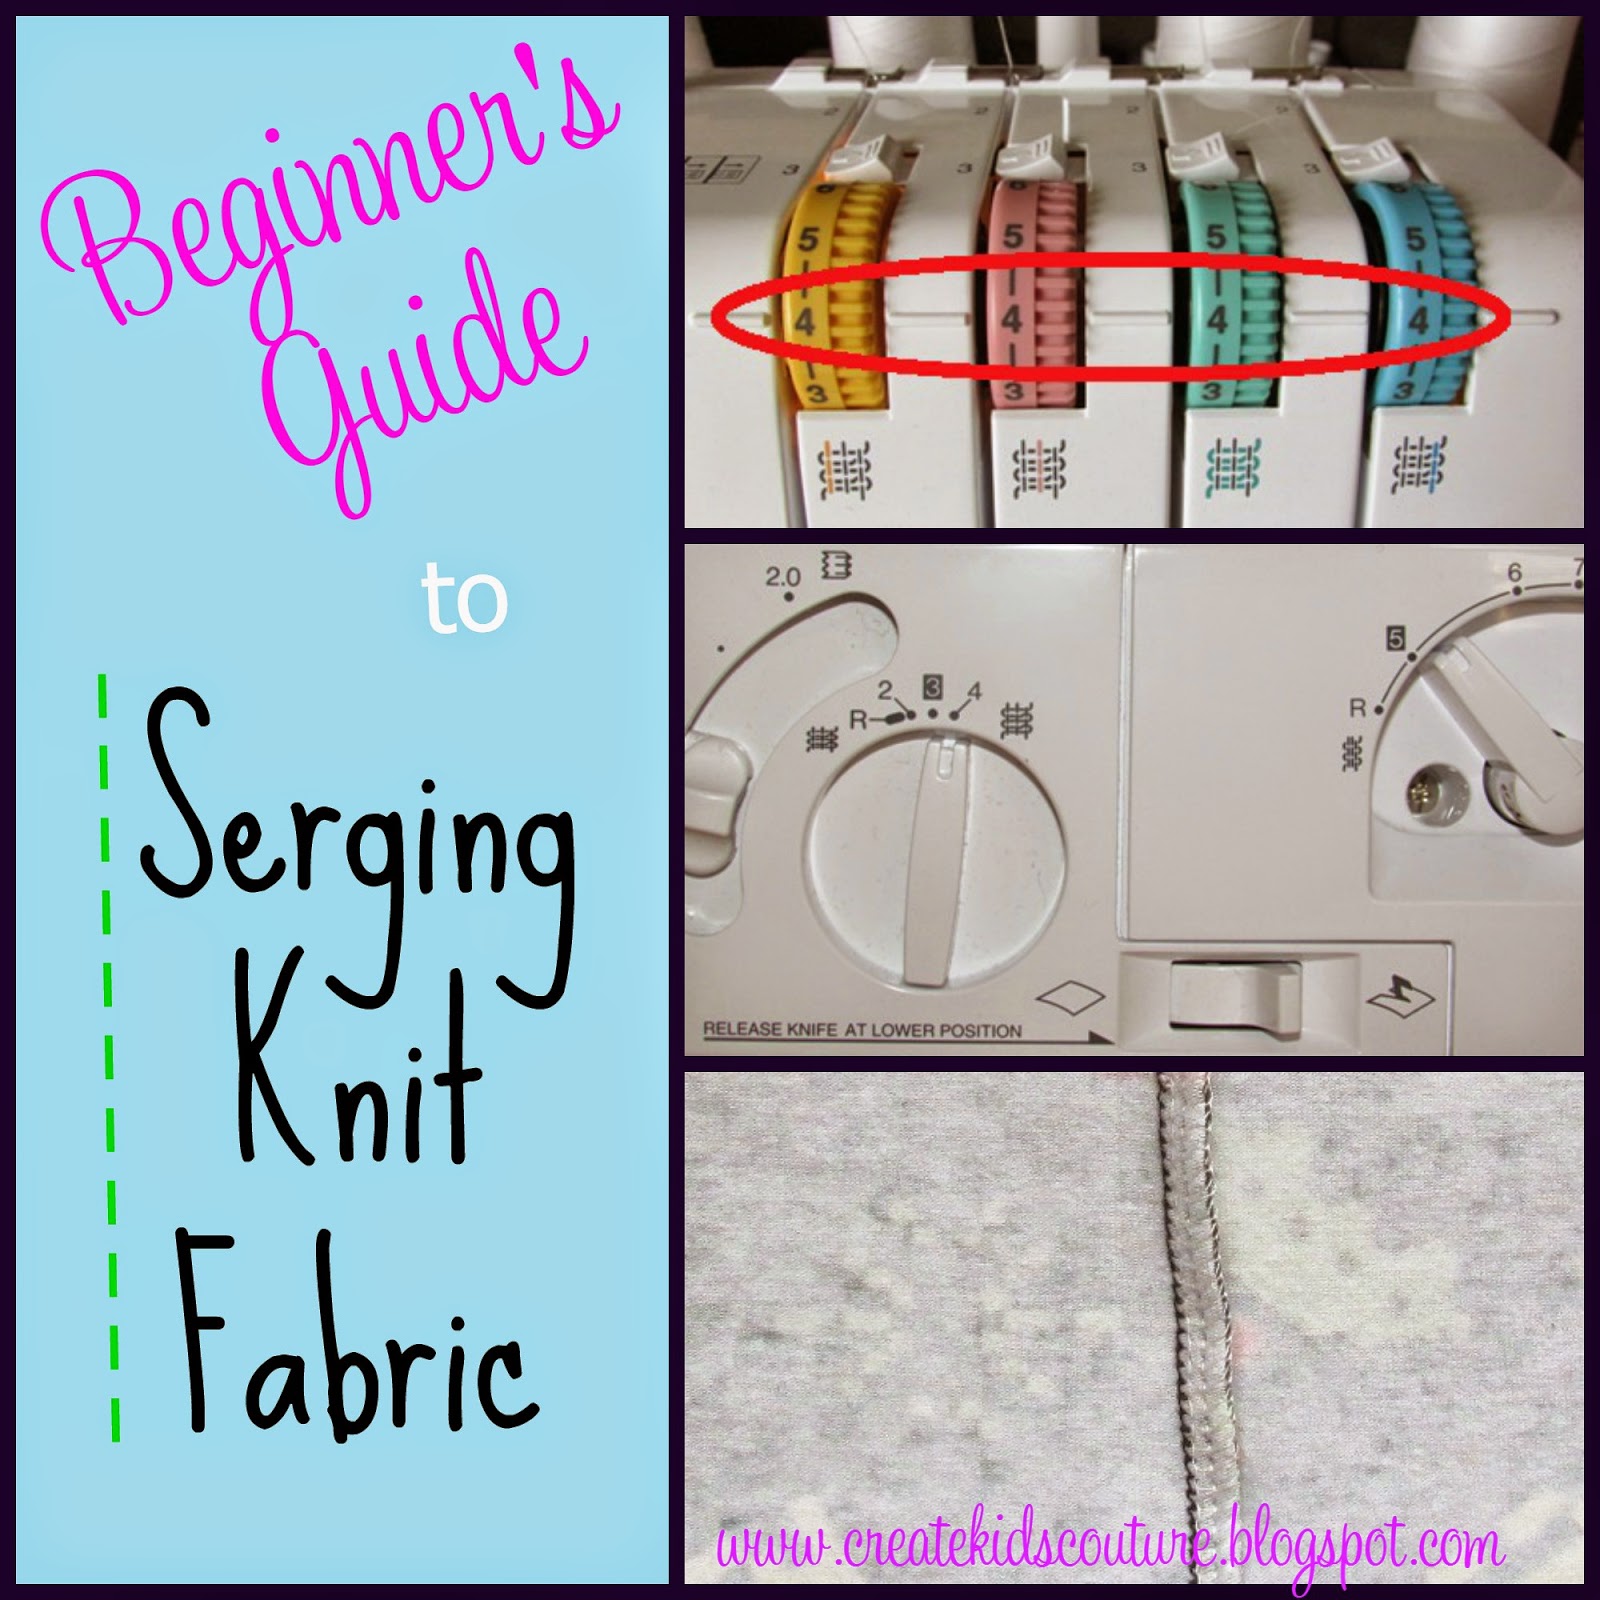
Serging 101: How to Serge Knit Fabric


We have all come a long way in our Serging 101 series!  In case you missed out on any of the previous serging posts, we have already covered how to set up your serger, how to thread for rolled hems, how to thread for seams, and a few other posts in between.  And now today we're going to learn how to serge with knits!


One of the things I love about sewing with knits is that they don't fray, so it's not absolutely necessary to serge the edges. However, I have four boys and I'd like their clothes to get a lot of use, so I tend to serge my edges for extra durability. I also sew all of my seams with a sewing machine before serging.  It takes just a bit more time and makes them a lot more sturdy. So that two-step method is what I'll show you today!