
We have had quite a few requests for a tutorial on how to add snaps to the bottom of Jeffrey's Summer Jumper to make diaper changes easier. I personally like to slide my kids' jumpers right off, but for those of you who love having those snaps on the bottom, we're happy to help!
We have done a tutorial in the past that works for adding snaps to most jumpers and pants, but for Jeffrey's we will do the steps a little differently because of the cuffs. It's still easy and we'll show you exactly how to do it!
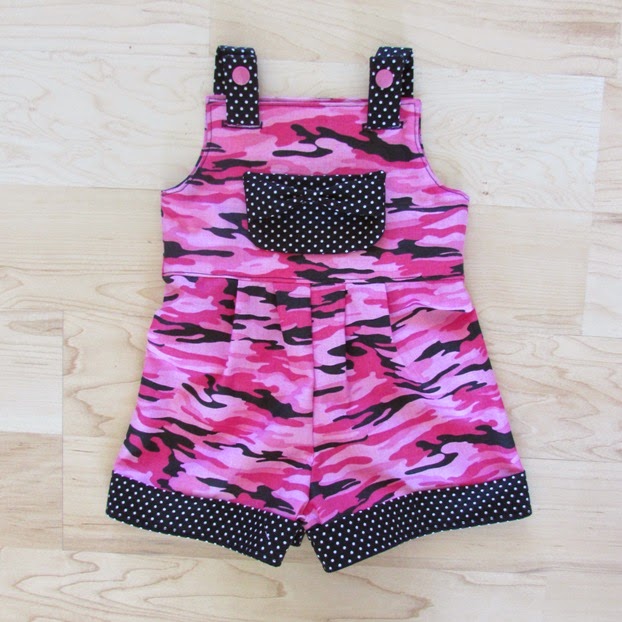
To demonstrate, I made this cute little jumper for my friend's baby girl. It has snaps along the bottom and took me less than an hour to make the whole jumper! It's a tiny one and I wanted to show that the snaps work even on the small sizes. Let's get started!

First you'll cut out your fabric pieces as instructed in the pattern. (If you don't yet have the pattern, you can get it here.) Take the two shorts pieces and sew them along the top curves, as shown above. This is the same as the pattern but the next steps will be jumping around so just stick with us here until we tell you.

Next we will take the cuff pieces and fold them in half lengthwise, iron, and pin to the bottom edges of the shorts on the right sides, as shown above. Sew along the bottom edge, attaching the cuffs to the shorts. (Note that the inside edges of the shorts and cuffs are still raw edges. The bottom of the cuffs will also remain raw edges for a few more steps.)

Now we will spread the leg edges open and measure the bottom edge. Cut two pieces of bias tape that width.
(If you want to create your own matching bias tape pieces as I did above, you can cut a rectangle that is 3" long and however wide your bottom edge is. Fold it in half lengthwise, iron, open it up and then fold in the long edges to meet the crease, iron, fold in half again and iron. You will now have a bias tape. Repeat for the second bias tape piece.)

Pin the bias tape to the bottom raw edge, being sure to catch the cuff in it. The edge should not go all the way into the crease because we need about 1/2" of the bias tape extending from the edge of the shorts so there is room to overlap with snaps. Sew along the top edge of the bias tape 1/8" from the top folded edge. Check to make sure the stitching went through both sides. Repeat with the second bias tape on the back side of the shorts.

Now we will hem the bottoms of the shorts/cuffs by folding under the raw edges 1/2" and pinning in place. Sew around the bottoms we just pinned by top stitching 1/8" from the bottom edge of the shorts/cuffs. See the red lines above. We should now have all of our edges nicely finished.

Now we are ready to lay the bottom edges next to each other and decide how many snaps we want. I used three but for the larger sizes you will want to use more. Mark your snap placements in the center of the bias trim. On the front of the shorts, attach with the caps facing up and the studs facing down -- and on the back of the shorts, attach with the caps facing down and the sockets facing up. You can do it a different way, but just be sure that they will overlap properly! If you need more help attaching snaps, you can see our tutorial and video for using KAM Snaps here. (We love KAM Snaps!)

And just like that, you have perfectly fitting snaps on the bottom of your Jeffrey's!

Of course now you'll want to return to the pattern and continue on to finish the whole jumper! (Step 8 is where you'll want to pick up again.) We LOVE seeing your Jeffrey's in the patterns group, so please come share your photos when you're done!
Let's Create! ~ Kristen
No comments:
Post a Comment